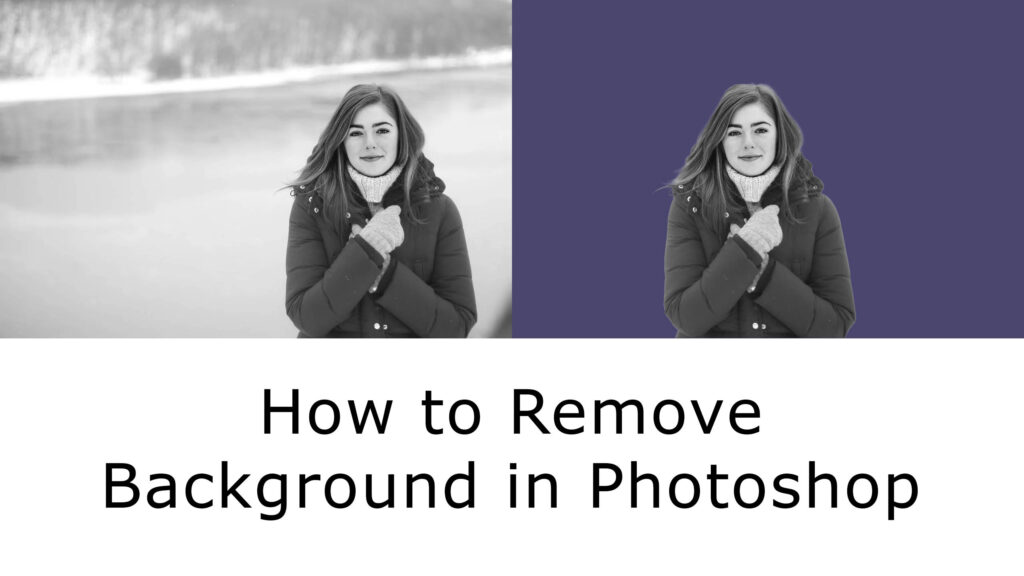
Photoshop has several tools for removing backgrounds. Some tools have to do all the work, while others do it almost completely automatically. This article describes how to remove backgrounds in Photoshop using 3 different tools.
Use the Pen Tool
The Pen Tool works best with simple objects. Great for selecting objects with hard lines, straight lines, and curves.
Step 1: Select the Pen Tool
Select the Pen Tool from the toolbar on the left. You can also use the keyboard shortcut “P”. Make sure it is set to “Path” in the top menu.
Step 2: Draw a Path
Click on the edge of the subject to create the first anchor point. Create a second anchor point. For straight lines, just click. If you want a curve, click and drag to make the line an arc. You can smoothly turn around rounded edges and curves.
Be sure to Option-click (Alt-click on Windows) the last anchor point after the curve. Otherwise, the next arc will automatically depend on the previous line. If you hold down the Option key, the anchor points will be reset so you can recreate the straight line.
It takes some practice to get the hang of it, but after a while, it goes much faster. Continue the process until you create a path around the subject. When you reach the first anchor point, click on it. The path will be closed automatically.
Step 3: Convert Path
In the Paths window, hit the “Load path as selection” icon.
Step 4: Remove the Background in Photoshop
Currently, there are several options. If you want to erase the background, go to Select> Invert and press Delete. You can also use the keyboard shortcut Cmd + Shift + I (Ctrl + Shift + I on Windows). Press Cmd + J (Ctrl + J on Windows) to copy the subject to a new layer. And now you have separated the subject in Photoshop and removed the background.
Use the Quick Selection Tool
The Quick Select tool does a lot of work and works best when the contrast between the subject and the background is good.
Step 1: Quick Selection
Select the Quick Select tool from the toolbar on the left. You can also use the “W” key shortcuts Make sure it is set to “Add to selection” in the top menu. This allows you to select different parts of an object and combine them into one selection.
Step 2: Make a Selection
Select either the background or the subject. Photoshop automatically selects similar tone values.
Step 3: Refine Edges
Click the Adjust Edges button to open a new window. The cutout is also displayed in Photoshop. You can set the background in the Adjust Edges window. Depending on the color of your subject, you can use a white, black, or transparent background to identify defects. In the top menu, set the brush size. Paint the edges of the selection and Photoshop will adjust the selection. This is useful when choosing hair, leaves, or fur. Photoshop uses the foreground and background contrast to fine-tune your selection.
Step 4: Remove the Background
Repeat Step 4 of the previous example to remove the background.
easy method 2022
Object Selection Tools
Quick Action
Conclusion
There are many ways to remove backgrounds in Photoshop. It all depends on the photo you’re working on and how perfect your choice is. In any case, you need to practice all the tools Photoshop provides. First, use a simple photo. A photo with a beautiful background and a high contrast between the foreground and the background. Soon after, the background will be removed from all types of photos.
Note: If you want to make some adjustments to the photo just let me know. I can do it for you at a very low cost. You can hire me to edit your photo
latest post
- What is Midjourney
 Discover the capabilities of Midjourney AI, learn how to effectively utilize the platform, and explore the advantages and disadvantages of the Midjourney AI image generator across its different pricing options.
 - Brand identity elements
 In the vast marketing universe, imagery is pivotal in establishing and nurturing a brand’s identity. A brand’s visual choices are not merely aesthetic decisions but strategic moves that can significantly influence perception and performance. This Picfixs article explores the intricacies of selecting imagery that complements and enhances a brand’s essence, ensuring it resonates with the… Read more: Brand identity elements
 - 100 Best Mountain Captions and Mountain Quotes for Instagram
 Ready to scale new social media heights? Look no further than this treasure trove of 100 exhilarating captions and quotes, handpicked for your Instagram mountain posts!
 - Symmetry in Photography: A Creative Approach with Examples
 Delve into the enchanting realm of symmetry in photography as we showcase mesmerizing examples on our website. Experience the allure of perfectly mirrored images!
 - 11 Quarantine Photoshoot Ideas to Try at Home for Amazing Photos
 Looking for unique photoshoot ideas during quarantine? Explore the 11 creative suggestions that will help you capture unforgettable moments at home.