What we see and what the camera records can be very different. Our eyes can see a broader range of tones and light values than a camera can record with a single exposure. I encourage students to see the light first. Think about what you know when the subject is exposed to light. Next, consider how the camera records it. If you’re looking at a scene with uniform contrast and low contrast, it’s easy to imagine that the subject has more light and contrast than the background. Actually, dark backgrounds don’t need much contrast.
Find when the light is right
Our latest digital cameras can record a very wide dynamic range. Early digital cameras and all films were able to capture a more limited range of tones in a single image. Today, you can capture more detailed photos with shadows and highlights. Our cameras are beginning to produce results comparable to what we see with our eyes. To know when you can get a black background photo, you must know when the light is right. You need to understand how to see the difference between the light values of the subject and the background. To do this, you need to ignore some of the details that can be displayed so that you can see more than the camera. This is a skill suitable for all types of photography. Consider in advance how to post-process the image. Our camera can capture more details. In other words, to get a photo with a very dark background, you need to make further tweaks in the post-processing. The most important thing is to check the lighting and background when the light is right. Even if you prefer a natural portrait background, you can still achieve a black background. This article will show you how.
To see if the scene has enough contrast, squint and look at the scene. If you squint, you will not see much detail in the dark areas. This allows you to preview what your photo will look like. If the contrast is too low when you blink, it will be more noticeable.
What Affects Your Black Background?
These factors determine how dark the background is. The difference in lights between the subject and the background. exposure setting; background color; post-processing. The background can become very dark as more light hits the subject. Assuming the subject and background have the same amount of light, you will need to work with the photo later.
How to set a portrait with a black background
Use a black background when taking portraits. I have limited experience with still life and other styles. However, this method can be used for the subject you want to shoot. If you have some control over your lighting settings, it’s easier to create a black background. Also, with proper setup management, post-processing is minimal. Choosing a black or dark background will make your job easier. Make sure the background does not reflect light. Glossy surfaces and plastic sheets are not good because they reflect light. Use heavy black curtains in the studio or black stretch fabrics when traveling. Elastic fabrics are good because they don’t wrinkle and reflect light. You need enough space to keep the subject away from the background. If they are too close together, the light of the subject and the background will be similar. You want to shed more light on your subject.
Using Natural Light
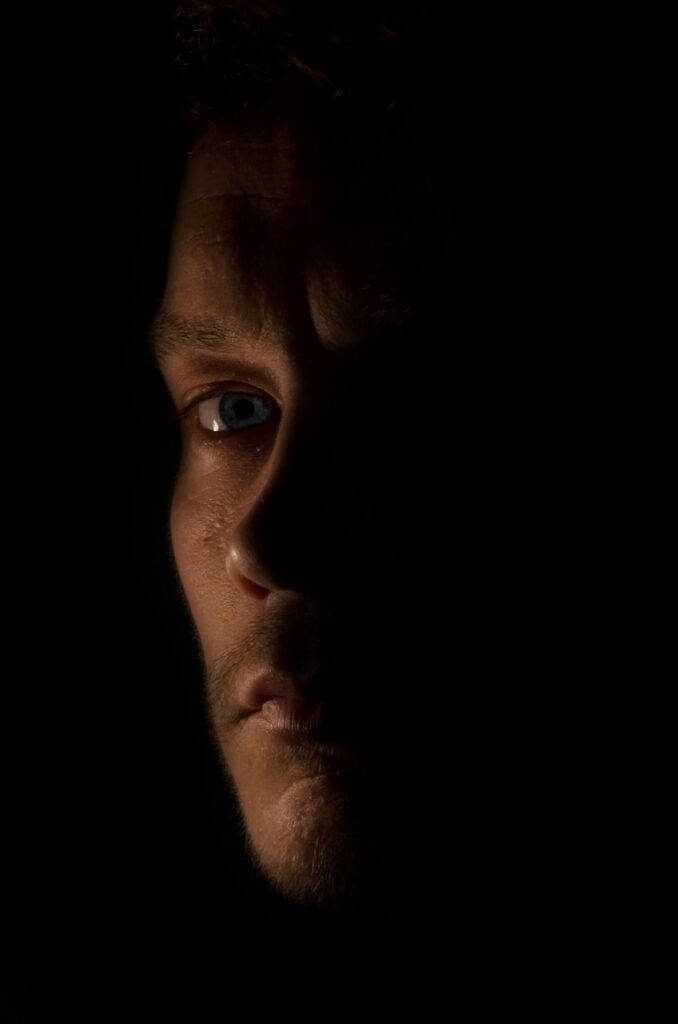
If you are using natural light indoors, consider placing your subject near open doors or windows. Close all other doors and window covers. Turn off all the lights. I want to make the room as dark as possible, but if the background is black, hang it as far away from the subject as possible. This may not be necessary depending on the darkness of the room. Use the squinting technique described above to see where the bright areas are. Select a camera angle so that no bright areas appear in the background. When using a background, make sure that the edges and top of the frame are not visible. If possible, you should change the lens or bring the background closer to the subject. When shooting outdoor portraits, be careful not to move the background too much.
Use of studio flash or continuous lamp
You can use a lamp for finer control. If you have multiple lights, this will be doubled. The same principles apply when using natural light. The subject needs more light than the background. Separating the subject from the background is the best way to do this. If you are working in a tight space, you may need to use a flag to control the background light. I’m using a black corrugated plastic sheet. Lightweight and easy to place. I have collections of different sizes and I use them often to control the light. Using a modifier for the light source also helps prevent the light scattering and control the light. If you have an umbrella or a Using softbox, the light will diffuse and look soft. This is a good light for many portraits. Using an umbrella or softbox makes it more difficult to keep the light away from the portrait background. It is necessary to keep a sufficient distance between the subject and the light source. Useful for working in tight spaces with a black background. As a result, some light spots are absorbed.
How to control light and exposure
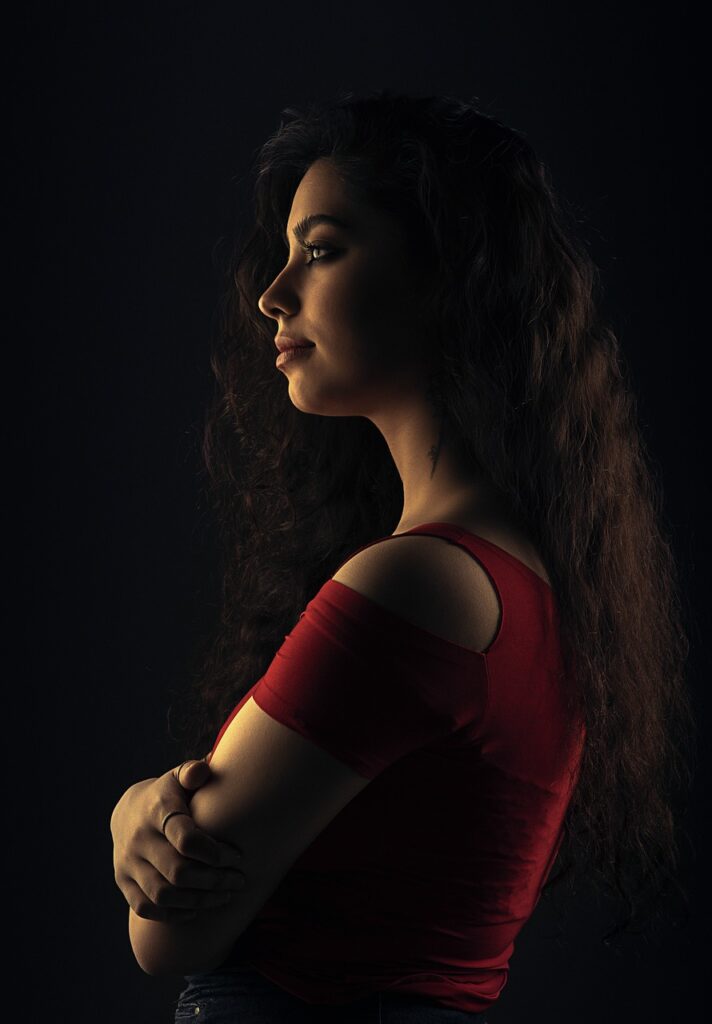
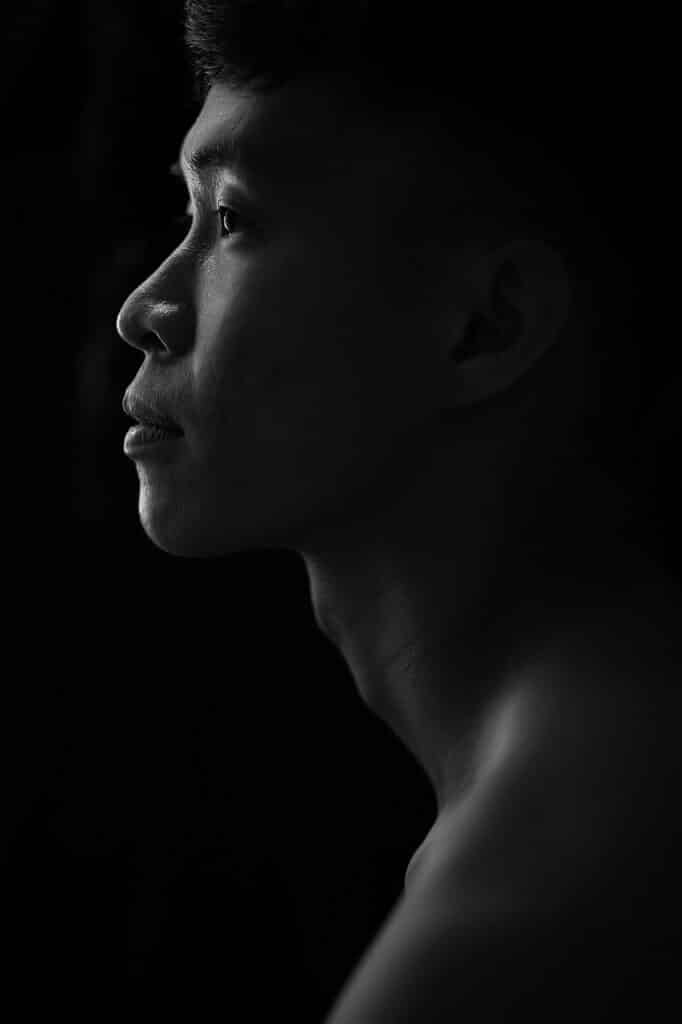
Ideally, you need to control light and exposure. Setting the camera and lighting to automatic has disappointing results. In portrait photography, exposing the subject’s face well is the most important metering gauge for the subject’s face. Then adjust the exposure so that her face is well exposed. Make sure the light is properly balanced between them and the background. This means that the portrait background is black or very dark. If the . If the background is not dark enough, you can do it in the following ways: Bring the subject closer to the light source. Increases the light output of a flash, strobe, or constant light. Move the background away from the light source to a darker place. People with light skin or light hair can easily be separated from dark backgrounds. People with dark hair need more light. Add a little backlight to avoid mixing with a black background.
Look for black background in everyday situations
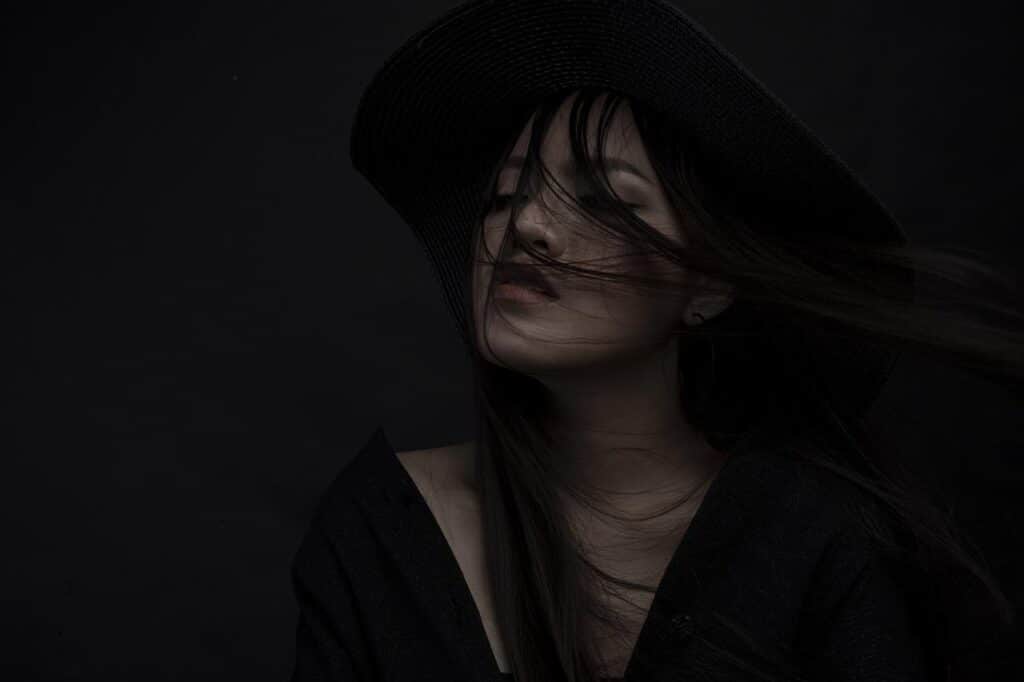
You don’t necessarily have to control the lighting for the black background photo to work. I love finding everyday situations where I can take portraits with a black background. You can search for people with a dark background. This woman with the nicest smile sells steamed fish at the local market. She stands in front of a large open door. Behind her is a room with no windows and little light. alley. This portrait of a young woman and an elephant has a natural black background. This is because it was in front of a large open-plan building with high ceilings. The bright sun is behind them, reflecting off the white pavement in front of her. This gave me a lot of light on her face and didn’t give much light to the background as it was in the shadows. During an outdoor portrait session, she finds a place with a black background that she can post. These are places where bright light does not affect the background. Using a partially black background can give very satisfactory results.
Post-processing for photos with a black background
The exposure value of the subject may not be so different from the background. In such cases, you need to manipulate the background to make it darker. The amount of processing required also depends on the camera sensor. The larger the dynamic range, the more processing-required photos will be created.
Recreate the black background using Lightroom and Photoshop
- Contrast
- Shadows
- Blacks
- Levels
- Tone curve
- Brush
- Burn
I use Adobe Lightroom and Photoshop. However, these techniques can be used with any software you use. First look at the background and decide how dark you want it to be. From time to time, you need to adjust the black and shadow sliders to get the look you want. This is usually the case if the background is all black. For example, in a studio photo, I had full control over the lights and background. If you want to shoot outdoors in a more natural environment, you will need to use other tools. There may have been some light-reflected background areas. Or, part of the background may be lighter.That’s when the brush or burn tools are most effective. Use the Lightroom brush tool to darken the background area. This means that areas that are too bright will be filled. Then move the exposure slider to the left or right. The effect is very high and helps you see where you are painting. When you’re done painting, move the slider to a level that gives you the desired result.
How to Use the Photoshop Burn Tool
Sometimes Photoshop’s burning tools are more effective. I am using it at a very low exposure level. Usually, about 10% set the range of the burning tool to shadow. With this setting, the tool affects dark areas of the image rather than bright areas. A slight overlap when the scope is set to shadow will have less effect on the subject. A combination of low exposure and shadowed areas can darken all bright areas. Our eyes are drawn to the bright areas of the image. Areas that appear on light objects or dark backgrounds can be distracting. As with Lightroom and Photoshop, avoid extreme operations. Instead of getting the most out of one tool, combine different tools to get results. This helps to avoid degrading the quality of the image files.
Conclusion
Like many photos, a photo with a black background depends on how you can see the light. Be careful when the subject is brighter than the background. Watch out for shadows. And is there a sufficient difference in how the light hits your subject? If not, can I control or manipulate the situation? Try it. This technique is great for emphasizing the subject.
Note: If you want to make some adjustments to the photo just let me know. I can do it for you at a very low cost. You can hire me to edit your photos
latest post
- What is Midjourney
 Discover the capabilities of Midjourney AI, learn how to effectively utilize the platform, and explore the advantages and disadvantages of the Midjourney AI image generator across its different pricing options.
 - Brand identity elements
 In the vast marketing universe, imagery is pivotal in establishing and nurturing a brand’s identity. A brand’s visual choices are not merely aesthetic decisions but strategic moves that can significantly influence perception and performance. This Picfixs article explores the intricacies of selecting imagery that complements and enhances a brand’s essence, ensuring it resonates with the… Read more: Brand identity elements
 - 100 Best Mountain Captions and Mountain Quotes for Instagram
 Ready to scale new social media heights? Look no further than this treasure trove of 100 exhilarating captions and quotes, handpicked for your Instagram mountain posts!
 - Symmetry in Photography: A Creative Approach with Examples
 Delve into the enchanting realm of symmetry in photography as we showcase mesmerizing examples on our website. Experience the allure of perfectly mirrored images!
 - 11 Quarantine Photoshoot Ideas to Try at Home for Amazing Photos
 Looking for unique photoshoot ideas during quarantine? Explore the 11 creative suggestions that will help you capture unforgettable moments at home.