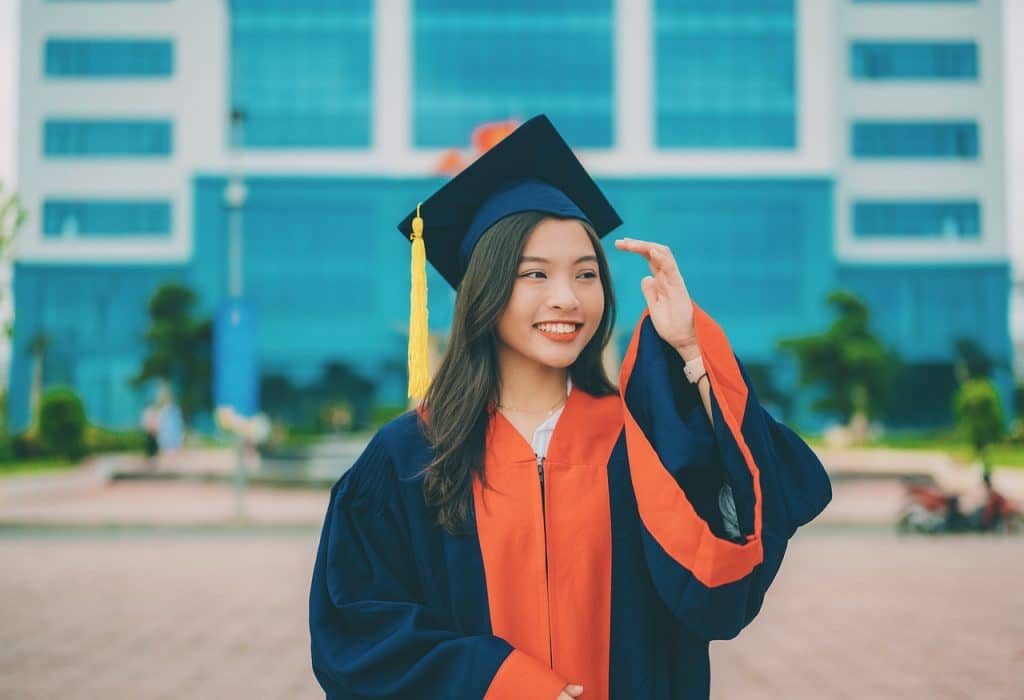
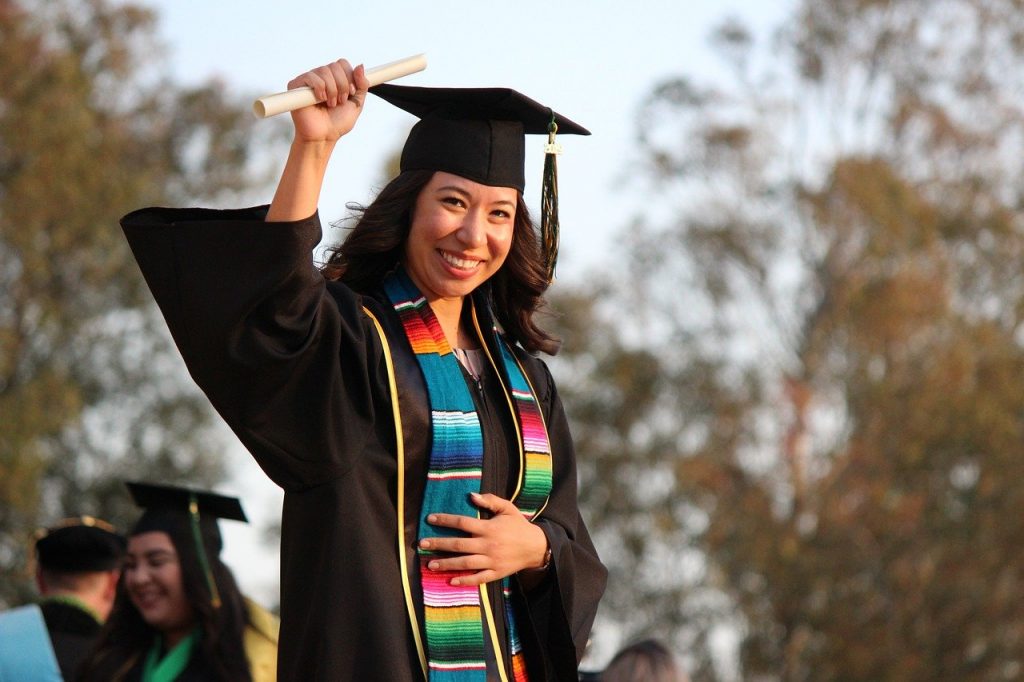
A graduation is a once-in-a-lifetime event, and we’ve got 10 graduation photography tips to help you get great shots! A graduation is a life-changing event for students and their families. It’s a time for celebrations, award ceremonies, and family reunions, not to mention parties and family gatherings.
Graduation is also an excellent time to take photographs that your family will treasure for a lifetime. We have some tips to help you capture excellent graduation photos, no matter what type of digital camera you’re using.
Use a DSLR or Point & Shoot Camera
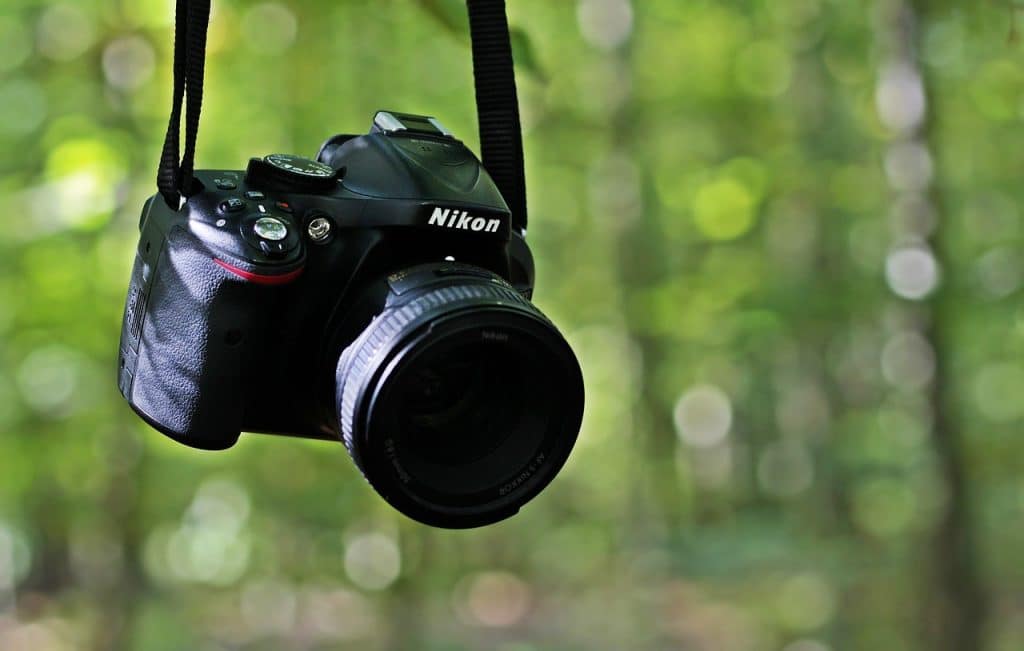
For the vast majority of social occasions, we rely on our smartphones. Smartphone photos are fine for sharing online and on social media, but they don’t make the best prints or enlargements. You’ll want images that you can print and frame for graduation. Having said that, we recommend using a Digital SLR (DSLR) or, in the worst-case scenario, a Point & Shoot camera.
The main benefits of using a DSLR camera over a smartphone camera are image quality and versatility. When reviewing our graduation photography tips, you’ll notice that some of the recommended settings are simply not available on a smartphone.
Know your Camera Settings Inside & Out!
You must be prepared for a variety of lighting conditions as well as fast-moving subjects (like the cap toss). Take some time to familiarise yourself with your camera before the graduation ceremony. Don’t put it off any longer. Graduation is probably not the best time to learn how to use your camera and memorize camera settings. Locate the camera manual and, if necessary, mark important pages. If you’re going to buy a new camera, try to do so at least a week in advance. Before the ceremony, practice using your new camera.
Make sure you understand how to adjust the ISO and how to use the camera’s full automatic, aperture priority, shutter priority, or program presets modes (indoor, outdoor, etc.). Get acquainted with the flash as well (both automatic and manual). Although flash photography is prohibited during the ceremony, you can still take photos with the flash turned off. More advanced users may want to adjust the white balance and use manual mode. In that case, make sure you understand how to control the aperture settings, shutter speed, and the built-in light meter.
Be Prepared
Make sure the battery is fully charged! If you can, pick up an extra battery just in case. Transfer old images from memory cards and reformat them in preparation for the big day. Even better, buy an extra memory card in case something goes wrong. Don’t forget to clean the camera lens with special photography lens paper and cleaner (no, your t-shirt will not suffice).
Consider renting a telephoto lens if graduation ceremonies are being held in a large venue with hundreds or thousands of attendees (and you’re using a DSLR). Just make sure to practise beforehand and use a faster shutter speed.
If possible, plan ahead of time with the graduate and devise a small strategy to ensure you get all of the shots you want. Inform the graduate of your location so that they can look at the camera as they pass by. Ask the graduate to talk to his or her friends about posing for pictures with classmates before and after the ceremony.
If you need some posing ideas and inspiration, search “Graduation Photo Ideas” on Pinterest for some really clever photo ideas.
Shoot High Resolution Images
Shoot at the highest possible resolution (preferably RAW format). Typically, photos taken with a digital camera are saved in the JPEG compressed format. The data in compressed JPEG files has been lost and cannot be recovered. JPEGs can also be edited later using photo editing software such as Adobe Lightroom or Photoshop, but there are limitations.
RAW image files, on the other hand, are uncompressed and result in higher-quality images. They also generate massive file sizes, so make sure you have plenty of memory cards. The ability to correct mistakes is the primary benefit of shooting in RAW. It’s always reassuring to know that you can save a potentially great shot if it comes out underexposed.
RAW allows you to make significant adjustments to exposure, shadows, saturation, colors, and much more. While a JPEG can be used to make some of the same adjustments, your options are limited.
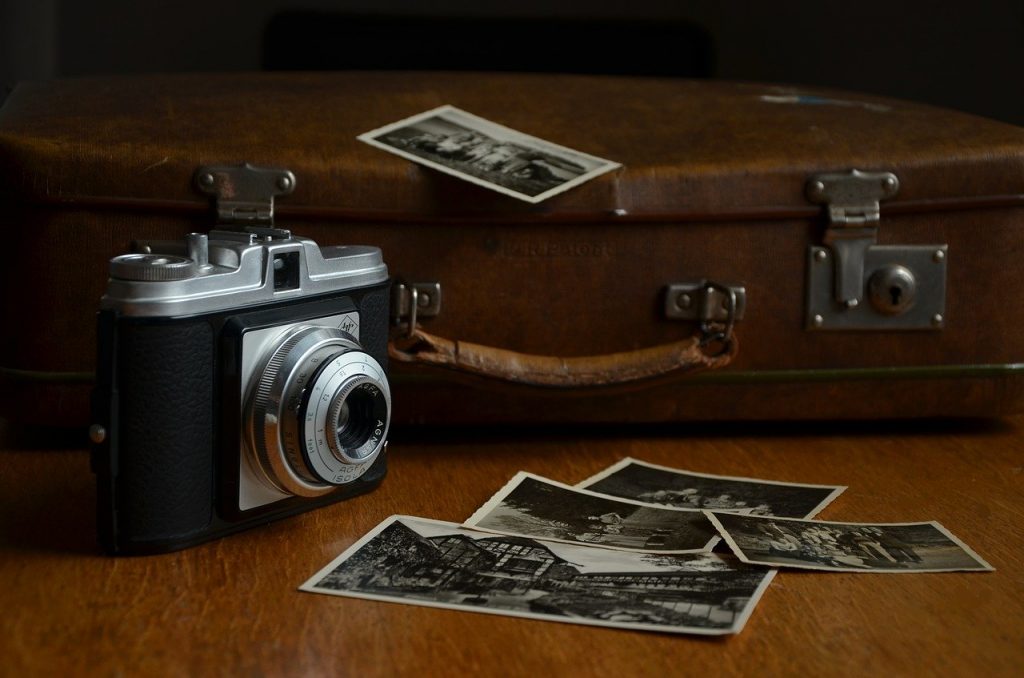
Establishing Shots
An establishing shot in filmmaking establishes the context for a scene by displaying the relationship between its key figures and objects. These opening shots are used to inform viewers, among other things, of the location of the scene. Consider photographing a graduation announcement, the cap, and gown on a hanger (for more information, see the next tip), the school sign, a decorated table before the party, or a cake.
Take pictures of the auditorium or stage before the ceremonies, if possible. Taking established shots will help you tell the story of your wedding and will be useful if you want to create a multimedia slideshow.
Photograph the Gown
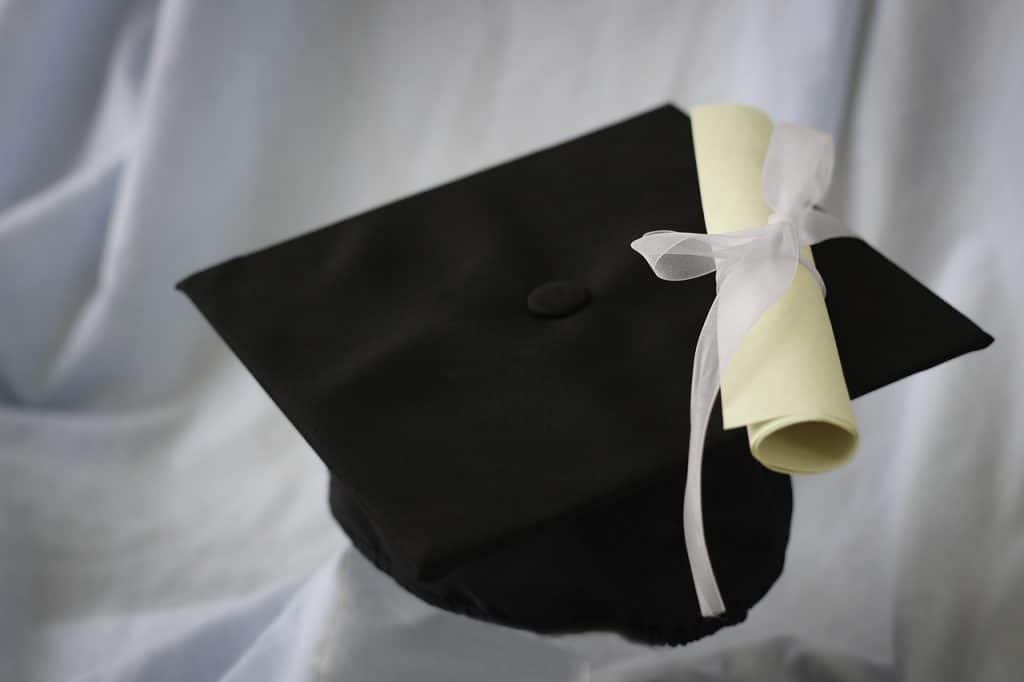
Every school has its own colors, and if your loved one is graduating with special honors, they will be wearing colorful honor cords to commemorate their accomplishments. So take a picture of the gown with the school colors prominently displayed. You can take a picture by a window, next to a lamp (remember to set your white balance), or with a flash.
Close-ups of the tassel with the year charm and honor cords are recommended. Shoot from various angles and be creative with your composition (a reminder to check Pinterest for some cool ideas).
Close-ups of the tassel with the year charm and honor cords are recommended. Shoot from various angles and be creative with your composition (a reminder to check Pinterest for some cool ideas).
Graduation Ceremony Shots
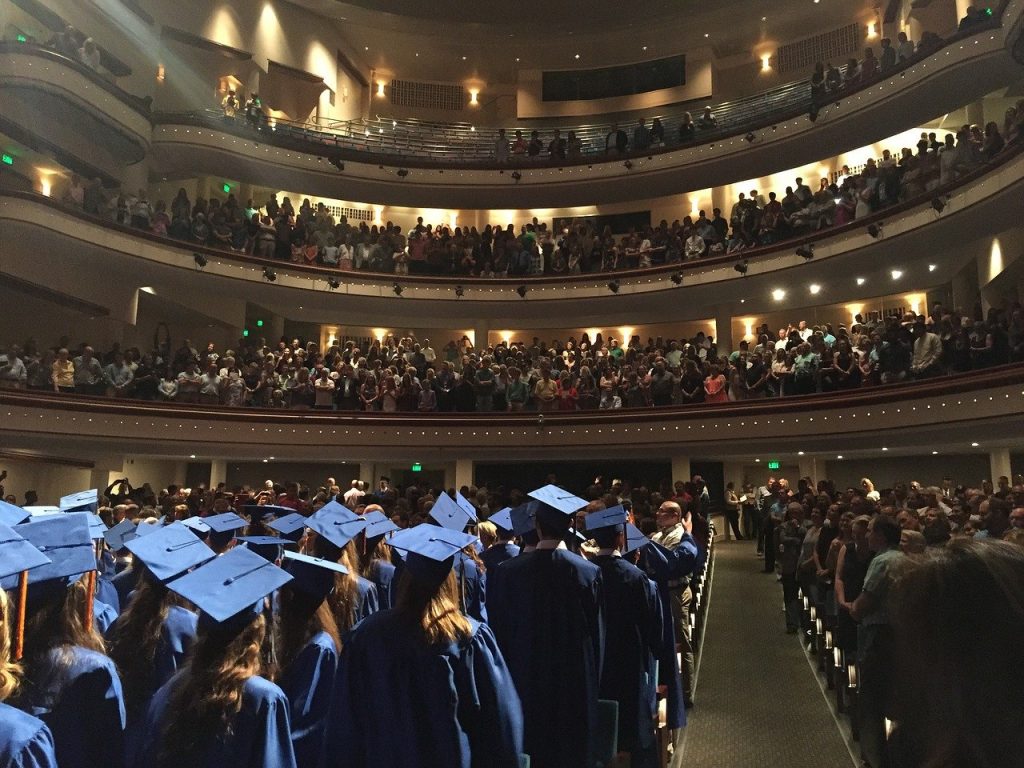
Taking photos at a graduation ceremony can be difficult. It’s sometimes better to let the designated professional photographer handle the details. However, if you’re up for the challenge, you’ll discover that the lighting isn’t always ideal, and you’ll most likely be too far away from the podium for your flash to work.
You’ll most likely need to increase your ISO to at least 400, and possibly up to 1,000 or more. You might be able to get some good shots at the start and end of the ceremony. Position yourself in an aisle seat so you can photograph the graduate as he or she enters and exits. Graduation photography is sometimes about being in the right place at the right time.
Remember to adjust the white balance. Because tungsten or sodium vapour lights are commonly used in gymnasiums, the white balance range is between 2,500 and 3,500K. Before the ceremony, take a few test shots and experiment with different white balance settings. When it comes time for the graduate to walk across the stage and receive their diploma, make sure you’re prepared.
If your camera has the option, try setting the shutter to shoot in continuous burst mode so you can take multiple photos while holding down the shutter button. Because everything happens in a matter of seconds, shooting continuously will ensure that you get plenty of shots.
The Hat Toss
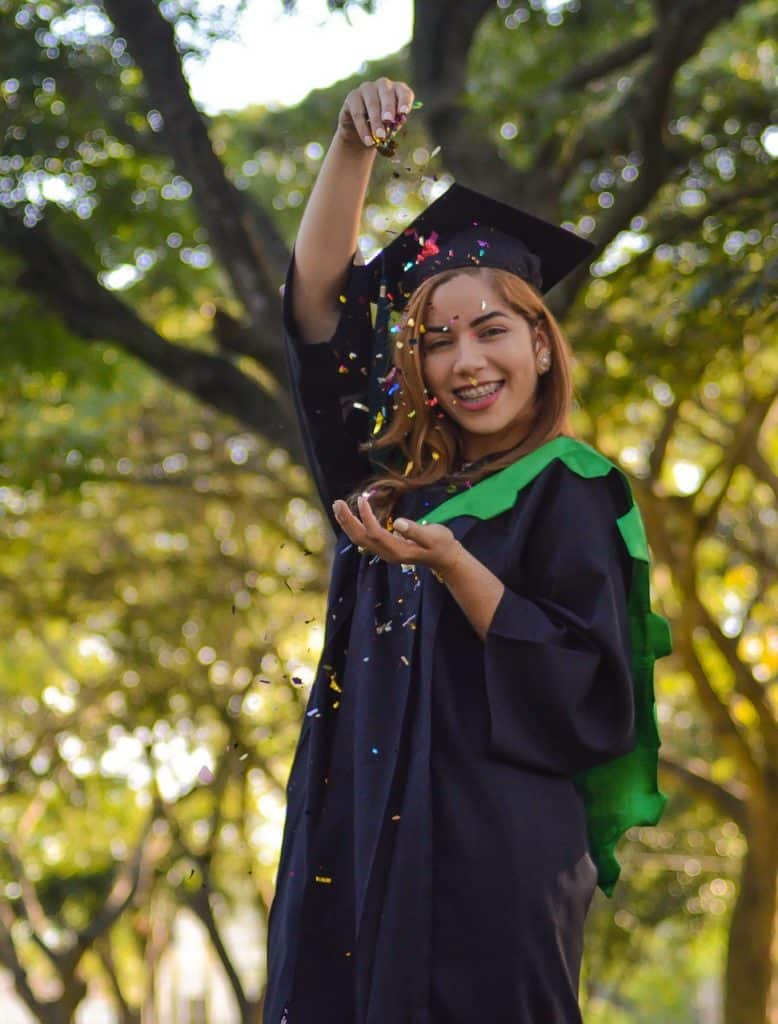
Most graduates will toss their caps in the air at the end of the ceremony to commemorate their final graduation. Even for professional photographers, this is a difficult shot. Prepare yourself and do your best to capture the action. Everything happens in the blink of an eye!
To take multiple photos, try increasing your shutter speed and using continuous burst mode.
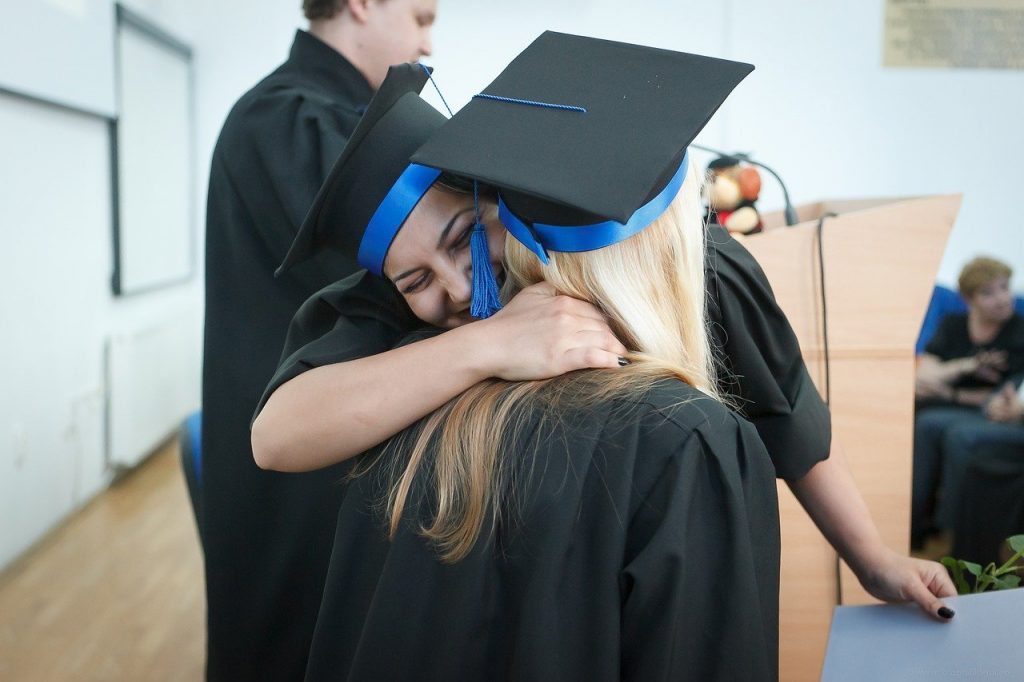
Post Graduation Ceremony
Congratulations! You made it through the ceremony and hopefully got some great pictures. You can now unwind a little and take photos with family and friends. Don’t forget to reset your white balance if you went from indoors to outdoors. If you’re shooting outside, you can use a lower ISO to get higher-quality images. Outdoors, use your flash to fill in shadows. Hopefully, Pinterest provided you with some creative posing ideas.
Graduation Party Time
After commencement exercises, the graduate will most likely be rushing out the door for Grad Night! Remember to take pictures before the graduate removes their cap and gown. Photographs with the diploma folder and flowers are memorable. If you can get to the party early, take pictures of the decorations, balloons, signs, close-ups of the cards, and so on.
Note: If you want to make some adjustments to the photo just let me know. I can do it for you at a very low cost. You can hire me to edit your photo.
latest post
- Visual Mastery: Crafting Imagery That Embodies Your Brand Essence
 In the vast marketing universe, imagery is pivotal in establishing and nurturing a brand’s identity. A brand’s visual choices are not merely aesthetic decisions but strategic moves that can significantly influence perception and performance. This PicFixs article explores the intricacies of selecting imagery that complements and enhances a brand’s essence, ensuring it resonates with the… Read more: Visual Mastery: Crafting Imagery That Embodies Your Brand Essence
 - 100 Best Mountain Captions and Mountain Quotes for Instagram
 Ready to scale new social media heights? Look no further than this treasure trove of 100 exhilarating captions and quotes, handpicked for your Instagram mountain posts!
 - Symmetry in Photography: A Creative Approach with Examples
 Delve into the enchanting realm of symmetry in photography as we showcase mesmerizing examples on our website. Experience the allure of perfectly mirrored images!
 - 11 Quarantine Photoshoot Ideas to Try at Home for Amazing Photos
 Looking for unique photoshoot ideas during quarantine? Explore the 11 creative suggestions that will help you capture unforgettable moments at home.
 - 10 Must-Try Spotlight Photoshoot Ideas and Tips
 Capturing the perfect shot requires creativity and attention to detail. Here are 10 fantastic ideas and tips to help you create stunning photos during your next spotlight photoshoot.