If you want to become an expert in soup photography, follow the advice in this article. Soup photography can be difficult because you must choose the right light source and angles.
We’re shedding light on a variety of tricks that you can use to take mouthwatering soup photos with the help of readily available tools.
The Top 20 Soup Photography Ideas
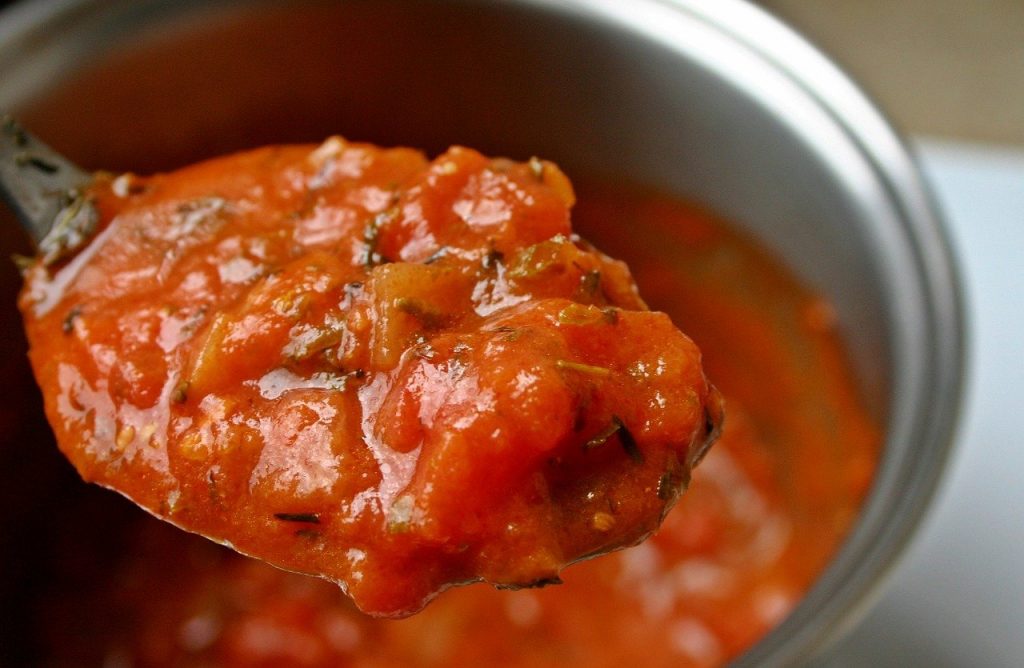
Most food photographers find it difficult to photograph soup ingredients because they easily sink into the plate. here, we will discuss how to take appetizing soup photos and how to overcome the major challenges associated with food photography.
To Avoid Distractions, Use a Clear Plate
To avoid greasy drops and streaks, it is preferable to clean the plate and other items with a paper towel first. As a result, you’ll be able to spend less time editing your photos. Furthermore, if you’re going to use a spoon or another metal object, make sure the surface is free of streaks and stains.
Leave Ingredients Semi-Cooked
Some foods should be left semi-cooked for food photographers. Ingredients like carrots and broccoli in vegetable soup look better when they’re raw. You’ll get a more natural color this way, and the ingredients will be fresher, juicier, and ruddier.
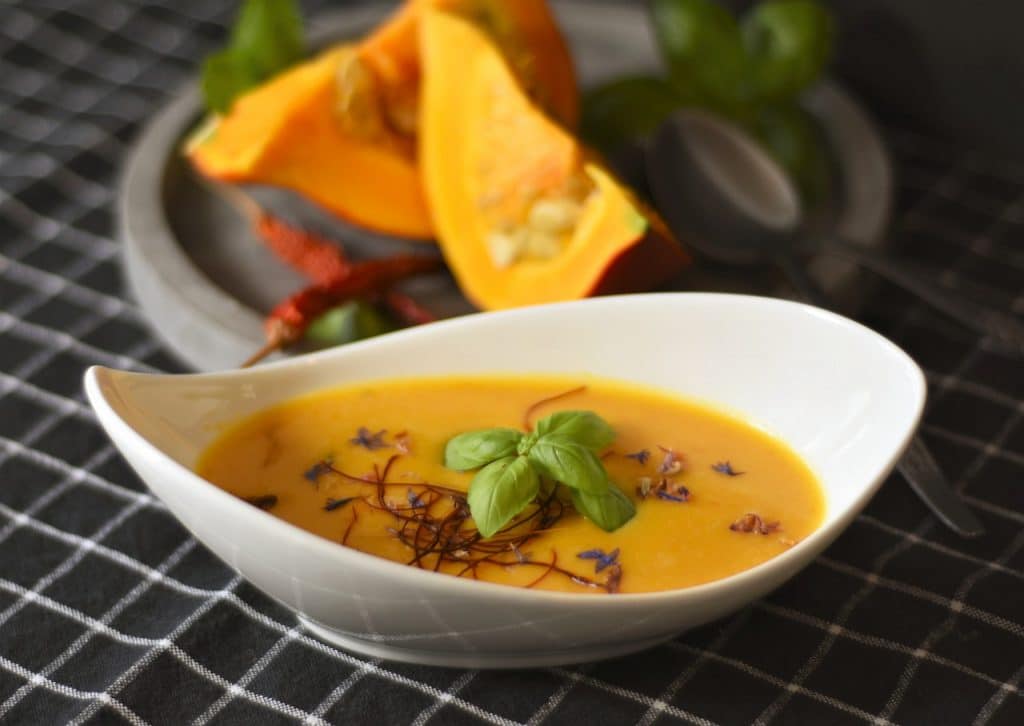
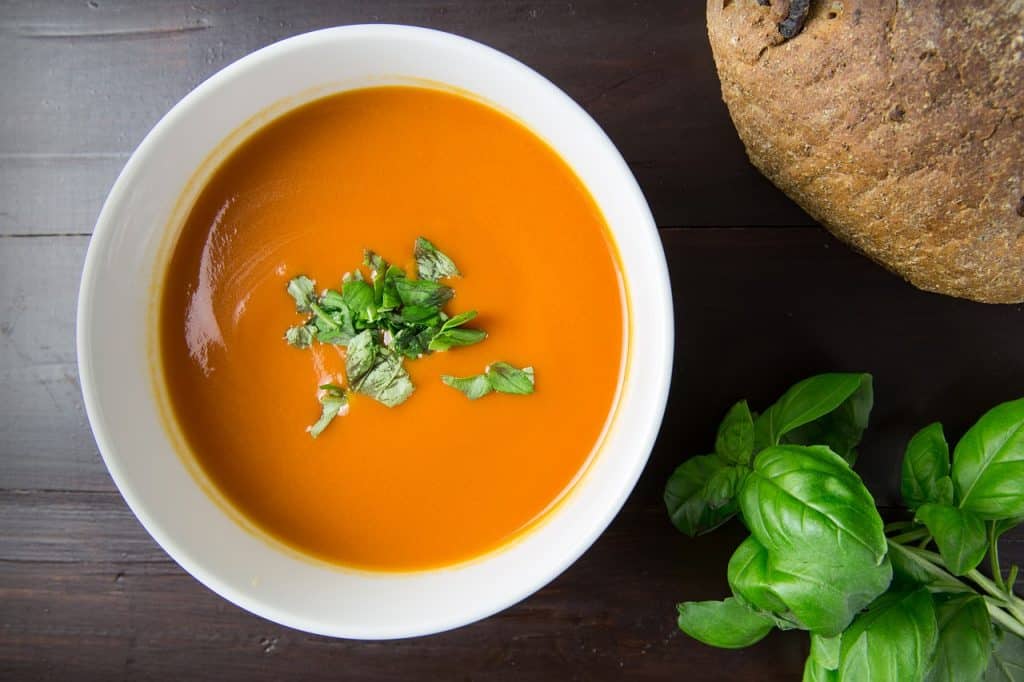
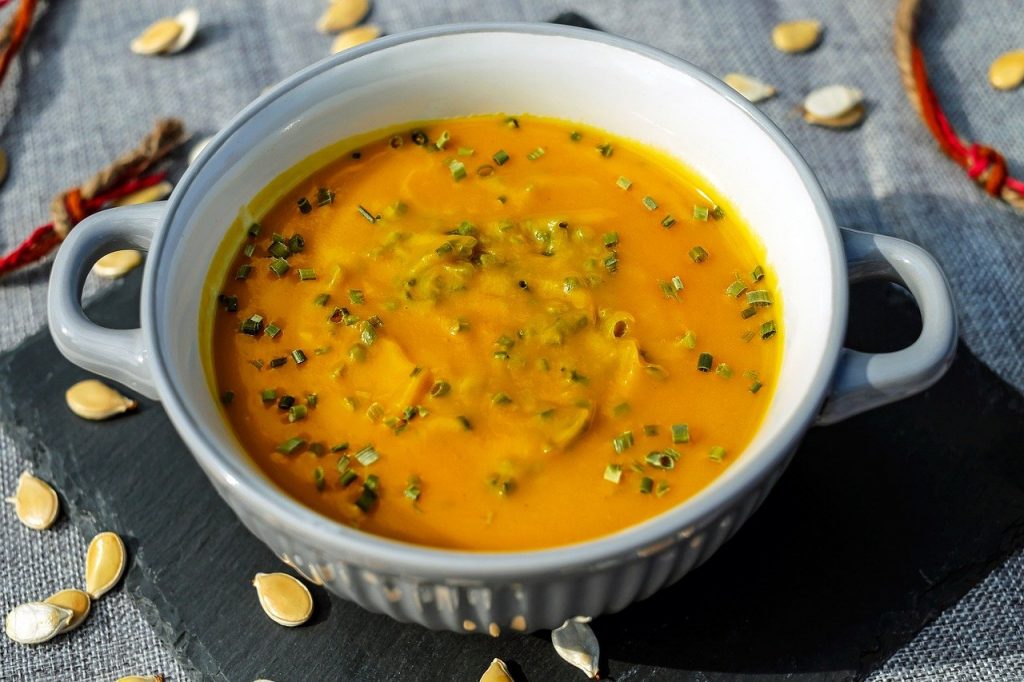
If the dish looks boring, you need to add some bright decoration, including fresh herbs, tomatoes, chili peppers, etc.
Note: If you want to make some adjustments to the photo just let me know. I can do it for you at a very low cost. You can hire me to edit your photos.
Give Preference to RAW

To have better control over images during editing, shoot in RAW. You can use precise noise reduction and sharpening algorithms with this format. Color correction and artistic processing are both possible with RAW files. Most RAW converters allow you to save your image editing preferences.
Outsource Photos for Quick Results
Photographing soup is a difficult task. To achieve a perfect result, you must also learn how to edit food photos. If you’re having trouble achieving a specific effect, you can seek help from professionals. They will correct optical distortion, remove all imperfections, balance colors, and adjust the overall tonality of a photo.

If you do decide to do it yourself, Photoshop is the tool to use. It comes with a plethora of tools, one of which is the Healing Brush. It’s useful for cleaning a plate or smoothing out the surface of vegetables.
Remove highlights, balance light and shadow, and brighten colors if necessary with Lightroom.
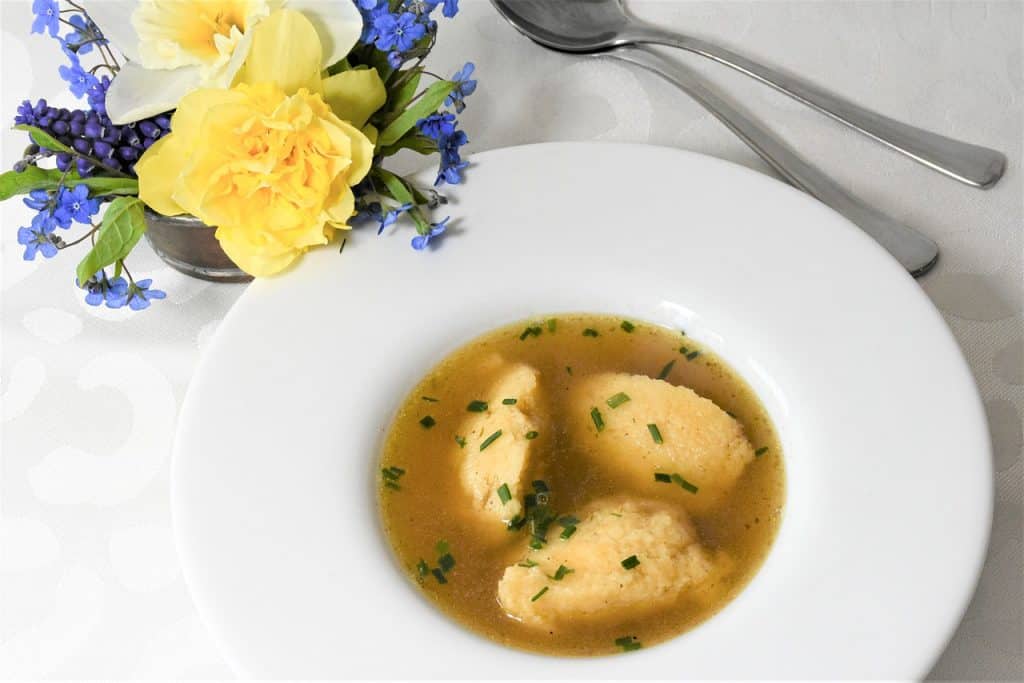
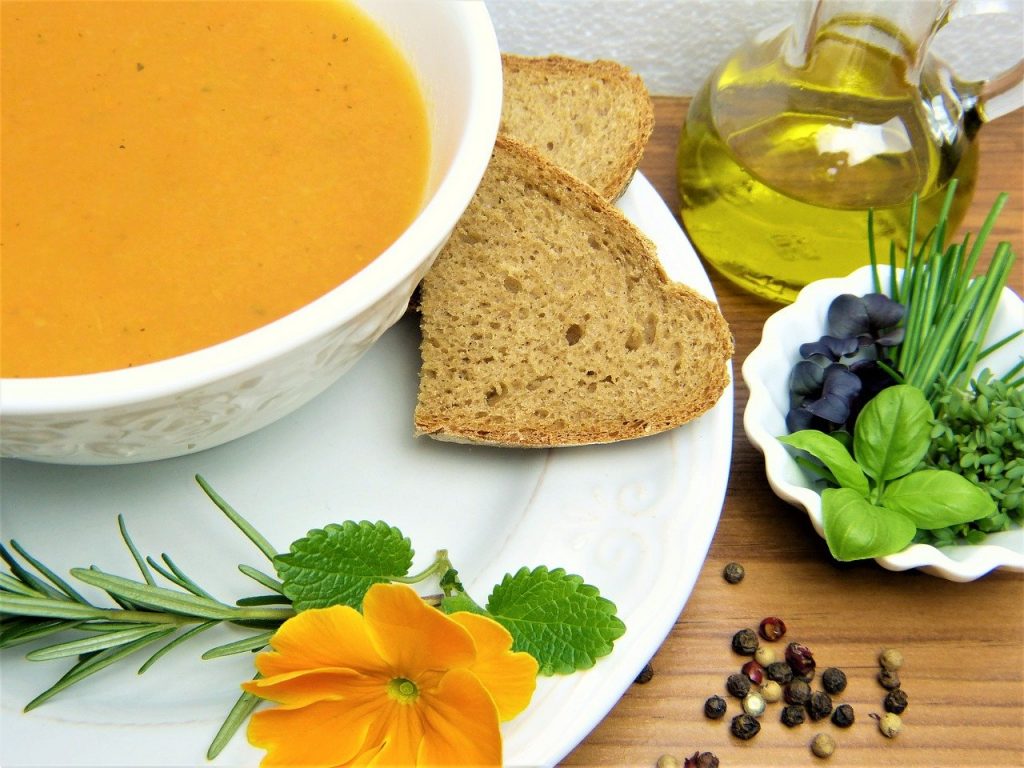
Use props to tell a story
You can use a variety of food photography props depending on the idea, purpose, and product you’re shooting. You can use a whisk and various Italy-related elements to make Italian soup with pasta. In addition, pay attention to a soup’s texture. If it’s a cream soup, use light-colored props to emphasize the texture’s lightness.
Ensure that the photo space is evenly filled. Magazines, menus, a serving tray, fabrics, scarves, dried flower sprigs, and other items can be used.
Choose the Right Angle
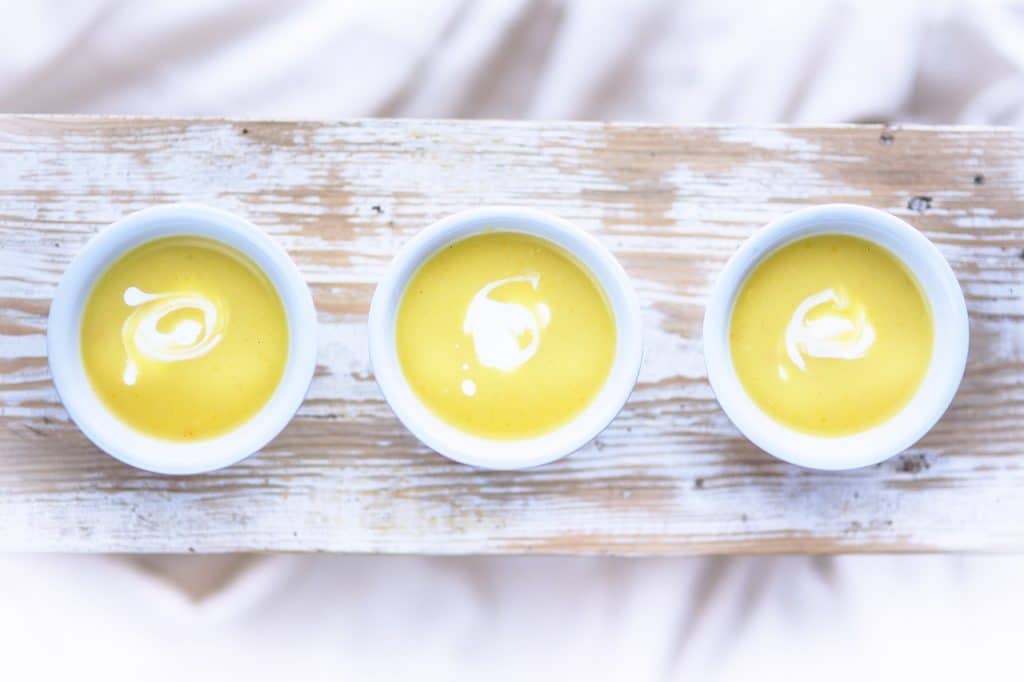
In a food photography blog, there are several main camera angles that catch the eye. A side view, such as 20-30 degrees, 45 degrees, or 90 degrees, is commonly used by photographers (from above). Stick to 20-30o to 45o angles when shooting with a DSLR or another camera with a large sensor.
You can easily play around with depth of field to distinguish the main subject from the background. If you have a smartphone, the top view is unquestionably the best option. The side view is uncommon, but it’s ideal for capturing steam.
Use the Composition Rules
While soup photography is more about imagination, don’t overlook framing. According to photography composition tips, the more light in the room, the better the images. Furthermore, you should use supporting details of various sizes so that they can balance each other out thanks to the winning food photography angle.

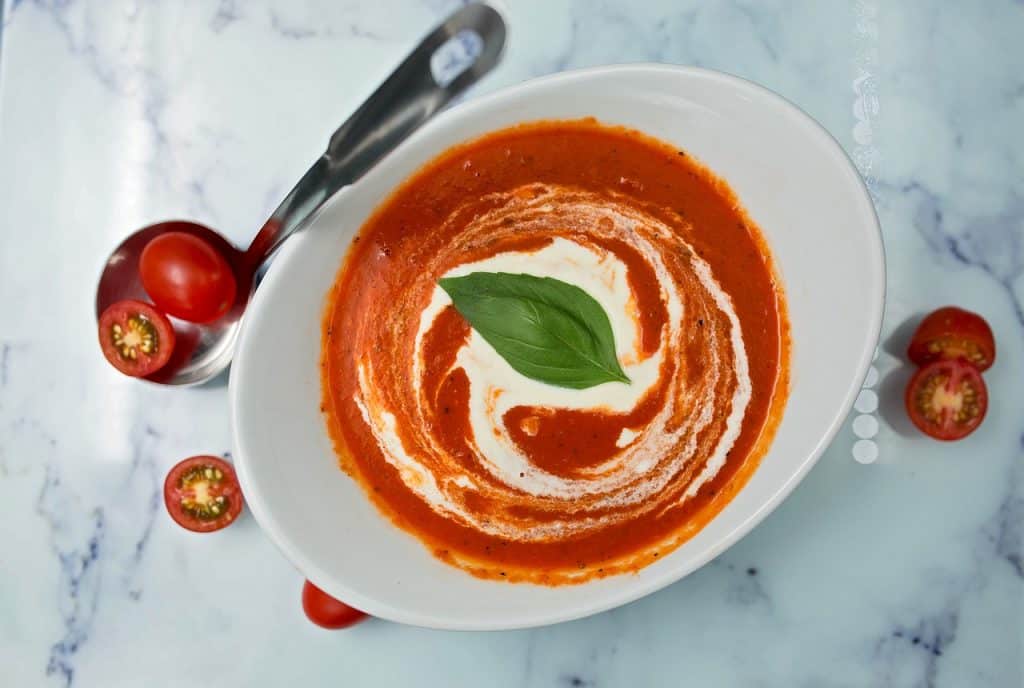
As a result, you will employ the popular Rule of Odds among visual artists. It specifies that the main emphasis should be on the subject, which should be placed near or on one of the intersecting lines of the Rule-of-Thirds grid.
Control the Surface Reflections on Soup
Because the soup’s surface is reflective, you may encounter some difficulties. To avoid them, carefully arrange light to avoid unwanted reflections on the soup’s surface. The black paper comes in handy for removing this type of glare. If you place the paper on a light diffuser, you can change the width and brightness of the flare.
The background area will be visible from the camera angle and will reflect on the surface of the soup. By reducing the amount of light in this area, you can avoid the appearance of reflections. If the soup contains ingredients that protrude from the surface, they can cause glare. These reflections, on the other hand, add a natural look to a photograph.
Remember the Light Scheme
When photographing soup, natural light may be sufficient. However, it restricts a photographer’s ability to shoot for an extended period of time. Avoid using a scheme with multiple pulsed light sources. You don’t need a studio lighting kit if you can get simple led lighting or make your own out of photography light bulbs. As a result, when shooting, you have complete control over the lighting.
Shoot with a Full-frame Camera
Natural light may be sufficient when photographing soup. It does, however, limit a photographer’s ability to shoot for an extended period of time. Avoid employing a scheme that employs multiple pulsed light sources. If you can get simple led lighting or make your own out of photography light bulbs, you don’t need a studio lighting kit. As a result, you have complete control over the lighting when shooting.
Match 35mm Full Frame Lens
When we talk about the best lens for food photography, we mean interchangeable lenses. Given the limited space, the focal length must be long enough to fit all of the necessary objects into the frame, including the soup and other dishes in the background. Keep in mind that short focal length lenses can distort shapes and proportions.
35mm full-frame lenses (24mm crop equivalent) are ideal for photographing soup. For everyday use, the 24-70mm F2.8 lens is ideal.
You can change the focal length to vary the shots, but they will all be between 24-70mm. A large aperture allows you to use depth of field more effectively, allowing you to focus on the desired areas of a scene to create a beautiful bokeh effect.
Get Rid of Shaking with a Tripod
When it comes to soup photography, a tripod is essential because it affects the camera setup. You can take a series of photos from a single angle with the help of a good tripod. By rearranging cutlery, spices, herbs, and lighting, you can stabilize the camera and synchronize it with a computer to instantly display the resulting photos on the screen.
A tripod also serves the traditional purpose of reducing shaking. If you’re shooting in low light (which isn’t ideal for staged shots), a tripod lets you increase the shutter speed without affecting the ISO (which is taboo in food photography). When shooting with small lamps or flashes in artificial lighting, you may also need a mini tripod.
Use Reflectors to Fill in the Shadows
A reflector board can be purchased or made from scratch. It is still useful regardless of size. The point is that natural light from a window is ideal for soup photography.
Because sunlight comes from only one direction, reflectors are required to redirect it. A4 cardboard works well for illuminating a small portion of a scene. A 60cm Multi-Disc Photo Reflector is recommended for the general illumination of a soup.
Choose a Suitable Background for Storytelling
It is critical to select appropriate product photography backdrops. You can use surrounding details, such as a beautiful napkin, tablecloth, or even stones, to take captivating photographs.
Even for professional photography, if you only want to capture a portion of the space, you don’t need to purchase a wooden table. Furthermore, modern technologies enable you to transfer natural textures to a vinyl backdrop that is easy to transport.
Keep ISO Below 800 to Avoid Noise

You should reduce the light sensitivity (ISO) as much as possible. Because every camera has a minimum value, you must pay close attention to each and every photograph. Furthermore, you can improve the lighting in photos during the processing stage. Dark food photography, on the other hand, is a current trend. You should not change the ISO to increase the lighting because you risk getting noise. If this occurs, noise reduction software can be used.
Use Shallow Depth of Field for the Right Focus
Another unique value for each photograph is the aperture. You can change it depending on the object, the conditions you’re shooting in, and the outcome you want. The diaphragm value is determined by the depth of field required. It typically ranges from 3.2 to 5.6.
Set the Shutter Speed to 1/100 to Avoid Blurriness
The appearance of blurriness in photographs caused by shaking hands should be avoided with proper exposure. It is usually 1/100 second or less. Reduce the shutter speed for overexposed photos. However, when shooting underexposed images, use a tripod and increase the shutter speed to 1/50-1/20 sec.
Try Levitation

Levitation is a great food photography idea as well as a winning trick when shooting food. To emphasize the dimension of a photograph, make objects float in the air.
You can experiment with levitation photography by using a continuous shooting mode, throwing objects into the frame one at a time, or fixing food on photography clamps.
Add Person to Photo
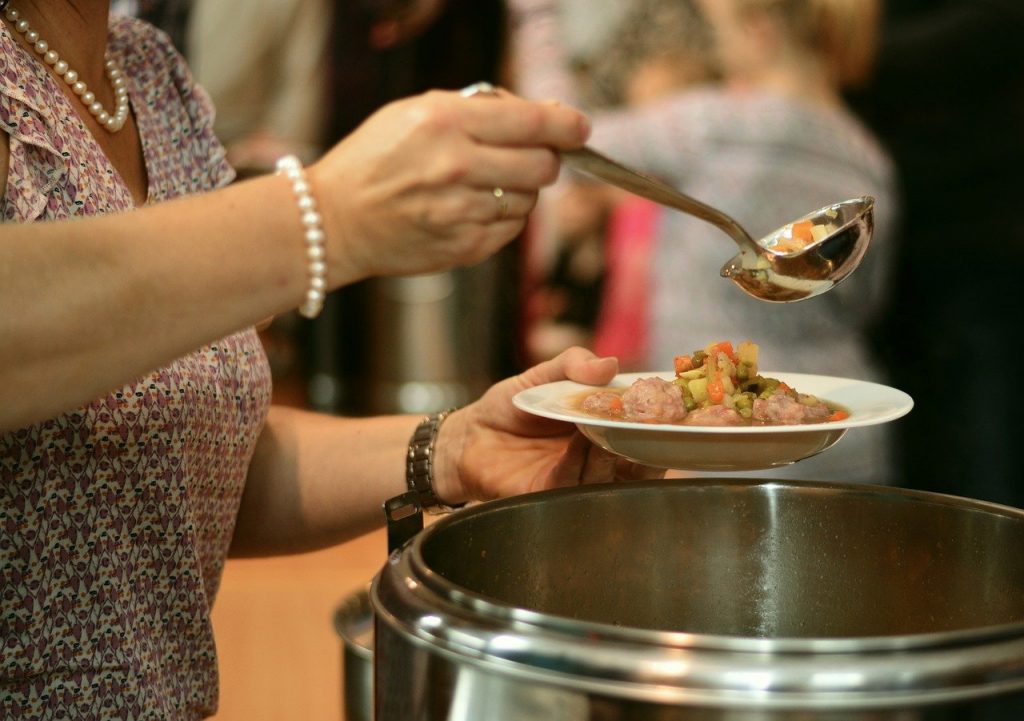
It is not necessary to photograph a person from head to toe, but only certain body parts should be included. As a result, you can capture a hand with a soup-scooping spoon. It will look great in your portfolio and on your promotional materials.
Note: If you want to make some adjustments to the photo just let me know. I can do it for you at a very low cost. You can hire me to edit your photos.
latest post
- What is Midjourney
 Discover the capabilities of Midjourney AI, learn how to effectively utilize the platform, and explore the advantages and disadvantages of the Midjourney AI image generator across its different pricing options.
 - Brand identity elements
 In the vast marketing universe, imagery is pivotal in establishing and nurturing a brand’s identity. A brand’s visual choices are not merely aesthetic decisions but strategic moves that can significantly influence perception and performance. This Picfixs article explores the intricacies of selecting imagery that complements and enhances a brand’s essence, ensuring it resonates with the… Read more: Brand identity elements
 - 100 Best Mountain Captions and Mountain Quotes for Instagram
 Ready to scale new social media heights? Look no further than this treasure trove of 100 exhilarating captions and quotes, handpicked for your Instagram mountain posts!
 - Symmetry in Photography: A Creative Approach with Examples
 Delve into the enchanting realm of symmetry in photography as we showcase mesmerizing examples on our website. Experience the allure of perfectly mirrored images!
 - 11 Quarantine Photoshoot Ideas to Try at Home for Amazing Photos
 Looking for unique photoshoot ideas during quarantine? Explore the 11 creative suggestions that will help you capture unforgettable moments at home.