Low-key lighting is ideal for adding a mood to black-and-white photographs. This is a photography lighting technique that employs a single light source, known as the key light. Images with deep shadows result from using a low-key light with little or no fill light.
A low-key setup is high contrast and relies on the careful positioning of the key light to look its best. This dark lighting style is often referred to as ‘film noir’ in the film industry. It became popular in Europe during the 1940s and 1950s thanks to black-and-white films. In painting, this is referred to as chiaroscuro or Rembrandt lighting.
When it comes to creating an effective low lighting look, the use of shadows is just as important as the use of light itself. Because the dynamic range of the film is limited, the contrast was natural when used in films. To achieve sufficient contrast with modern digital sensors, some post-processing is required.
How To Achieve a Low Key Lighting Look

It is necessary to use one key light and control any reflection or spill. This is in contrast to using a high key light, which has brighter lights and few shadow areas.
As a light source, you can use a variety of artificial and natural lighting. It is critical to control the position of the light and the density of the shadows.
The location of the light determines where the shadows fall. You can control the appearance of your image by hiding or revealing parts of your subject in the shadows. You can also position your subject so that the shadows fall in the desired location.
When working with a fixed light source and a fixed subject, you have fewer options for manipulating the shadow areas. You must use more imagination or return at a different time when the light is better.
Low-key photography is made easier by the use of studio lighting, flash, or continuous electric light. You have control over how the shadows affect your subject if you can position the key light. You can also adjust the amount of light that falls on the background.
The most convenient to work with is continuous key light. The shadows can be seen with this type of lighting. When using flash or studio strobes, you must perform numerous test exposures to determine how the light and shadow areas will appear.
Experimentation is essential. Move the light around as you compose your shot and observe how the shadows fall on your subject. Remember that what you see with your eyes is not the same as how your photos will look after you have post-processed them.
Think in Black and White
Consider how you want your finished photo to appear. When you’re getting ready to take photos, you’ll notice more detail in the shadows than you will in the finished photos. Even if you look at the pictures you take on the camera’s LCD screen, you’ll notice that there’s more in the shadows.
Consider high-contrast black and white. Consider the shadow areas to be black and the high key areas to be white. With a low-key light, there is usually a very little grey tone. Pre-visualizing your low-key lighting effect with your imagination will help you achieve better results.
Pro-Tip for using a Low Key Light
Squint your eyes at your subject as you set up your key light. This removes a lot of light and emphasizes the contrast. This can give you a good idea of how your photos will look after you’ve increased the contrast in post-production.
Ignore any color in your subject or background. In the end, it will have little or no effect. Consider the tones. What is your composition is very light or very dark?
You may need to move or cover any bright lights or light-colored elements in the background. When using a low-key light, the background is usually completely black because it is in shadow.
Choose Your Subject Carefully
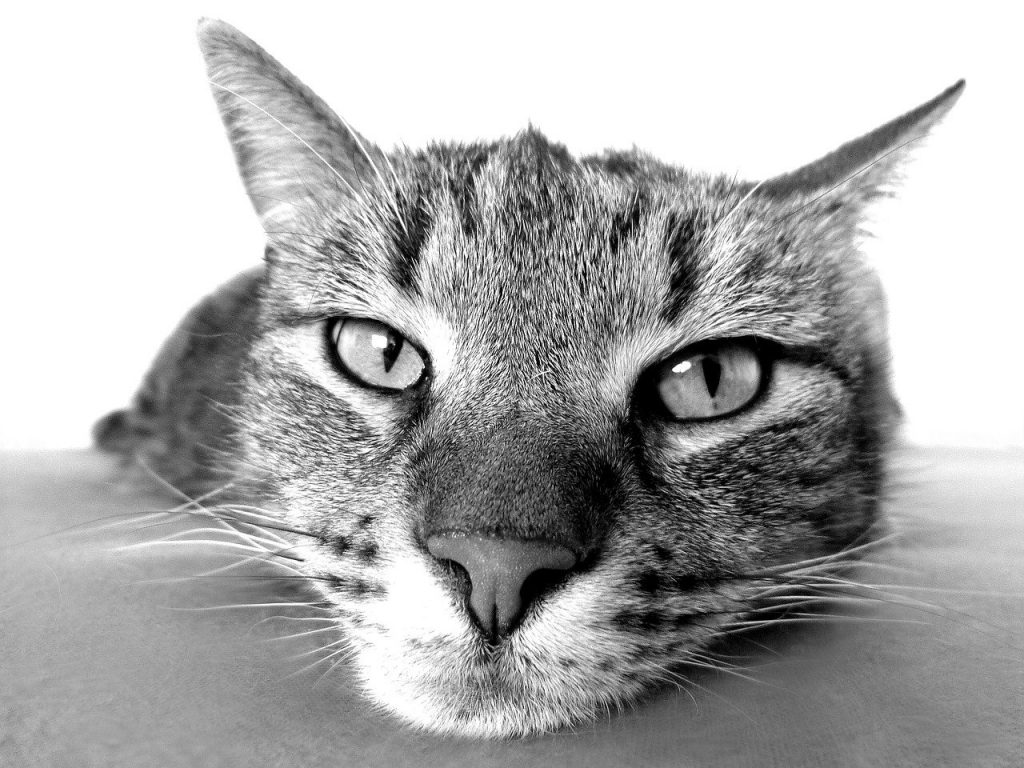
This technique is not appropriate for all subjects or situations. Dark shadows create a dramatic atmosphere. A high-key lighting setup is commonly used to create a light and happy image.
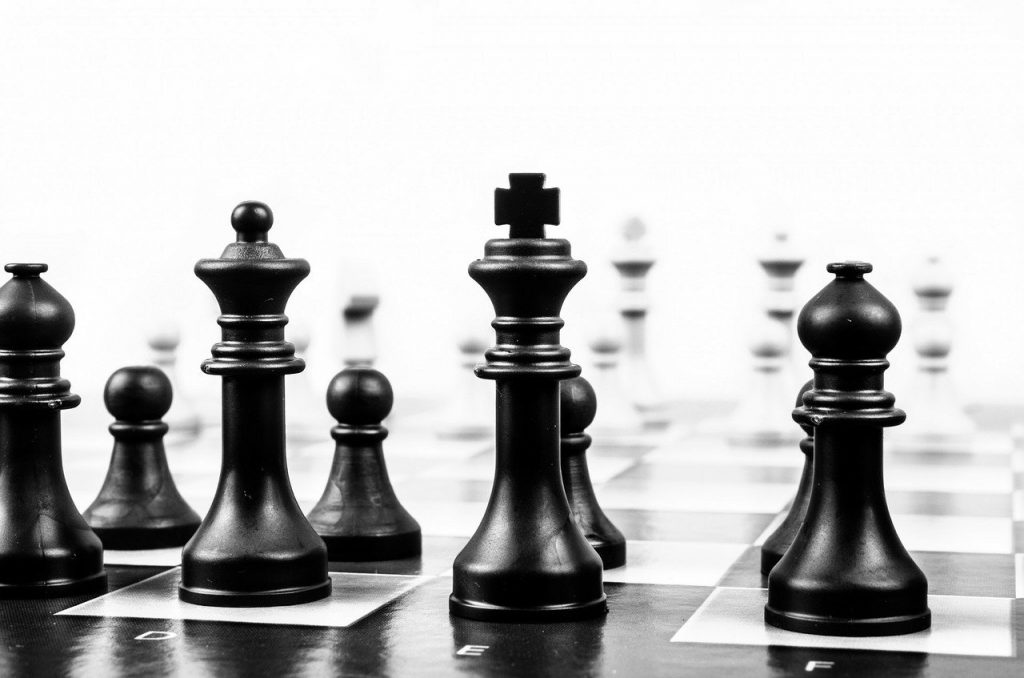
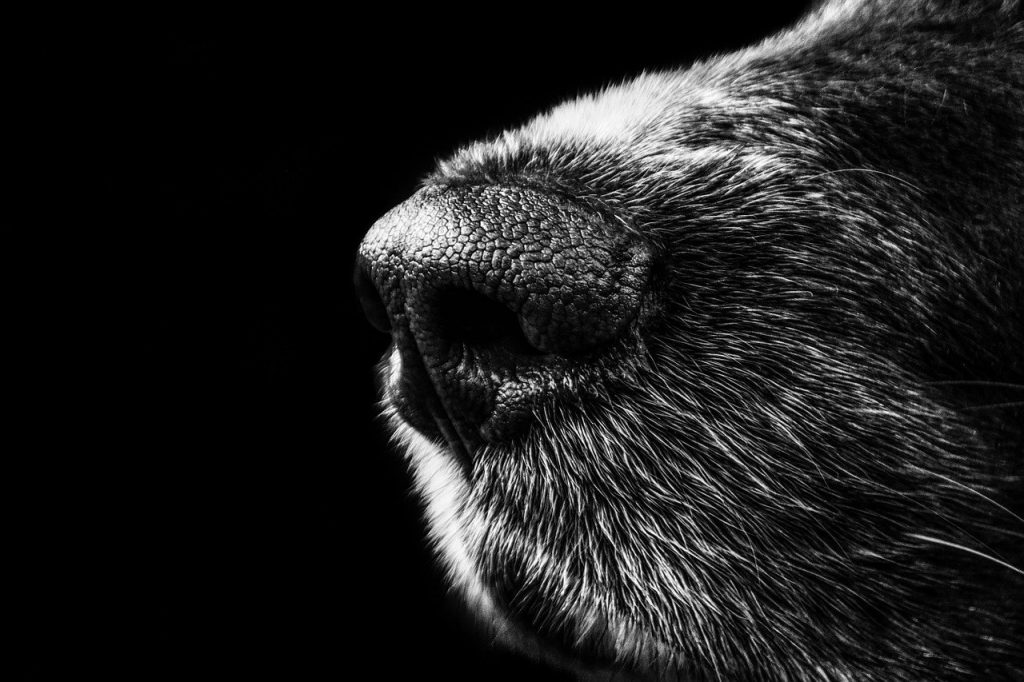
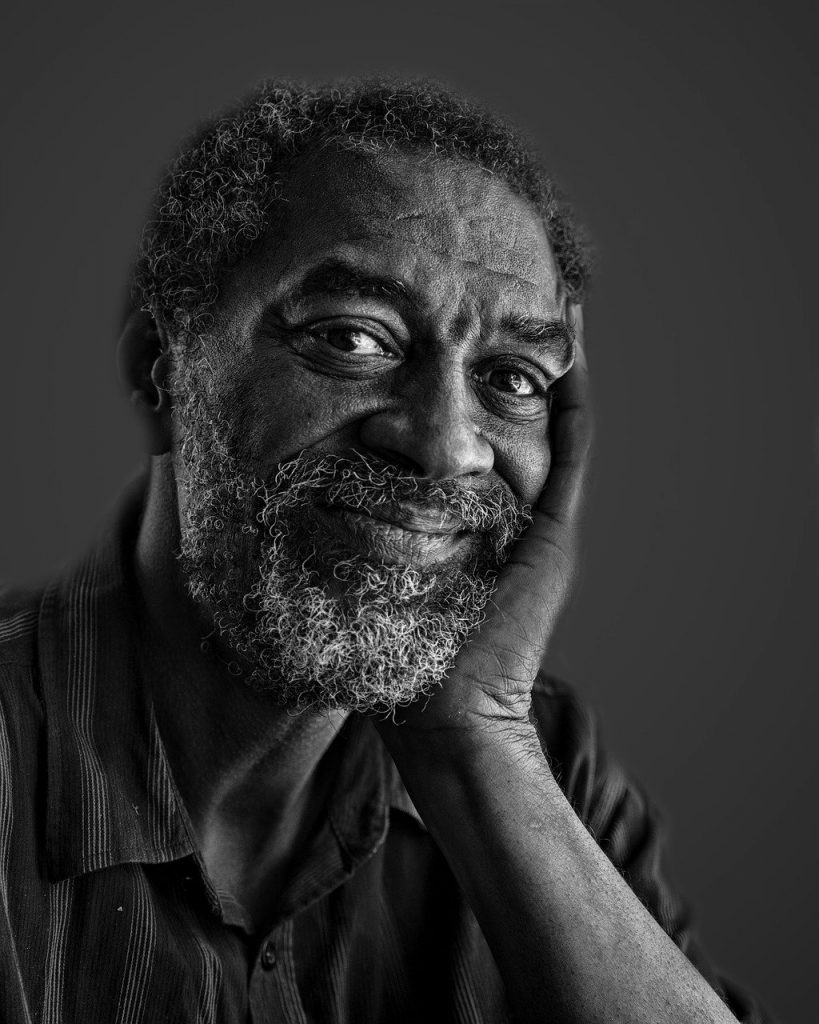
When a dark mood is desired, black and white portraits with low-key lighting are popular. Dark shadow areas and black backgrounds draw attention to the shape of a person’s face and body. Because mid-tones are missing in this style of portrait, your model’s shape becomes more pronounced.
Contrast is essential. To shoot low-key, you must have complete control over the image’s dark tones and highlights. The amount of contrast required in low lighting can be difficult to achieve. It all comes down to how you position the light and the tone of your subject and background.
Because high key lighting affects all areas of a composition, there is little contrast. Shadows are just as important as what you’re photographing when using low-key lighting. Fill light must be controlled so that dark tones are prominent in your images. Keeping the key lighting low will be more difficult if there is too much fill light.
‘Flags’ are frequently used in conjunction with low-key lighting. These are typically black cards or boards placed outside of the frame to help keep the lighting low. Reflectors are more commonly used in high key images because key lighting is used to eliminate most shadow areas. The proper use of flags in low-key lighting photography helps to protect the image’s dark tones.
Manage Your Camera’s Exposure Settings Well
Manual exposure and spot metering work best for low-key lighting. You want to expose for the highlights so that the shadow areas are dark. The highlights in a low-key image should be bright but not blown out.
Using your spot meter, you can more precisely set your exposure so that the low-key lighting effect has the greatest impact. When you use your camera’s auto or semi-auto exposure mode, it will balance the dark and bright areas of your composition. When creating low-key images, you must control the contrast level.
When using low-key lighting, you don’t want to see a bell-shaped curve on your histogram. You’ll notice a spike to the left and a spike to the right. This is because the contrast in this technique is high and there are few mid-tones.
Post-Processing for Low Key Lighting
After you’ve captured your images, the next step is critical to ensuring that your photographs look their best.
Digital camera sensors have a much wider dynamic range than film. The low-key effect evolved during the film era when it was not possible to capture such a wide range of tones as you can with your modern camera. This means you’ll have to put in a little more effort after you’ve taken your photos if you want to achieve a powerful low-key lighting look.
Control the contrast and shadows in your photos when processing them. Also, keep an eye on the bright areas because you don’t want them to darken as you work on the shadows. To get the right look, I usually use Black, Contrast, and Shadow sliders to darken up a low-key photo.
What is low key and high key lighting?
When the main light source is low, large parts of the composition remain in shadow. Because high key lighting affects the majority of the image, there are few areas of shadow.
What mood does low key lighting create?
Low-key lighting can create a mysterious, dramatic, or even sensual atmosphere.
How do you make low key lighting?
Low key lighting is achieved by using a single main source to illuminate carefully selected areas of a composition.
What is the difference between low and high key lighting in film?
Low-key lighting relies heavily on dark shadow areas to create atmosphere, whereas high-key lighting eliminates the majority of shadow areas in a composition or film.
Note: If you want to make some adjustments to the photo just let me know. I can do it for you at a very low cost. You can hire me to edit your photo.
LATEST POST
- What is Midjourney
 Discover the capabilities of Midjourney AI, learn how to effectively utilize the platform, and explore the advantages and disadvantages of the Midjourney AI image generator across its different pricing options.
 - Brand identity elements
 In the vast marketing universe, imagery is pivotal in establishing and nurturing a brand’s identity. A brand’s visual choices are not merely aesthetic decisions but strategic moves that can significantly influence perception and performance. This Picfixs article explores the intricacies of selecting imagery that complements and enhances a brand’s essence, ensuring it resonates with the… Read more: Brand identity elements
 - 100 Best Mountain Captions and Mountain Quotes for Instagram
 Ready to scale new social media heights? Look no further than this treasure trove of 100 exhilarating captions and quotes, handpicked for your Instagram mountain posts!
 - Symmetry in Photography: A Creative Approach with Examples
 Delve into the enchanting realm of symmetry in photography as we showcase mesmerizing examples on our website. Experience the allure of perfectly mirrored images!
 - 11 Quarantine Photoshoot Ideas to Try at Home for Amazing Photos
 Looking for unique photoshoot ideas during quarantine? Explore the 11 creative suggestions that will help you capture unforgettable moments at home.