
When you’re on vacation, you might want to take pictures without lugging around a bulky DSLR camera. But if you’re a photographer, you’re always hesitant to leave your DSLR camera at home because you don’t want to miss out on capturing stunning images during your trip.
So, why not leave your bulky luggage at home and travel light with just your phone? This may seem like an outlandish suggestion, but a smartphone camera can suffice for travel photography. This tiny device is capable of so much that you can now rely on it to produce stunning images that appear to have been captured with a high-end DSLR camera.
We previously shared these smartphone photography tips. Hopefully, you’ve mastered the fundamentals of lighting composition and finding unique perspectives, and you’re now ready to tackle the next challenge: taking pro-quality travel photos with your smartphone camera.
What you can do is as follows:
Optimise the HDR mode

Most smartphone cameras now include HDR (High Dynamic Range) mode. A single HDR shot is technically made up of three photos taken at different exposures and then combined into one. So, when you take a photo in HDR mode, your phone actually takes three photos and merges them into a single image for you. This is why it’s critical to keep your camera steady when shooting in HDR mode.
High Dynamic Range allows you to have a wider range of brightness between the lightest and darkest points in your image. As a result, it works especially well when taking photos with high contrast between the bright and dark areas, as HDR mode will help smooth out the contrast. Although HDR sounds fantastic, there are times when it is best to avoid it. Here’s a rundown of when to use and when to avoid HDR mode:
Use HDR mode when:
- Landscape photography: the contrast between the bright sky and the darker subject on land can often result in a dark photo, with the exception of the sky background. HDR mode will aid in contrasting brightness, ensuring that the land is not overexposed and the sky is not overexposed.
- Your subject is in direct sunlight – In contrast to the dark shadows in the background, a subject in direct sunlight can appear overly bright. HDR mode balances your photo’s well-lit and shadow areas.
- Using a backlight – HDR will brighten the foreground while not overexposing the bright background.
Avoid HDR mode when:
- You’re photographing subjects with vibrant colours – HDR is great for bringing out colours in extreme bright/dark conditions, but not when the subject is already vibrantly coloured. In this case, HDR mode will only make these colours look artificial and unnatural.
- Your subject is moving – as previously stated, HDR mode uses three images and combines them into one, so even a slight movement can cause your subject to appear blurry and ghostly.
- You want to make a silhouette: A silhouette requires a strong contrast between bright and dark areas, and HDR mode will reduce the contrast, resulting in a dull photo.
- You shoot in extremely low light – HDR mode will attempt to compensate for the extreme darkness in your photograph, but the result will be an unsharp, discoloured image.
Install a camera app to enhance your photography
If you need more control over the settings, consider installing third-party apps that can give your phone camera DSLR-like capabilities. This means you can adjust the exposure, shutter speed, ISO, white balance, and other settings manually. Depending on the app, you may be able to shoot in RAW or DNG format, change lenses (from 28 mm to 56 mm), and view the live histogram.
There are a plethora of camera apps available, but it is critical to check compatibility with your phone. Open Camera and DSLR Camera Pro (Android), as well as Manual and Obscura Camera, are good places to start, and as you progress, you can try more apps to see which one works best for you.
Use clip-on lenses to up your game
While your camera will always be the primary tool for taking photos, there is something else that can take your smartphone photography to the next level: clip-on lenses.
Before you cringe at the thought of having multiple lenses in your bag, keep in mind that these clip-on lenses are tiny in comparison to DSLR lenses. They’re usually sold in kits, and you can pick and choose which lenses you want, ranging from wide-angle to macro to something more fun like a fisheye lens. Don’t know which one to use? Bring all of them! They are extremely light and take up very little space.
Use foreground to create depth in your images
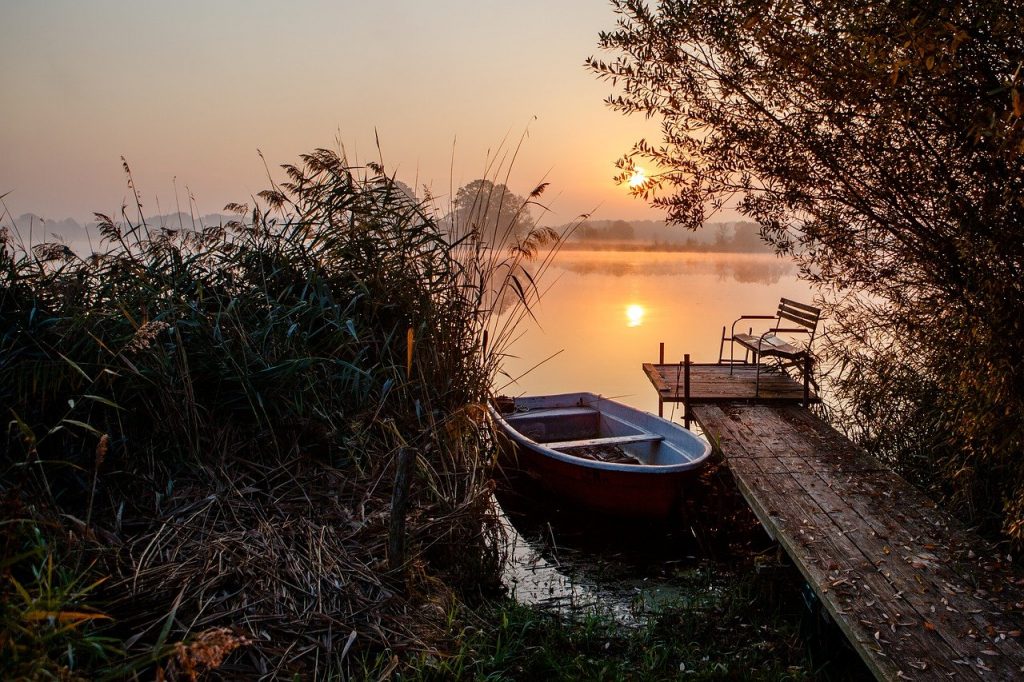
The majesty of a landscape and architecture often appears flat and unimpressive in a photograph, as the depth of the location is lost when reduced to a two-dimensional image. To solve this issue, use foreground and background layers in your photo. The most common technique is to place an object in the foreground to give your photo a sense of scale. This can be accomplished by using objects found in the environment, such as flowers, rocks, boats, or even human figures.
It’s critical to remember that your foreground object should be a point of interest that contributes to the story. It should be integrated into the overall scene so that it is not distracting.
Take the same shot in portrait and landscape format
Taking photos in both orientations allows you to experiment with different perspectives. The same subject can look very different when shot in portrait and landscape formats, and you won’t know which works best until you compare them side by side.
Don’t shoot in square (1:1 aspect ratio) format. It restricts the width of the frame, and if you decide to go with 1:1 format (for Instagram, for example), you can always crop later.
Familiarise yourself with shutter lag
The shutter lag in your camera phone is barely noticeable, but when you’re trying to capture spontaneous, fleeting moments, it can be frustrating when your phone doesn’t respond as soon as you press the button. Every phone is unique, and practicing will help you get a sense of the shutter lag so you can know when to press the shutter to capture the perfect moment.
Capture the scene
Travel photography is about capturing the experience and telling stories with images. Your 5 senses influence your perception of a location, and while your camera can only capture what your eyes see, you can still use your other senses as a guide to spot interesting subjects. If you hear beautiful music being serenaded by a street musician, photograph him, zooming in to show the details of his instrument and his hands playing it, his expressions, and possibly some details of his outfit. Take photos of the window display and walk closer to get close-up shots of the plump bread if you smell delicious fresh bread from the nearest bakery.
Take the wide-angle shot first, then move closer to the objects to capture the details that will not be visible from a distance. The pattern and colors of the Moroccan rugs at the market, for example, or the texture of the food sold by the street vendor can add value to the market scene in the previous shots. If you notice the details first, don’t forget to walk away and stop to photograph the scene. The combination of wide-angle and close-up shots will help to paint a complete picture of the location.
Simplify your photo to make the subject stand out
Eliminating the distractions that take the focus away from the subject is a good way to make your photo stand out. This can be accomplished by using an uncluttered background or by using negative space to draw attention to the subject. Either of these will simplify the photo and draw attention to the subject.
Tip: Composition is crucial in this, so make sure you’ve mastered it first!
Look back
Sometimes we’re so focused on what’s in front of us that we don’t notice the view behind us is just as beautiful, if not more so. Take time to stop and turn around as you walk in a direction (a few times, in different spots). This will allow you to see a location from a different angle and perspective, and more often than not, this is when people notice interesting subjects they missed the first time around.
Use Instagram as your resource
Instagram is a treasure trove of information for travelers and photographers. Geotags and hashtags are useful for exploring your destination, points of interest, and photo opportunities. Use these features to learn about the angles and perspectives that work (or don’t work) in a given location, as well as what you can do to improve them. Seeing other people’s photos will give you an idea of what to look for in order to get a unique perspective.
Prepare the phone accessories to use when needed
Instagram is a treasure trove of information for travelers and photographers. Geotags and hashtags are useful for exploring your destination, points of interest, and photo opportunities. Use these features to learn about the angles and perspectives that work (or don’t work) in a given location, as well as what you can do to improve them. Seeing other people’s photos will give you an idea of what to look for in order to get a unique perspective.
Edit, but keep it natural
Editing can be hit-or-miss, and many people fall into the trap of over-editing their photos. From over-saturating the contrast and saturation to adding a blurry effect that doesn’t look natural to adding fake lights with filters, these edited photos often look worse than the original shots.
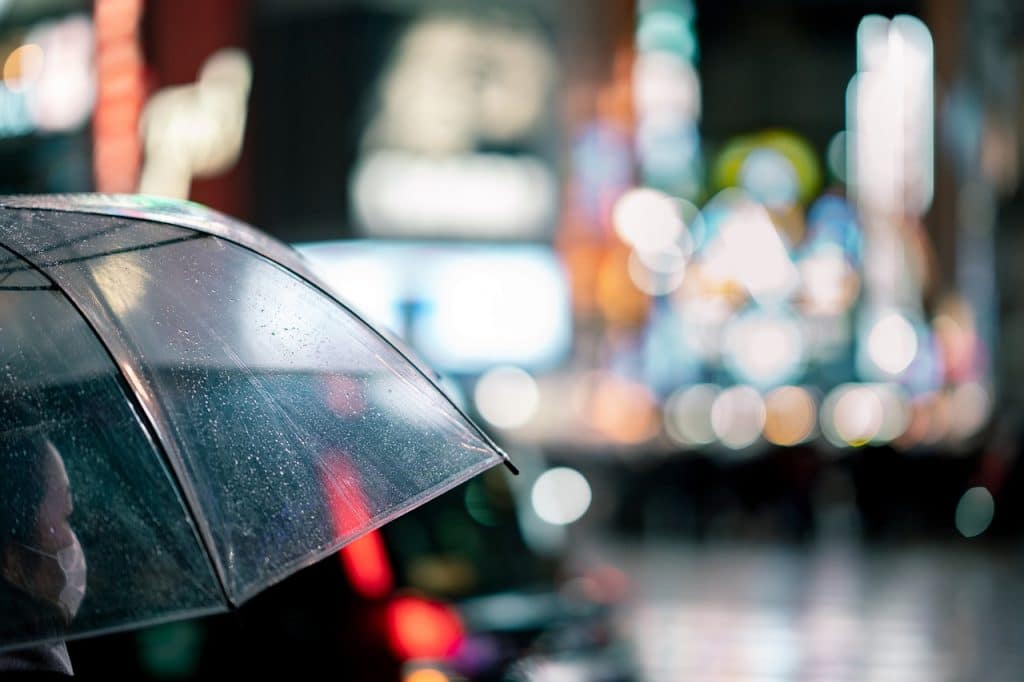
Edit as needed, but try to keep it as natural as possible. Using the bokeh effect to blur the background can be appealing, but it often makes the photos look fake. Remember that when you edit your photos, you are enhancing them rather than changing them.
Note: If you want to make some adjustments to the photo just let me know. I can do it for you at a very low cost. You can hire me to edit your photo.
LATEST POST
- What is Midjourney
 Discover the capabilities of Midjourney AI, learn how to effectively utilize the platform, and explore the advantages and disadvantages of the Midjourney AI image generator across its different pricing options.
 - Brand identity elements
 In the vast marketing universe, imagery is pivotal in establishing and nurturing a brand’s identity. A brand’s visual choices are not merely aesthetic decisions but strategic moves that can significantly influence perception and performance. This Picfixs article explores the intricacies of selecting imagery that complements and enhances a brand’s essence, ensuring it resonates with the… Read more: Brand identity elements
 - 100 Best Mountain Captions and Mountain Quotes for Instagram
 Ready to scale new social media heights? Look no further than this treasure trove of 100 exhilarating captions and quotes, handpicked for your Instagram mountain posts!
 - Symmetry in Photography: A Creative Approach with Examples
 Delve into the enchanting realm of symmetry in photography as we showcase mesmerizing examples on our website. Experience the allure of perfectly mirrored images!
 - 11 Quarantine Photoshoot Ideas to Try at Home for Amazing Photos
 Looking for unique photoshoot ideas during quarantine? Explore the 11 creative suggestions that will help you capture unforgettable moments at home.