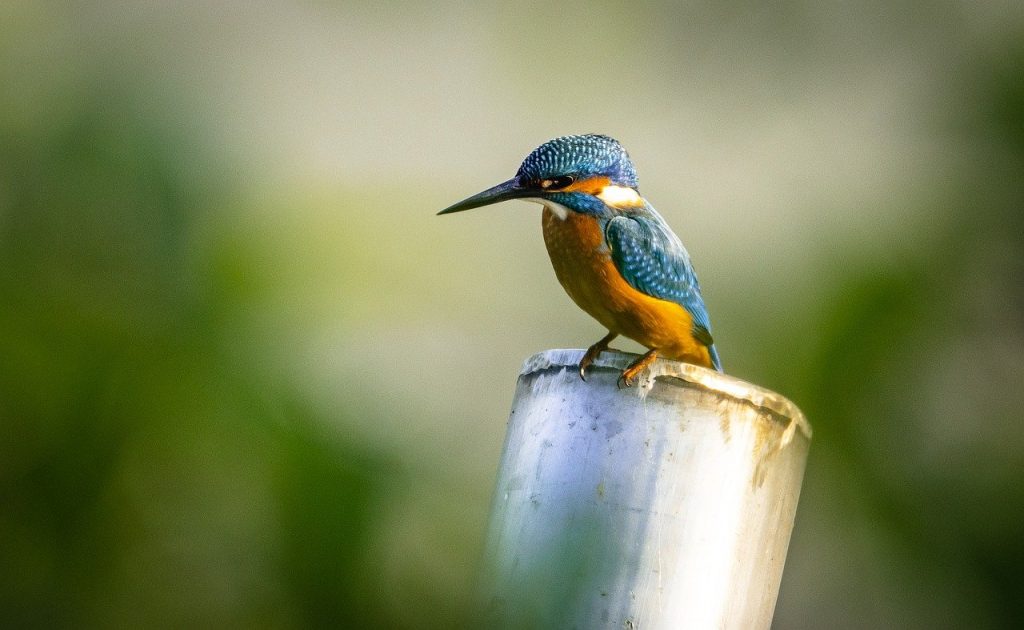
What’s important in bird photography?
Is it the camera, the lens, or the bird?
These 7 bird photography tips will take your bird photography to new heights.
1. Camera & Settings
A good focal length is required for bird photography. There are no second thoughts about it. However, you don’t have to break the bank to get a super-telephoto lens like 600mm. Choose a focal length of at least 300mm.
Check to see if the lens has image stabilization features such as VR (Vibration Reduction for Nikon) or IS (Image Stabilization for Canon).
Birds are constantly on the move. A high number of frames per second is required to halt the action. To capture the action, a camera body with a frame rate of at least 5 fps is recommended.
Concentration is essential for success. The photograph is ruined by a poorly focused bird. Purchase a camera body with a sufficient number of focus points. The more, the merrier. Aim for at least 39 focus points and preferably more. Check the number of available cross focus points as well. Once again, the more the merrier.
Here’s a good starting point with the settings:
• Use semi-automatic modes so you don’t have to worry about the settings. Use the Aperture or Shutter Priority modes.
• Use continuous autofocus mode, such as AF-C (for Nikon) or AI-Servo (for Canon) (for Canon).
• Switch between burst and high-speed continuous modes.
• Use a zone-focusing system and choose between a 9-point and a 21-point zone. This helps to keep the focus on the bird and makes the autofocus more responsive.
• For action shots, use ISO-400. If your camera is too noisy at ISO 400, avoid shooting in low-light situations.
Test every setting thoroughly. See what suits your style of photography the best.
2. It’s All About Light Photography is all about light
Do you think so? If you answered yes, you must learn to see the light. Examine the light. Accept it. Your bird photography will stand out.
The quality and direction of light are both presents. The light has two qualities: soft or hard.
Early morning and early evening light are examples of soft light. Soft light is ideal for birds photography because:
It aids in bringing out lovely and subtle colours.
• It emits a golden glow at dawn and dusk.
• It creates a subtle depth by casting soft shadows on the bird.
The rest of the day’s light is referred to as hard light. Hard light casts unwanted shadows on sunny days, making it an unfavourable light for bird photography. The light is directed in one of three ways: frontally, sideways, or backwards.
Frontal light is the best light for bird photography. It’s an excellent light for highlighting the bird’s beauty.
Sidelight is the most unfavourable type of light. It casts an unwelcome shadow on the bird.
Photographs with backlighting are more creative. It is useful for making silhouettes. It also aids in the formation of a halo (rim-light) around the bird, giving it an angelic appearance. This also helps to distinguish the bird from its surroundings.
Then there’s diffused lighting. It’s ideal for portrait photography. It is an exact replica of the bird. There will be no unwelcome shadows. You can shoot all day with diffused light.
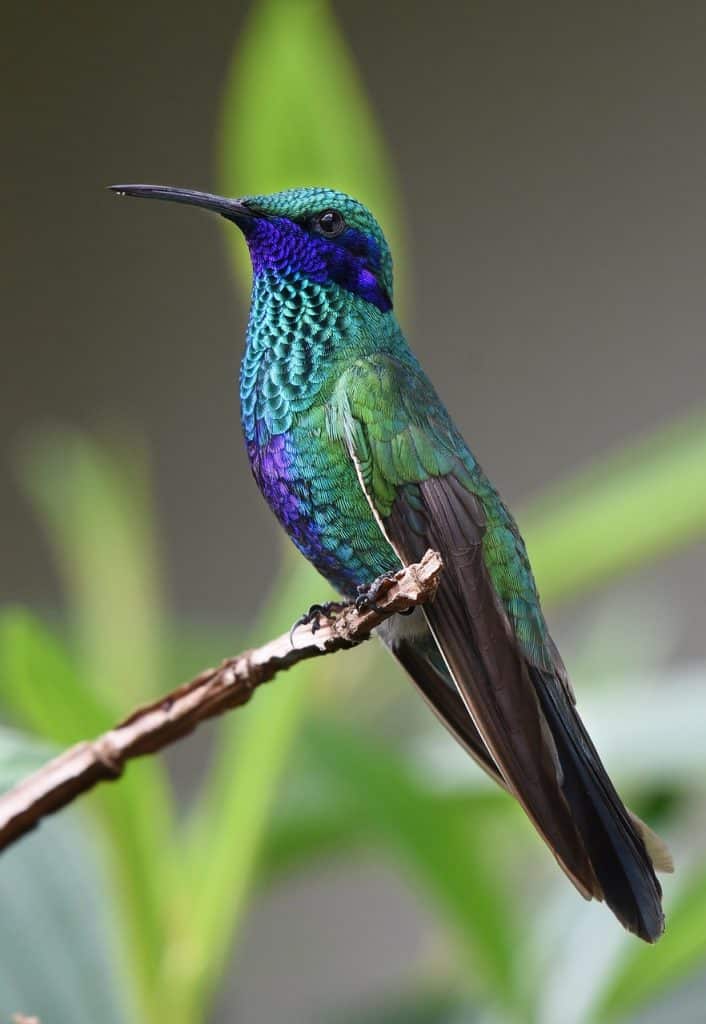
3. Composition
Then there’s diffused lighting. It’s ideal for portrait photography. It is an exact replica of the bird. There will be no unwelcome shadows. You can shoot all day with diffused light.
• Keep the bird off-centre by applying the rule of thirds.
• Allow for adequate breathing space in the direction of movement or gaze.
• Strive for contrast in light or colour between the bird and the background. This allows the autofocus to focus more quickly. It also aids in making the bird stand out.
• Fill the frame with the bird so that it is the only thing on the screen.
• Avoid distractions by using a clean or plain background.
It’s not always possible to get the composition just right in the field, but you should give it you’re all. Never be afraid to re-compose an image during the post-processing stage if necessary.
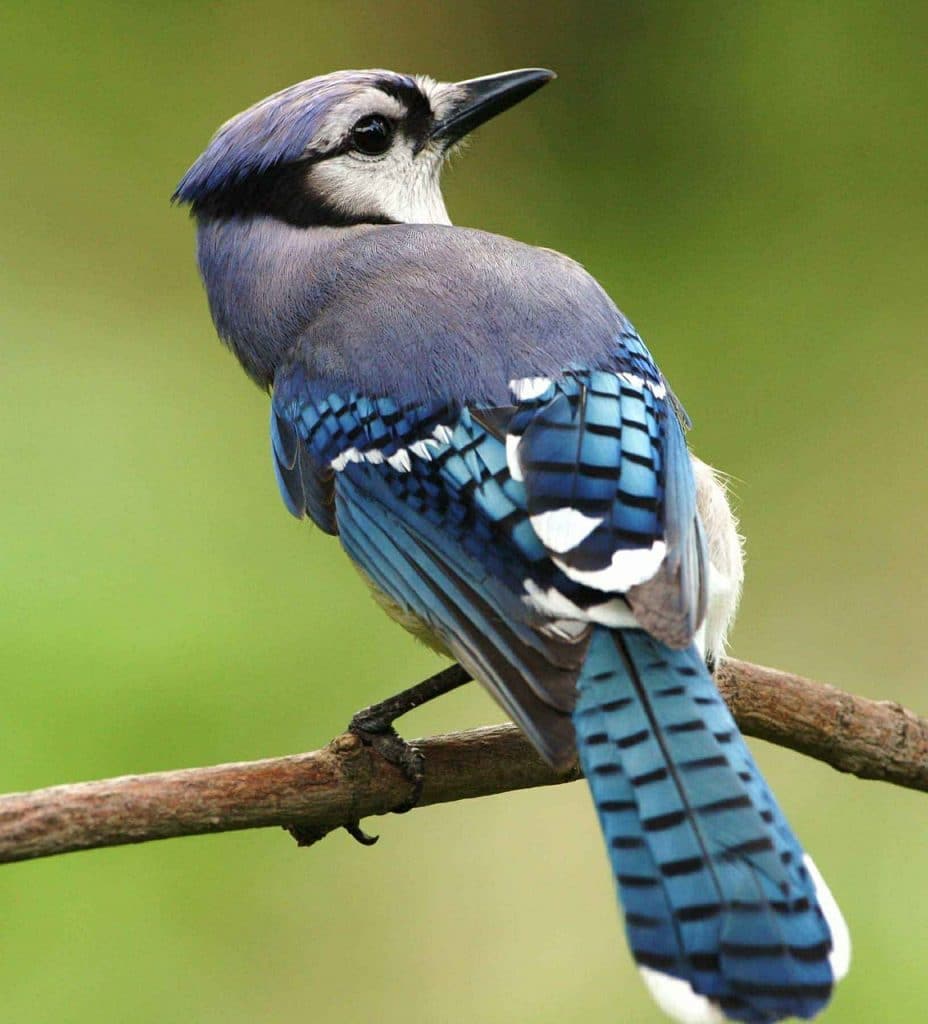
4. Transport the Viewer into the Bird’s World
Our world is not the same as the bird’s world.
Consider this: How do you connect with someone when you talk to him or her? Through eye contact, correct? The importance of eye contact in establishing a relationship cannot be overstated.
If you want to communicate with the birds, you must do the same. To take successful and intimate bird photographs, you must make eye contact with the bird. How do you go about doing that?
Go Low and Go Slow…
Always try to photograph birds from their point of view. Except, of course, for the birds in flight!
Bend, kneel, lay down, or do whatever it takes to reach the bird’s eye level. Among the obvious advantages are:
- Because you can make an eye connection, you’ll get close-up shots of birds.
2. Because the background is usually too far away, you’ll get pleasing blur (or bokeh) around the bird.
3. Because you can’t move much, you won’t bother the bird. You are no longer a threat.
4. You’ll transport the viewer into the world of the bird.
5. Capture their Actions and Behaviour
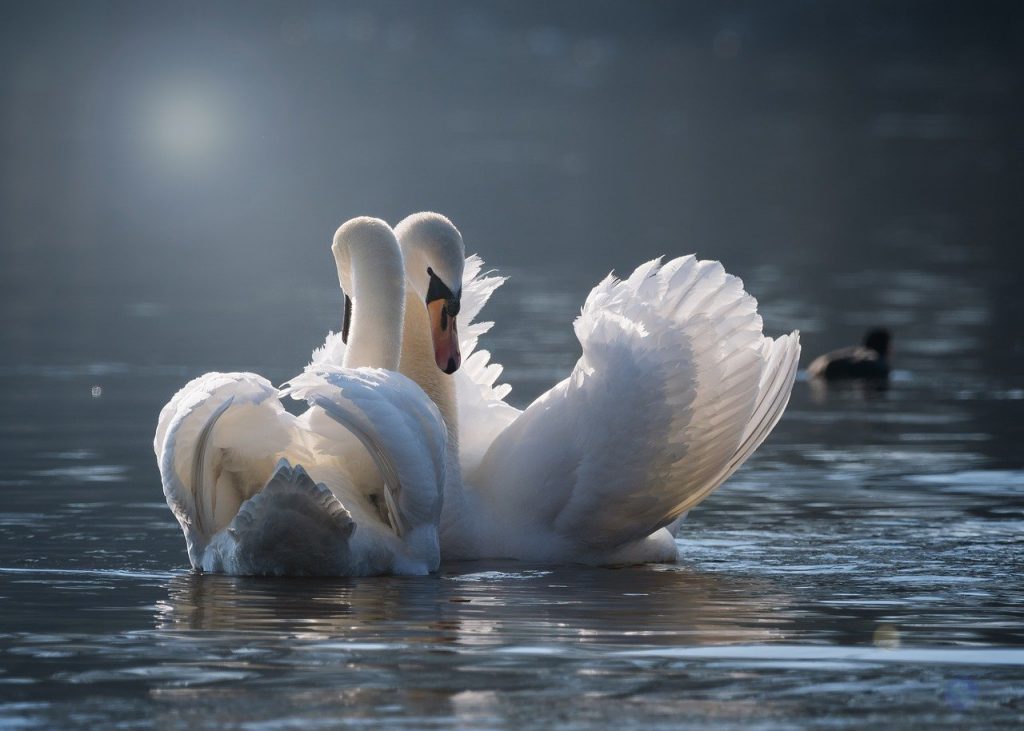
Photographing birds in action is simple.
Why? They can’t seem to sit still! There is always active, but it takes more effort and patience. But it’s entertaining.
Here are a few tips to capture the action:
• Take photos early in the morning when the birds are most active.
• During the action, use burst shot mode to take several photos.
• Before pressing the shutter, track the bird until the focus is locked.
• Study their behaviour to learn how to anticipate their actions.
When birds are starving, they tend to ignore you. At these times, photographing them in action is very simple. However, take care not to disturb them. Maintain a safe distance between yourself and them. Capturing bird behaviour is more difficult! They become alert the moment you come into their line of sight. A wary bird is ready to take off at any time. As a result, you must be patient. Only when the bird is alone can you observe its behaviour. They must feel at ease in your presence. There are only a few ways to make the bird feel at ease.
• Visit in the early morning when the birds are actively feeding.
• Move slowly and hide behind a bush or tree.
• Take a quiet seat or lie down. Wait until the bird completely ignores you.
• Return to the location several times until the bird is at ease with your presence.
Remember to research the birds you’re photographing. While you’re waiting, observe their behaviour. The more you learn about the bird, the better your photos will be.
6. Birds in Flight
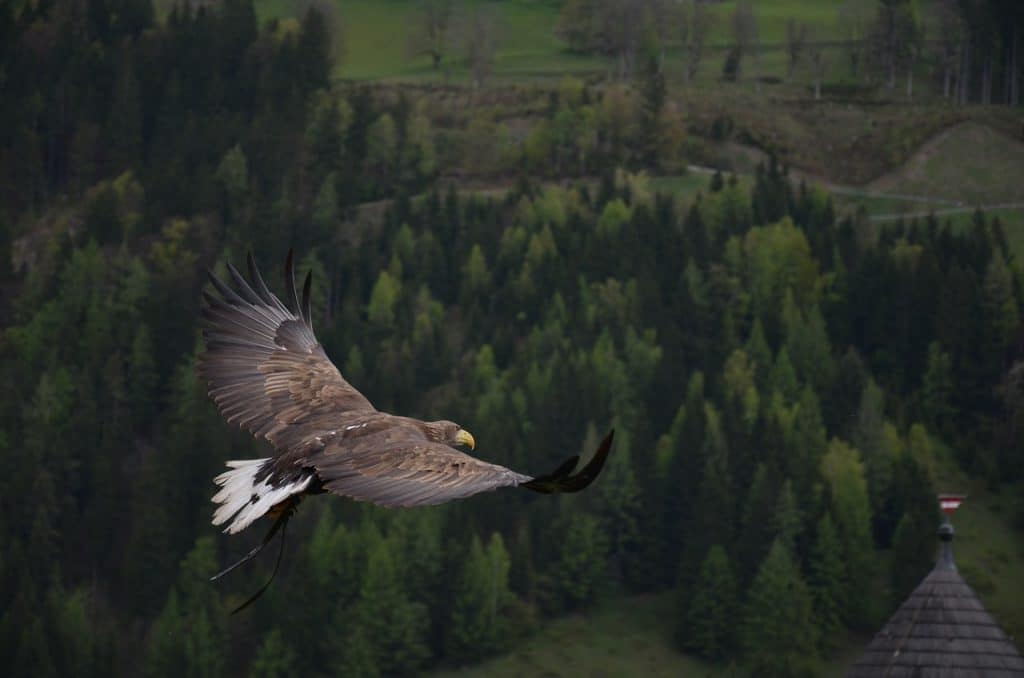
Birds are distinguished by their ability to fly. Isn’t that right?
Capturing their magnificent flight is the most fascinating aspect of bird photography. This is a difficult aspect for both beginners and experts. It is not easy to capture breathtaking flight photographs.
The success of birds-in-flight photography is largely determined by the bird as well as the technique used.
Smaller birds fly in erratic patterns. Because they are so small in the frame, they are difficult to track. Larger birds are more likely to follow a pattern. You can probably guess what happens next. It’s easier to keep track of them now.
If you want to be a successful bird-in-flight photographer, you should begin with larger, slower-moving birds. Learn all of the field techniques for taking stunning photographs of these birds.
Once you’re comfortable with the techniques, you can move on to smaller birds.
Here are some simple tips to capture birds-in-flight photographs:
• Study the flight patterns of the birds. • Understand their landing and takeoff patterns. • Spend enough time observing them in the field.
• Watch for cues to predict the next action. Many birds, for example, defecate before taking off, and some birds run to gain momentum.
• If there are multiple birds, if one flies, the others will almost always follow.
• Follow the bird for a while before allowing the camera to focus.
• Be patient and wait for the best background.
• Fire off a burst of shots in a row.
• To keep things simple, use Aperture Priority or Shutter Priority mode.
• Choose ISO 400 to get reasonably fast shutter speeds and no digital noise.
• Attempt to keep the wings as high as possible in the air.
7. Background Makes the Picture
Do you pay attention to the background in your photographs?
If you answered yes, you should double-check your gallery. Because you may not have thoroughly checked it.
What causes this to happen? You may have captured a stunning image of a bird. However, you can see that the photograph is unappealing. Something is wrong. The distracting background is most likely the cause.
Remember that the background is as important as the subject.
However, you are usually so preoccupied with your subject that you are unable to see anything else. That’s completely normal!
The issue is that it does not work.
The bird has a better chance of capturing the viewer’s attention if the background is clean and/or complementary. The bird’s surroundings must complement it; the surroundings should not be distracting.
Below are few simple tips to get a clean background:
• Watch for the bird to settle into a good position.
• Alter your position to create a more interesting background.
• Aim for a shallow depth of field to blur the background.
Bonus Tip: Practice with Common Birds
It’s not so much about rare species as it is about rare photographs!
Rare species are frequently pursued by bird photographers. They travel a long distance to photograph a rare species. Why? Are you photographing the birds? Are you putting together a portfolio of different bird species?
It’s not required. Consider this. Do you want to see a rare photo of a common bird? Or perhaps a common photograph of a rare bird?
Experiment with common birds. Use all of the techniques listed above. First, work on your photography. Learn about their behaviour. Learn how light affects the mood of a photograph. Experiment with new compositions.
Make Something Distinctive
Note: If you want to make some adjustments to the photo just let me know. I can do it for you at a very low cost. You can hire me to edit your photo.
LATEST POST
- What is Midjourney
 Discover the capabilities of Midjourney AI, learn how to effectively utilize the platform, and explore the advantages and disadvantages of the Midjourney AI image generator across its different pricing options.
 - Brand identity elements
 In the vast marketing universe, imagery is pivotal in establishing and nurturing a brand’s identity. A brand’s visual choices are not merely aesthetic decisions but strategic moves that can significantly influence perception and performance. This Picfixs article explores the intricacies of selecting imagery that complements and enhances a brand’s essence, ensuring it resonates with the… Read more: Brand identity elements
 - 100 Best Mountain Captions and Mountain Quotes for Instagram
 Ready to scale new social media heights? Look no further than this treasure trove of 100 exhilarating captions and quotes, handpicked for your Instagram mountain posts!
 - Symmetry in Photography: A Creative Approach with Examples
 Delve into the enchanting realm of symmetry in photography as we showcase mesmerizing examples on our website. Experience the allure of perfectly mirrored images!
 - 11 Quarantine Photoshoot Ideas to Try at Home for Amazing Photos
 Looking for unique photoshoot ideas during quarantine? Explore the 11 creative suggestions that will help you capture unforgettable moments at home.