Estimated reading time: 5 minutes
Table of contents
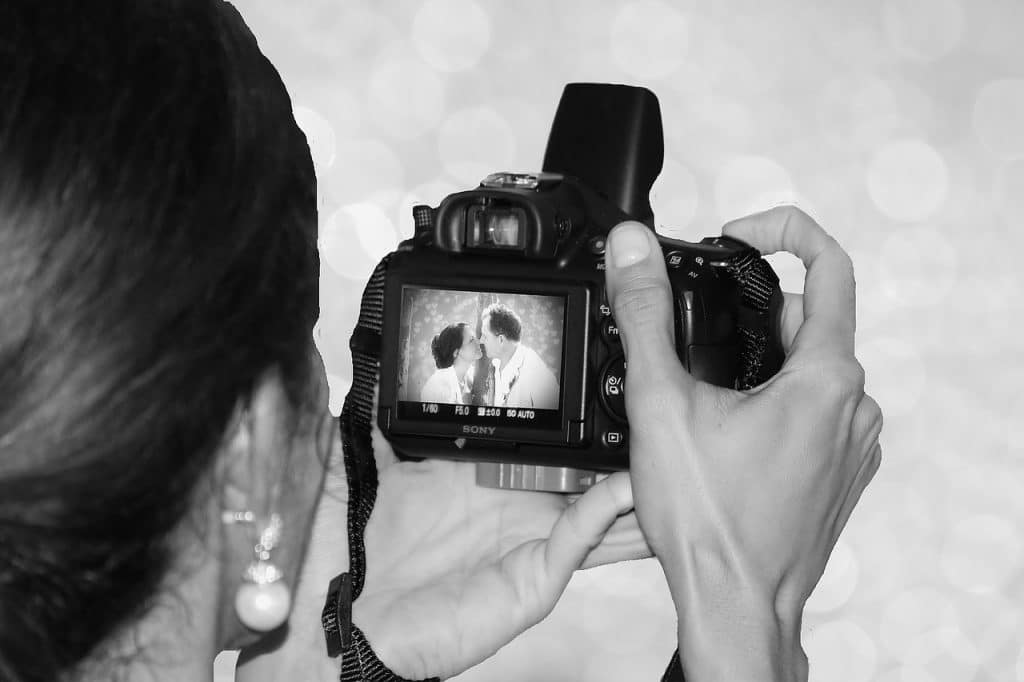
The most difficult aspect of wedding photography for most photographers to learn is how to deal with lighting. There are no two weddings that are alike, and no two weddings have the same lighting. There is always a mix of fluorescent, tungsten, and natural light, which makes it much more difficult to balance and use to create beautiful compositions. The following is a rundown of the most important types of wedding photography lighting:
1. The Backlit Method
You have your primary (key) light and your secondary (backlight). As you are aware, the backlight is primarily used for subject separation. In addition to the main light, the backlight adds dimension to an image, which creates a sense of depth.
Backlighting is a separate concept that we won’t go into too much detail about here. Simply put, when you use backlighting, you give yourself a creative outlet to experiment with and create magical photographs.
2. The Bounce Method
The bounce method is the simplest to set up and requires the fewest external lights. In fact, it refers to the use of a single light. Even your camera’s built-in pop-up flash will suffice.
If there is a white wall or ceiling in the room, simply point the flash at it and bounce the light off of it. As a result, the light is flattering, soft, and uniform, making it ideal for portraits and getting-ready shots.
3. Using Studio Strobes
When it comes to creating beautiful wedding photos, strobes can be a real lifesaver, especially when you can’t use smaller speedlights and the ambient light is too difficult to white-balance properly. You will have difficulty white-balancing your images if there is a mix of tungsten and fluorescent lights.
Furthermore, when bouncing the lights is not an option (due to high ceilings or a lack of white walls), using smaller speedlights or the bounce technique is impractical. You must find a way to overcome the mixed light. Strobes are ideal because they are more powerful than speedlights, last longer, and recycle faster.
4. Mixing Ambient Lights with Artificial Lights
Though we have just finished discussing the powerful features of studio strobes, the fact is that sometimes you need to be able to use both ambient and artificial lighting to achieve the desired effect. For example, when photographing a wedding party or a couple in front of a setting sun. Of course, a setting sun closer to the horizon will create a metering nightmare, and you should ideally be shooting when the sun has actually gone down and not still at the horizon; the thing is, for the best results in such situations, you will need to mix both ambient and artificial lights.

You can use both speedlights and strobes for this, as well as continuous lights. In any case, the trick is to meter for the background and then add artificial lights to illuminate your couple/wedding party. This ensures that you don’t overpower the ambient light and only add enough to properly illuminate the couple.
Another example of combining artificial and natural light is when shooting in a room with large windows on one side. Essentially, the side of the face and body that faces the windows will be properly exposed, whereas the side that faces away will be shadowed. Another instance is where you’ll need to use a daylight-balanced artificial light source to fill in the shadows and balance the exposure.
5. Using Colored Gels
Using gels may appear strange; after all, when every photographer is attempting to correct the white balance, using colored gels may appear to be a drastic step. There are, however, some advantages to using colored gels. The thing is, if used correctly, colored gels can add a splash of color to your wedding photos.
Speedlights or strobes fired through colored gels will produce a light that will appear either warm yellow or cool blue in the final image, depending on the white balance that you use. This enhances the overall image, particularly the photos were taken when the wedding party hits the dance floor.
Note: If you want to make some adjustments to the photo just let me know. I can do it for you at a very low cost. You can hire me to edit your photo.
LATEST POST
- What is Midjourney
 Discover the capabilities of Midjourney AI, learn how to effectively utilize the platform, and explore the advantages and disadvantages of the Midjourney AI image generator across its different pricing options.
 - Brand identity elements
 In the vast marketing universe, imagery is pivotal in establishing and nurturing a brand’s identity. A brand’s visual choices are not merely aesthetic decisions but strategic moves that can significantly influence perception and performance. This Picfixs article explores the intricacies of selecting imagery that complements and enhances a brand’s essence, ensuring it resonates with the… Read more: Brand identity elements
 - 100 Best Mountain Captions and Mountain Quotes for Instagram
 Ready to scale new social media heights? Look no further than this treasure trove of 100 exhilarating captions and quotes, handpicked for your Instagram mountain posts!
 - Symmetry in Photography: A Creative Approach with Examples
 Delve into the enchanting realm of symmetry in photography as we showcase mesmerizing examples on our website. Experience the allure of perfectly mirrored images!
 - 11 Quarantine Photoshoot Ideas to Try at Home for Amazing Photos
 Looking for unique photoshoot ideas during quarantine? Explore the 11 creative suggestions that will help you capture unforgettable moments at home.
RELATED LINK