If you’re a photographer or blogger who is just beginning to learn food photography, you may find it difficult to create the beautiful food photos you’ve imagined in your head.
It should be simple so that the audience can focus on the food, but it should also look luscious and enticing enough to entice the audience to grab that food.
Beginner’s Guide to Food Photography
You’ve come to the right place if you’re looking for basic food photography ideas for beginners and bloggers.
We’ve compiled a list of simple food photography tips and tricks, as well as a few basic techniques, to help you improve your photography. Whether you’re shooting for your blog, a food tutorial video, editorial work for a magazine, or simply creating your own personalized cookbook, this article will help you achieve the brilliant results you desire.
Using harsh artificial light
Food photography lighting, like any other branch of photography, is the most important thing to master first, as it can make or break your photos. Some photographers prefer to work only with natural light because it produces the best results. Other photographers prefer artificial light because it provides consistent lighting and white balance throughout the photoshoot, saving them time in post-production.
Furthermore, the use of artificial light in food photography allows them to be more flexible in terms of time, as they are not constrained by the times of day to take photos.
If you must use artificial light, avoid using a direct flash or, worse, an overhead tungsten light. Invest in a high-quality flash as well as a reflector or bounce card. Never point the flash at the food background because the light will fall harshly and the food will lose all of its details, making it appear flat and unappealing.
The most effective method is to use a reflector to bounce the light onto the food. You can play around with the angles, camera settings, and light intensity to see what works best for each food shot.
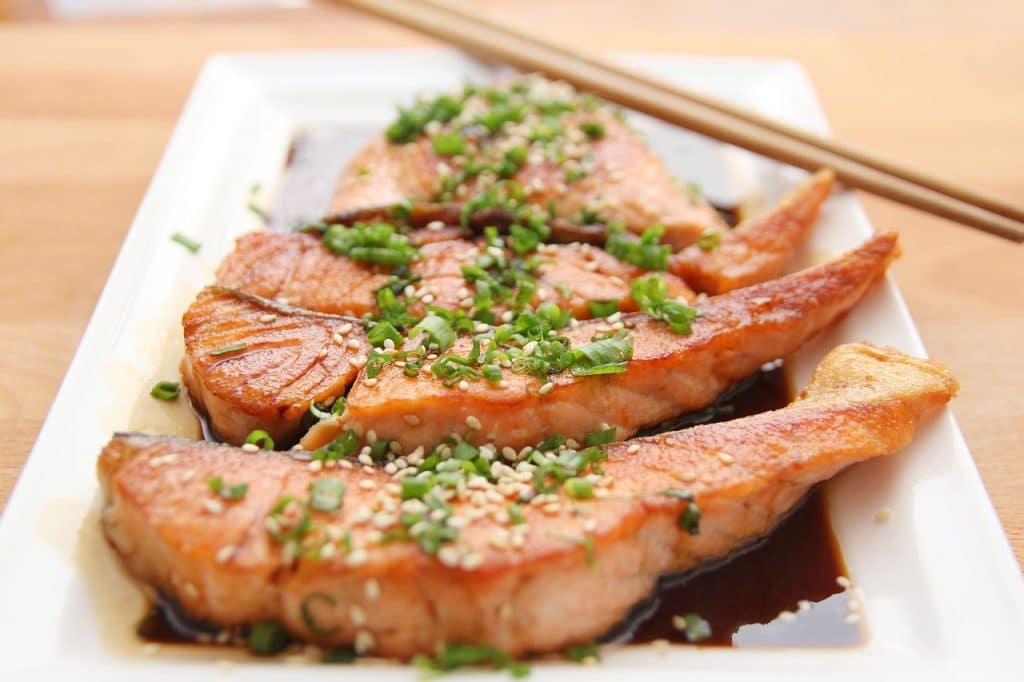
Not setting the light on different sides
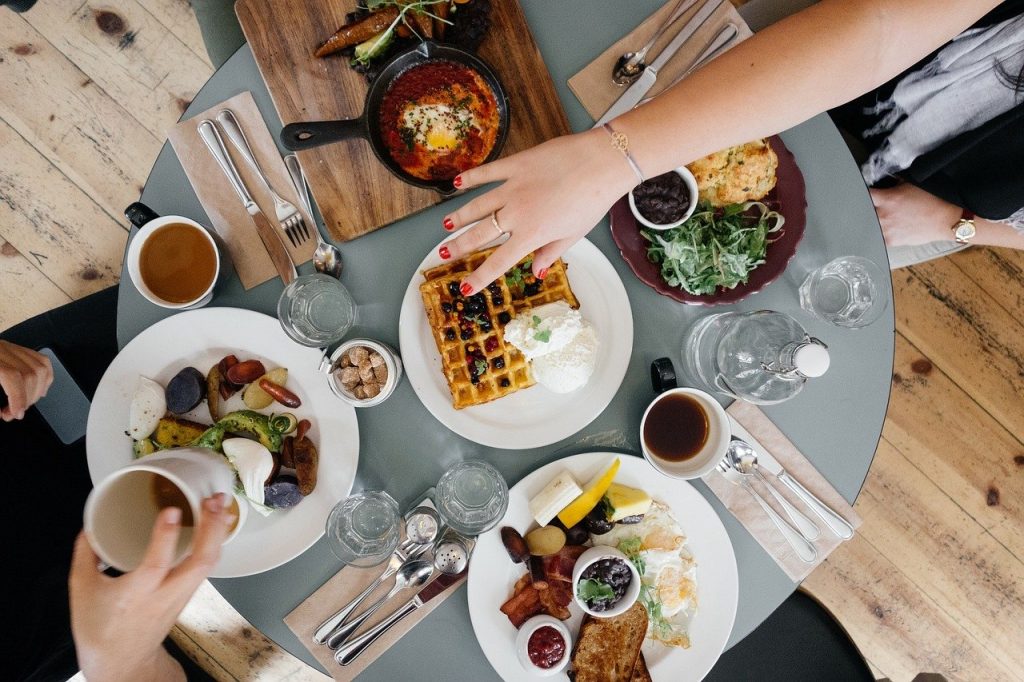
You can do a lot with lighting for food photography if you don’t just stick to one side when setting the light. Experiment with front lighting, backlighting, and side lighting to see how they affect food photography backdrops.
Can you tell the difference between those three dish photos?
Front lighting is the simplest and safest option because it costs the least amount of shadow on the food. The results are adequate but not spectacular.
Side lighting is typically used to highlight the textures and contrast of the food, allowing the details to stand out.
Backlighting, while difficult to achieve, is well worth the effort. It provides a clean, light background that helps to draw attention to the food while also highlighting the glorious details of the food. Backlighting takes a lot of practice to get right (wrong exposure and automatic settings can result in dark shadows on your food, so always use manual settings).
Continue to experiment to see what works and what doesn’t. You’ll be able to create food photos with a fancy editorial look once you’ve mastered this.
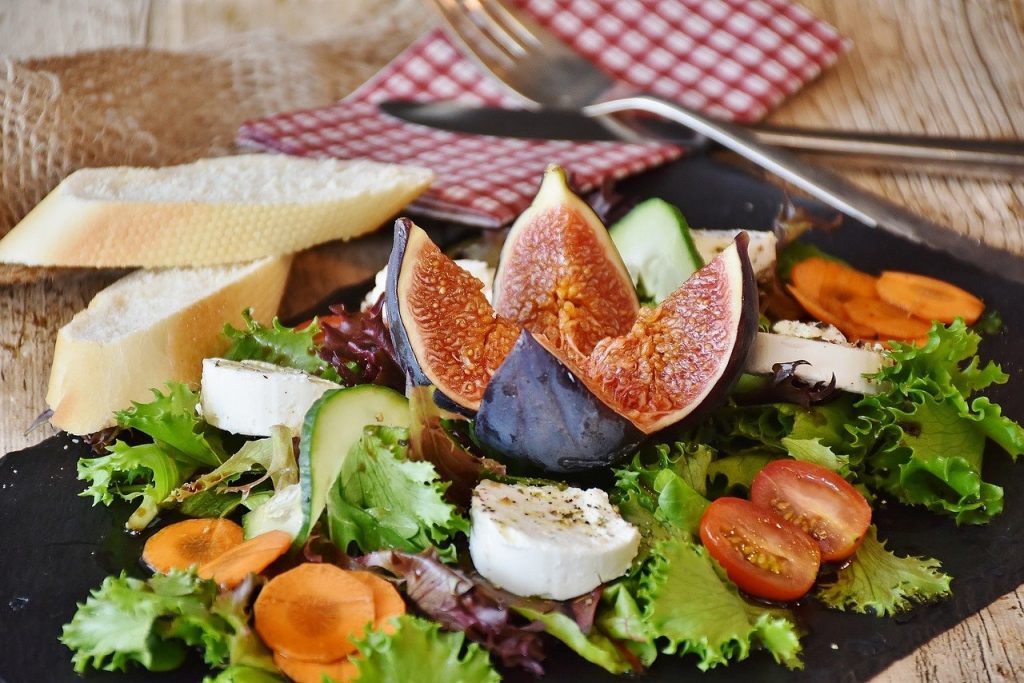
Not using fresh ingredients
Food photography tips are all about making the food look good, so make sure that everything is in perfect condition. Wilted lettuce in the salad or a bruised tomato can ruin your photo and don’t think about working out an angle to hide the flaws (they rarely work very well).
To save yourself from extra work, only use the freshest ingredients.
Note: If you want to make some adjustments to the photo just let me know. I can do it for you at a very low cost. You can hire me to edit your photo.
Shooting only after the cooking is done
Shooting after the food has been cooked is far too late, as you will miss many opportunities to capture good images during the cooking photography process.
Begin not after the food has been cooked, but much earlier when the ingredients are being prepared! There are some foods that don’t look good when they’re cooked (think of boring soup, pasta with white sauce, or brown dishes like chili, beans, or stuffing).
A little garnish can sometimes help, but if it still looks flat and boring, try photographing the cooking process. At times, the raw or half-cooked ingredients appear more appealing than the cooked dish.
Not taking photos with negative space
When photographing food, many photographers use one of two methods:
- Filling in the frame to show the whole dish;
- Getting close-up shots of the food to show all the luscious details;
- They tend to forget there’s 1 more way they shouldn’t miss, and that’s taking photos with negative space.
Leave a blank space in a photo for your clients to fill in with a logo or writing, so be prepared to accommodate this.
Increasing the saturation too much
Editing can be hit or miss at times, and food photographers can fall into the trap of oversaturating the colors in order to make the food photoshoot look more scrumptious.
Yes, food looks more appealing when the colors pop out but be careful not to oversaturate your photos, as this will only make them look unnatural and strange. Try to match the colors as closely as possible to the originals.
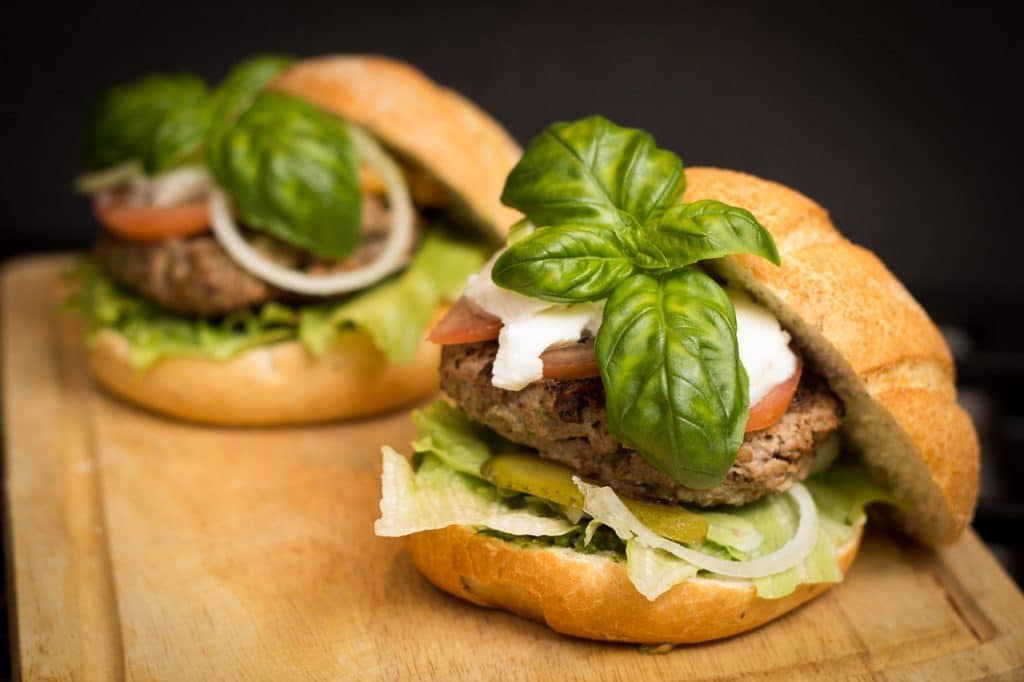
Using an excessive amount of food for plating
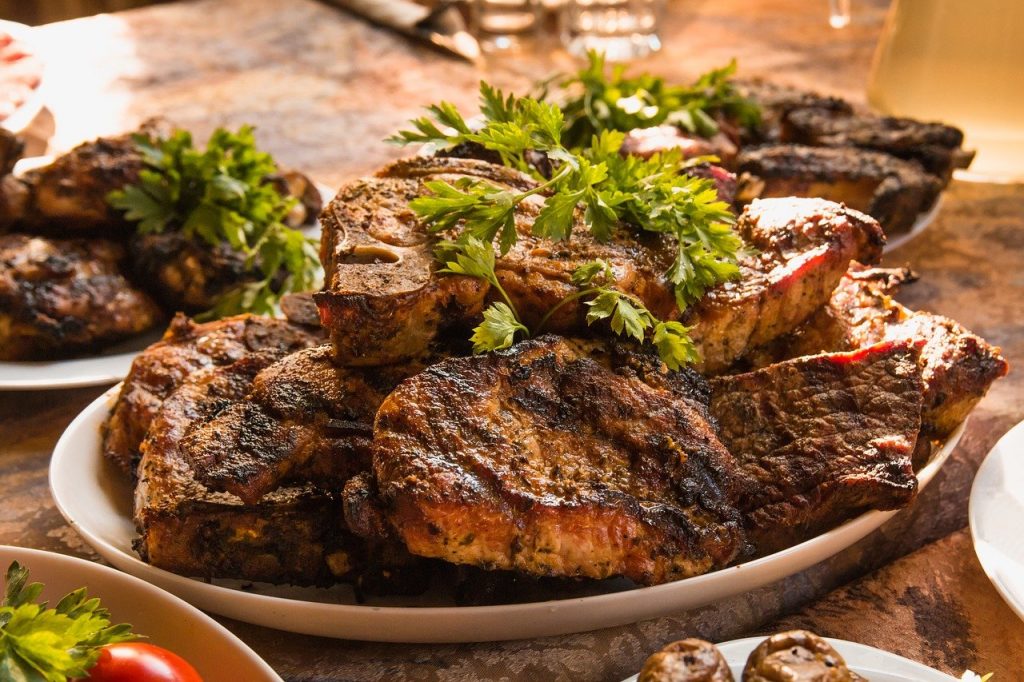
It may be tempting to pile a lot of food on your plate, but it will not look good on camera. Too much food on the plate will only make it more difficult for the audience to focus on the important elements.
Because food photography is all about simplicity, leave enough space on the plate for the audience to enjoy the food. It’s true that less is more!
Allowing the food to sit for an extended period of time
Some foods necessitate quick movement and completion of all tasks once they are ready.
Leafy greens in salads, for example, will look wilted after a while, while meat can look a little dry after a while. Make sure you have everything ready before the food arrives so you can jump into action when they’re ready.
You can set up with empty plates or bowls and then replace them once the food is ready.
Paying no attention to props and styling
Props and styling, like a little makeup, can do wonders for a photoshoot. Food photography may appear simple, but styling is anything but.
The best way to accomplish this is to keep everything simple and clean, particularly the props. Because the food should be the main focus of the photograph, avoid using crockery and tableware that may draw attention away from the food, no matter how pretty they are. Use neutral colors for props and backgrounds, and let the food be the star of the show.
Because there will be close-ups, make sure the plate or bowl and all of the cutlery are spotless. Do not allow even a crumb or speck of liquid to land on your prop (unless you deliberately do that for style). When you zoom in to get the food details, every flaw stands out and draws attention away from the food.
You can add photo printing products to your creative stunning prop ideas for food photography tips to make your props look better in the image.
When it comes to styling, do your research ahead of time to learn how to make the food look more appetizing. For example, a drizzle of oil on vegetables and meat will make them glisten and look more succulent, whereas a sprinkle of water on a salad will make it look fresher.
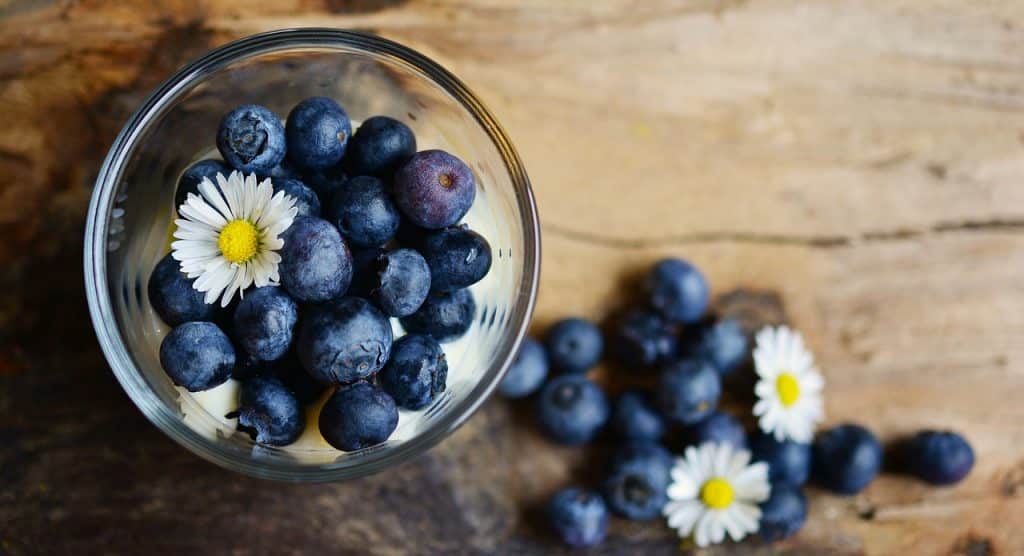
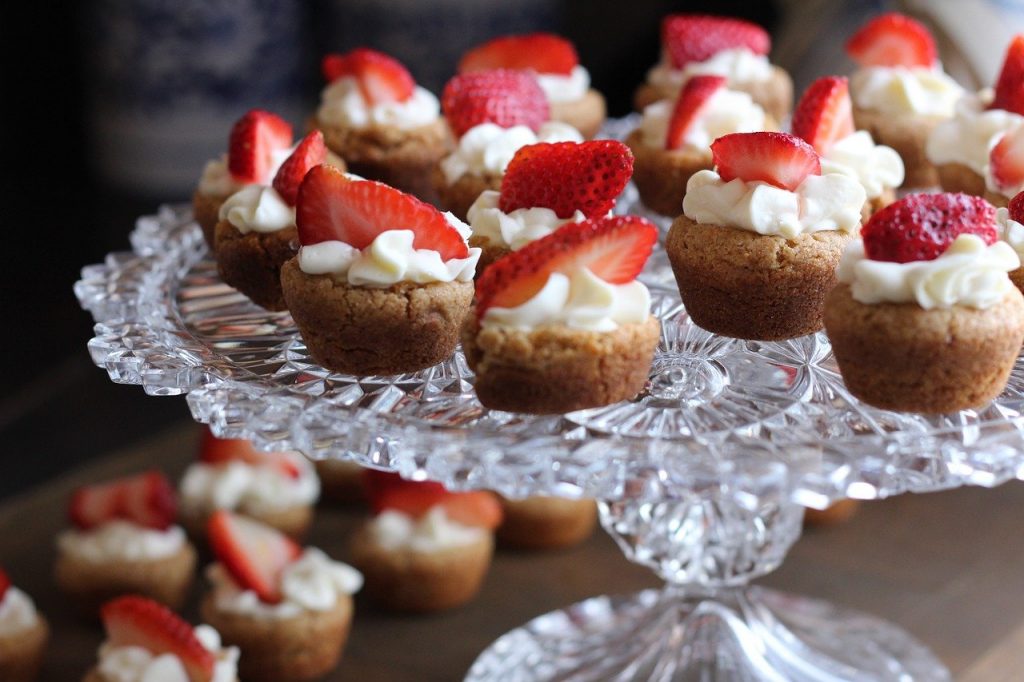
Leaving the food alone
When the food is placed on the table for you to photograph, don’t stop until you’ve finished. Dig in and serve some of the leftovers.
This cake, for example, looks more appetizing when sliced because the slices allow the audience to see the colors and texture inside the cake, which gives them a better idea of how it tastes.
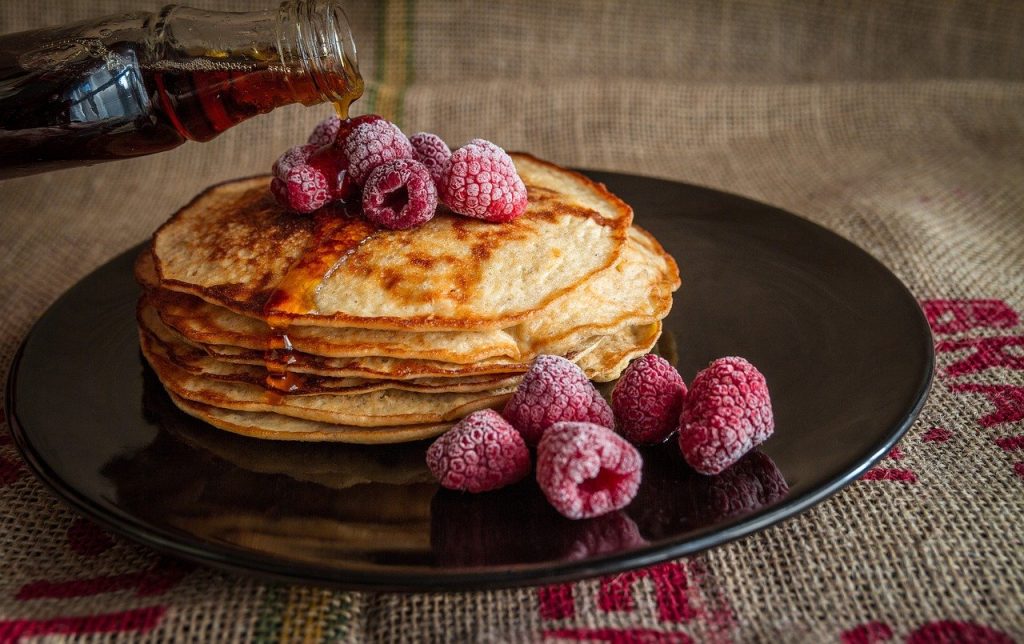
You can also add human elements and movements to your photos, which can help bring a touch of life to what would otherwise be a boring photograph. The photo below depicts the movement of pouring the sauce into the desert, which is more interesting than just the dessert and sauce alone.
There is no storey or depth to the photograph
If you want to go above and beyond, be creative and tell the story of the dish, such as its origins or the season in which the ingredients are harvested.

Whatever you decide, keep it simple and avoid going overboard.
We hope that these food photography ideas for beginners and bloggers will assist you in overcoming your mistakes and learning more about becoming a professional food photographer!
Note: If you want to make some adjustments to the photo just let me know. I can do it for you at a very low cost. You can hire me to edit your photo.
Latest post
- What is Midjourney
 Discover the capabilities of Midjourney AI, learn how to effectively utilize the platform, and explore the advantages and disadvantages of the Midjourney AI image generator across its different pricing options.
 - Brand identity elements
 In the vast marketing universe, imagery is pivotal in establishing and nurturing a brand’s identity. A brand’s visual choices are not merely aesthetic decisions but strategic moves that can significantly influence perception and performance. This Picfixs article explores the intricacies of selecting imagery that complements and enhances a brand’s essence, ensuring it resonates with the… Read more: Brand identity elements
 - 100 Best Mountain Captions and Mountain Quotes for Instagram
 Ready to scale new social media heights? Look no further than this treasure trove of 100 exhilarating captions and quotes, handpicked for your Instagram mountain posts!
 - Symmetry in Photography: A Creative Approach with Examples
 Delve into the enchanting realm of symmetry in photography as we showcase mesmerizing examples on our website. Experience the allure of perfectly mirrored images!
 - 11 Quarantine Photoshoot Ideas to Try at Home for Amazing Photos
 Looking for unique photoshoot ideas during quarantine? Explore the 11 creative suggestions that will help you capture unforgettable moments at home.