
This article will discuss exposure compensation on digital cameras and how to use it to adjust exposure when shooting in different camera modes.
Modern cameras have the ability to adjust exposure settings to properly expose images. Exposure compensation allows you to control the brightness of an image by adjusting it from too bright to too dark.
You can use a dedicated button or dial on your camera to adjust exposure compensation and take full control of your exposure.
Let’s start by explaining how exposure compensation works on your camera and which modes it can be used in. To understand this better, we need to know about exposure, which is made up of ISO, shutter speed, and aperture – the three key settings in photography. Together, they create the exposure triangle.
Exposure compensation meaning
You can adjust the exposure settings of their camera using exposure compensation. This feature allows them to make images darker or brighter before capturing them, overriding the camera’s light meter.
The camera’s light meter evaluates the light reflected off subjects and is calibrated to middle gray. When the camera is pointed at a dark subject, the meter will brighten the exposure, and when pointed at a bright subject, the meter will darken the exposure.
To achieve a balanced image, it is important to aim for a middle gray tone. This helps prevent the image from being too dark or too bright. Although this method usually works well, it may not be effective in difficult lighting situations where the camera’s exposure settings are too extreme.
This is when photographers can use Exposure Compensation to manually adjust the brightness of the image. By utilizing this feature on the camera, they can override the automatic exposure settings and take control of the image’s brightness.
Here’s an instance where my camera’s metering system didn’t do a good job of exposing the scene correctly:
When I was shooting in Aperture Priority mode, the camera’s meter ended up making the image underexposed. This happened because the scene was quite difficult – the sky and the white sand in the foreground were very bright. As a result, the camera ended up making the entire image darker, causing my subjects in the scene to appear too dark.
By adjusting the Exposure Compensation feature on my camera to +1 EV (Exposure Value), I was able to fix the issue and capture a brighter image. The entire scene now appears properly exposed, surpassing the camera’s initial perception of brightness. This simple adjustment resolved the problem swiftly.
Note: if you are wondering how different metering modes impact your images, please see our detailed article on Camera Metering Modes.
How to use exposure compensation?
To use exposure compensation, you need to be in a camera mode that uses the camera meter, like aperture priority, shutter priority, program mode, or a scene mode that adjusts exposure automatically.
In Manual mode, exposure compensation won’t work unless Auto ISO is turned on. Once you’ve selected the right camera mode, you can adjust the image brightness using the exposure compensation feature.
Now, where can you find the exposure compensation feature on a camera?
Well, it varies depending on the make and model of the camera. Most cameras have a dedicated button on the top or back, while others may have it on a dial.
To identify the exposure compensation button, look for a button with plus and minus signs, like the illustration shown above. If you are unable to locate the exposure compensation button, try looking for a dial on the camera’s top or back. This dial typically ranges from negative to positive values, like -3 to +3, with smaller increments in between.
If you’re having trouble finding the exposure compensation button or dial, consult your camera manual for specific instructions. For Nikon DSLR users, the button is usually located near the shutter release. Canon DSLR users may find an “AV” button on the back of the camera.
Some cameras, like mirrorless cameras with a retro design, have an exposure compensation dial on top. For dark images, you can dial a positive number (+EV), and for bright images, you can dial a negative number (-EV).
If your camera has a button, you can hold it and rotate one of the thumb dials, or press it once and use the LCD screen to adjust the exposure value. If your camera has a dial, it’s even easier – just move it in the right direction and your exposure will be adjusted accordingly.
DSLR cameras have an exposure compensation area in the viewfinder. When adjusting exposure, a bar will move left or right of the “0” value, showing negative or positive exposure compensation.
If you’ve never used this feature, you may not see the area highlighted in red until an exposure compensation value is added.
If you use a mirrorless camera, adjusting exposure compensation will change the brightness on the LCD and EVF. There will also be an information overlay showing the current exposure compensation value in one or multiple areas of the viewfinder.
After adjusting exposure compensation, the +- EV values will be displayed on the LCD and EVF. If you can’t see these values, you may need to turn on informational overlays in the camera menu.
Note: If you want to make some adjustments to the photo just let me know. I can do it for you at a very low cost. You can hire me to edit your photo.
How exposure compensation works
Exposure compensation changes exposure variables based on the camera mode. In Aperture Priority mode, the photographer selects the aperture, and the camera adjusts the shutter speed accordingly.
By using exposure compensation, the photographer can override the camera’s shutter speed setting. Check out the example chart below for adjusting exposure in aperture priority mode.
| CAMERA METERED EXPOSURE (APERTURE PRIORITY) | ||||
| f/1.4 | f/2.0 | f/2.8 | f/4.0 | f/5.6 |
| 1/1000 | 1/500 | 1/250 | 1/125 | 1/60 |
Decreasing the exposure by 1 EV will double the shutter speed from 1/250th to 1/500th of a second, with the aperture remaining the same.
| APERTURE PRIORITY, -1 EV EXPOSURE COMPENSATION | ||||
| f/1.4 | f/2.0 | f/2.8 | f/4.0 | f/5.6 |
| 1/1000 | 1/500 | 1/250 | 1/125 | 1/60 |
When we decrease the amount of light reaching the sensor, the image becomes darker. However, if we increase the exposure value by +1, the image will be brighter and the shutter speed will be reduced, resulting in a brighter image.
| APERTURE PRIORITY, +1 EV EXPOSURE COMPENSATION | ||||
| f/1.4 | f/2.0 | f/2.8 | f/4.0 | f/5.6 |
| 1/1000 | 1/500 | 1/250 | 1/125 | 1/60 |
When shooting in Shutter Priority mode, adjusting the exposure compensation will change the camera’s aperture, not the shutter speed. Begin with a base exposure of 1/250th of a second for the shutter speed.
| CAMERA METERED EXPOSURE (SHUTTER PRIORITY) | ||||
| f/1.4 | f/2.0 | f/2.8 | f/4.0 | f/5.6 |
| 1/1000 | 1/500 | 1/250 | 1/125 | 1/60 |
Reducing exposure by 1 EV will change the aperture from f/2.8 to f/4.0 without affecting the shutter speed.
| SHUTTER PRIORITY, -1 EV EXPOSURE COMPENSATION | ||||
| f/1.4 | f/2.0 | f/2.8 | f/4.0 | f/5.6 |
| 1/1000 | 1/500 | 1/250 | 1/125 | 1/60 |
Adjusting +1 EV will expand the aperture to f/2.0, resulting in a brighter image.
| SHUTTER PRIORITY, +1 EV EXPOSURE COMPENSATION | ||||
| f/1.4 | f/2.0 | f/2.8 | f/4.0 | f/5.6 |
| 1/1000 | 1/500 | 1/250 | 1/125 | 1/60 |
In Manual Mode, the Camera ISO is the only thing that can be adjusted. However, it needs to be set to Auto ISO first, as mentioned before. The process is similar to the previous cases, except that the aperture and shutter speed stay the same.
Adjusting exposure with sophisticated metering systems.
While I mentioned earlier that camera metering systems typically use middle gray as a standard, newer cameras have advanced metering systems that can analyze scenes using preset data to adjust exposure without needing exposure compensation.
Some cameras can detect people in photos and adjust the exposure based on their skin tones to avoid over or underexposure. This means that our cameras may need less manual intervention thanks to this feature.
Even though our cameras are becoming smarter, it is still important to know how to make exposure adjustments quickly. This knowledge is valuable not only for future use but also for pushing the boundaries of your camera’s capabilities, such as using techniques like exposing to the right.
Revealing on the right.
While there is no universal standard for “proper exposure” in every scene, photographers often adjust the brightness of a scene based on what they want to convey. For example, intentionally darkening an image can highlight silhouettes. However, there are situations where exposure adjustments can be made using the exposure compensation feature to achieve the best results in every image.
This technique, called “Exposing to the Right,” allows photographers to capture images that are as bright as possible without losing any important details. This ultimately leads to obtaining high-quality images.
Please note that this technique is not recommended for beginners, as it requires shooting in RAW format instead of JPEG to achieve optimal results. If you’re interested in learning more about this topic, please refer to our article on Exposing to the Right.
Note: If you want to make some adjustments to the photo just let me know. I can do it for you at a very low cost. You can hire me to edit your photo.
- What is Midjourney
 Discover the capabilities of Midjourney AI, learn how to effectively utilize the platform, and explore the advantages and disadvantages of the Midjourney AI image generator across its different pricing options.
 - Brand identity elements
 In the vast marketing universe, imagery is pivotal in establishing and nurturing a brand’s identity. A brand’s visual choices are not merely aesthetic decisions but strategic moves that can significantly influence perception and performance. This Picfixs article explores the intricacies of selecting imagery that complements and enhances a brand’s essence, ensuring it resonates with the intended audience while standing out… Read more: Brand identity elements
 - 100 Best Mountain Captions and Mountain Quotes for Instagram
 Ready to scale new social media heights? Look no further than this treasure trove of 100 exhilarating captions and quotes, handpicked for your Instagram mountain posts!
 - Symmetry in Photography: A Creative Approach with Examples
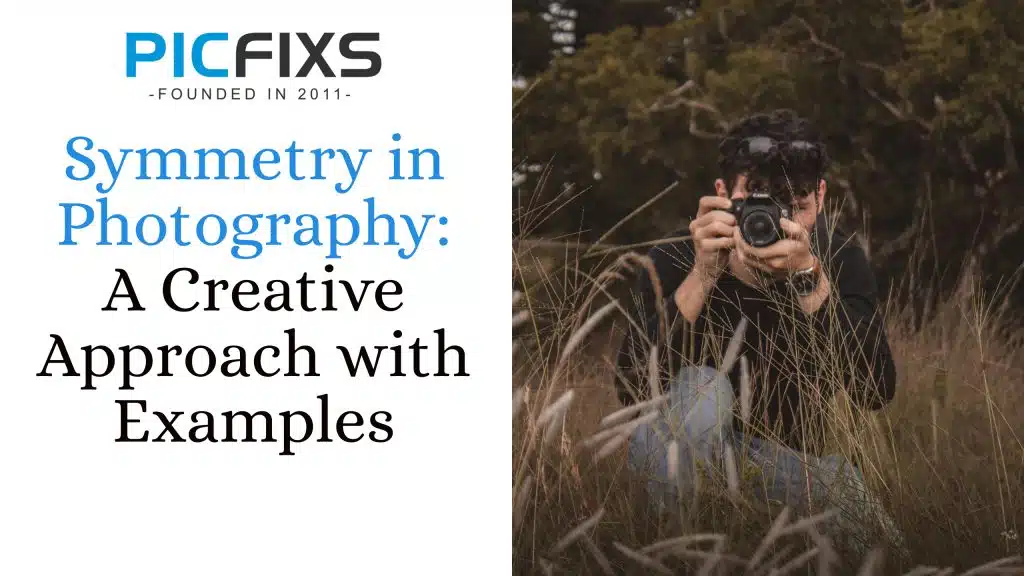 Delve into the enchanting realm of symmetry in photography as we showcase mesmerizing examples on our website. Experience the allure of perfectly mirrored images!
 - 11 Quarantine Photoshoot Ideas to Try at Home for Amazing Photos
 Looking for unique photoshoot ideas during quarantine? Explore the 11 creative suggestions that will help you capture unforgettable moments at home.
 - 10 Must-Try Spotlight Photoshoot Ideas and Tips
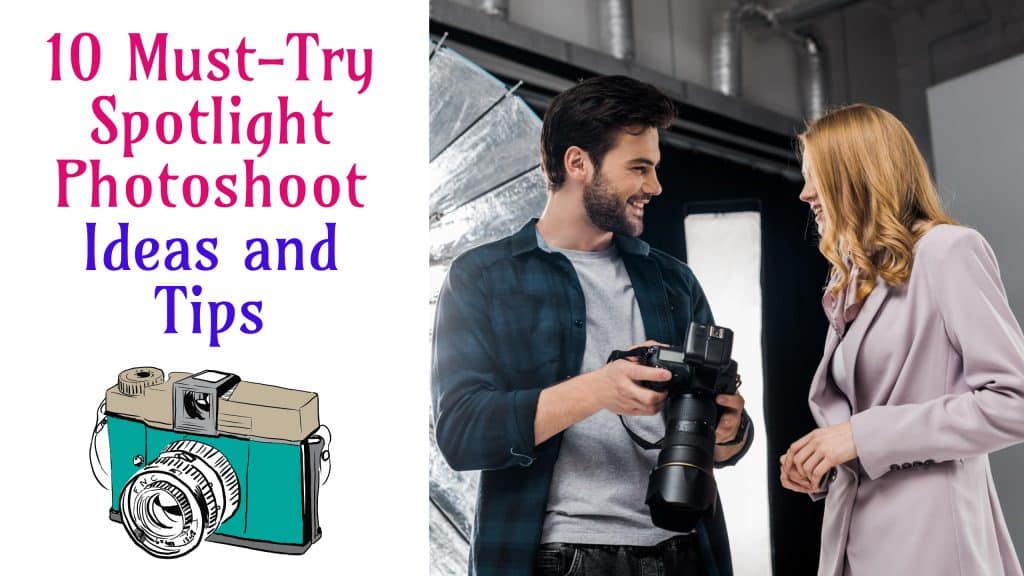 Capturing the perfect shot requires creativity and attention to detail. Here are 10 fantastic ideas and tips to help you create stunning photos during your next spotlight photoshoot.
 - AI real estate photo editing
 AI Real Estate Photo Editing Real estate photography plays a important role in attracting potential buyers or renters, making it a crucial aspect of the industry. With the advent of artificial intelligence (AI), enhance a photo editing in real estate has undergone a transformative revolution. This paper delves into the evolution of AI-driven photo editing techniques, their rule of odds… Read more: AI real estate photo editing
 - Influential fashion photographers
 Fashion photography is an art form that transcends mere clothing displays. It’s a visual language that captures the zeitgeist of culture, beauty, and style. Throughout history, certain photographers have left an indelible mark on the fashion industry, shaping trends, challenging norms, and defining aesthetics. Here, we delve into the lives and works of some of the most influential fashion photographers… Read more: Influential fashion photographers
 - How to remove wrinkles in lightroom
 In Adobe Lightroom, you can remove wrinkles using various tools and adjustments to smoothen the skin. Here’s a general guideline on different ways of how to remove wrikles on Lightroom. Let’s dive in detail. Essential ways to know how to remove wrinkles in Lightroom AlainaSpread the love