Estimated reading time: 6 minutes
Table of contents
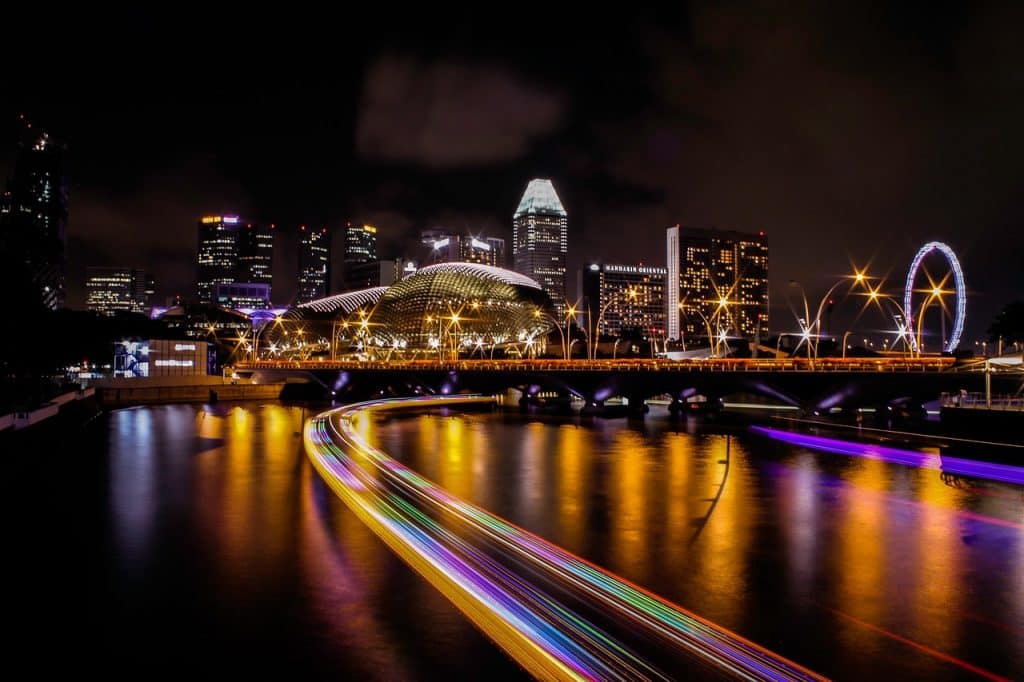
Long exposure is a useful technique in night photography.
The effects that long exposure can capture are stunning and have an ethereal quality.
The most important tool you’ll need is a sturdy tripod, as well as a DSLR camera that supports long exposures.
Photographing the Ferris Wheel
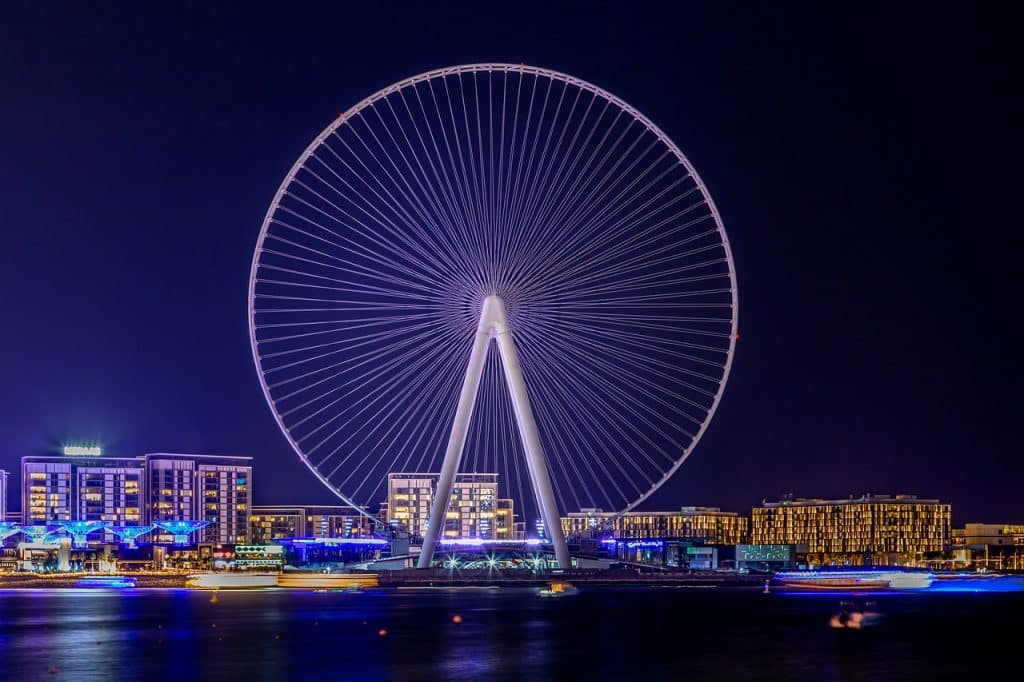
Move-in close and use a wide-angle lens to capture as much detail as possible when photographing a Ferris wheel at night. Set up your camera on a tripod and frame the shot.
Choose a small aperture between f/11 and f/32 because we want all of the elements to be sharp. Set your camera to Manual or TV (Shutter Priority) mode and adjust the shutter speed to match the speed of the lighted Ferris wheel and the style you want (anywhere between 1-30 seconds).
When photographing a Ferris wheel at night, get close and use a wide-angle lens to capture as much detail as possible. Place your camera on a tripod and compose the shot.
Because we want all of the elements to be sharp, choose a small aperture between f/11 and f/32. Set your camera to Manual or TV (Shutter Priority) mode, and then adjust the shutter speed to match the speed of the lighted Ferris wheel and the style you desire (anywhere between 1-30 seconds).
Making Star Trails

Long exposure on a starry night can produce stunning light trails caused by the stars and the earth’s rotation.
The best way to frame the image is to include an element of interest in the foreground, such as an old tree. Mount your camera on a tripod and set the lens to infinity. You should use a cable release to eliminate camera shake, as it will RUIN your photo.’
For best results, set the camera to B “Bulb” shooting mode and an aperture of f/2.8 – f/4. To open the shutter, press the remote. To keep digital noise to a minimum, keep your ISO at 100. Depress the remote again and release the shutter to finish the photo after the desired amount of time has passed. These exposures can last anywhere from 15 minutes to several hours.
Stunning Light Trails
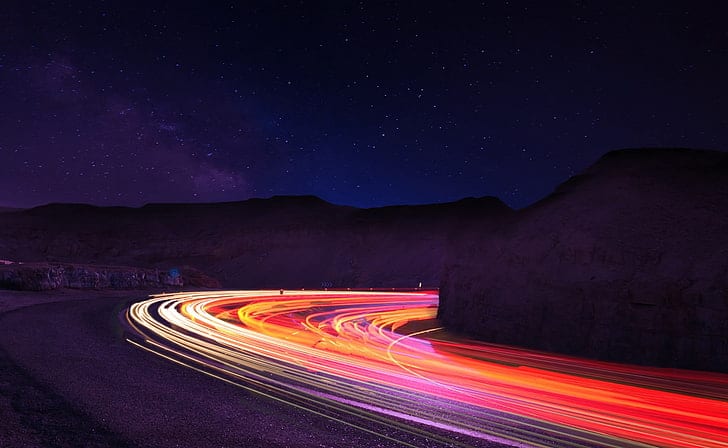
Traffic light and tail light trails create a stunning effect and are an excellent way to practice with long exposure times.
Choose a busy road with a lot of traffic at night. Use a sturdy tripod and position the camera to get a good view of the surroundings. Use a small aperture of f/16 or smaller for a greater depth of field, allowing you to focus on the majority of the image.
The longer the exposure, the more lines will appear and appear longer.
Blurry Sea Waters
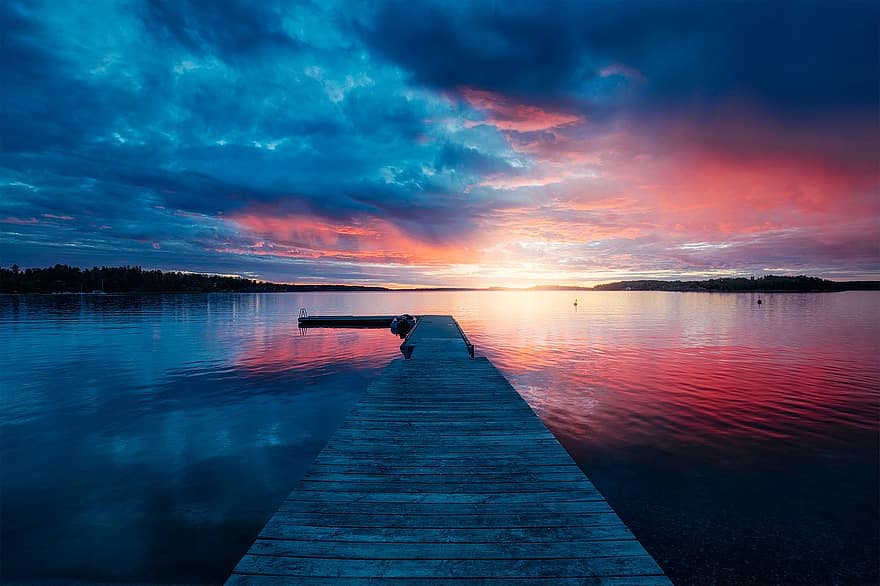
You should use the fantastic light of “the golden hour,” the last hour before the sun sets, to capture that dramatic look of the ocean and the sky.
Follow the fundamentals of night photography: use a tripod, a wide-angle lens with the smallest aperture possible, and focus to infinity. For longer exposure, set the camera’s mode dial to Manual or Bulb and use a slow shutter speed (5-30 seconds). The mistier the water appears, the longer it is exposed.
To take a photo with no blur, use your camera’s self-timer or a cable release. Don’t use flash because it will ruin the image’s effect.
Determining Exposure
Your nighttime image’s exposure will vary depending on a number of factors. When there is a lot of ambient light, the shutter speed is reduced. If you’re shooting in low light, you’ll need to use a slower shutter speed.
A shutter speed of at least 1/15th of a second is required to capture the effects of light trails, which necessitates the use of a tripod. The image of the Houses of Parliament required a shutter speed of 6 seconds to capture the traffic trails. The f/8 aperture allowed for a sharp image of the building.
The more you practice, the more sensitive you will become to the exposure required for the desired effect.
Recommended Settings
The exposure of your nighttime image will vary depending on a number of factors. The shutter speed is reduced when there is a lot of ambient light. You’ll need to use a slower shutter speed if you’re shooting in low light.
To capture the effects of light trails, a shutter speed of at least 1/15th of a second is required, which necessitates the use of a tripod. To capture the traffic trails in the image of the Houses of Parliament, a shutter speed of 6 seconds was required. The f/8 aperture allowed for a clear image of the structure.
The more you practice, the more sensitive you will become to the amount of exposure needed to achieve the desired effect.
When attempting to create a light trail, the shutter should be open for at least 1 second, necessitating the use of a tripod. Start with a 1-second shutter speed and see what happens; if the trail is too short, add 2 seconds, and then keep adding 2 seconds until you get the desired lighting effect (the beauty of digital photography is that you’ll know right away). If you have too much blurring, your shutter was open for too long, and you should reduce it by a full second.
Recommended Equipment
To take good night photographs, you will need a sturdy tripod in addition to your digital camera. This will ensure that your camera is securely stabilized, avoiding blurry images.
The AmazonBasics 60-inch Portable Tripod is an excellent entry-level option for capturing long exposures.
Conclusion
Long exposure images at night can be perfected with practice and learning to recognize lighting conditions and how to adjust the camera to meet those conditions.
Depending on the situation, your shutter speed can range from 1/60th of a second to several minutes.
Because light trails move in unusual ways, each long exposure image is unique, and with practice, you should have a collection of photos that are truly one of a kind.
Note: If you want to make some adjustments to the photo just let me know. I can do it for you at a very low cost. You can hire me to edit your photo.
LATEST POST
- What is Midjourney
 Discover the capabilities of Midjourney AI, learn how to effectively utilize the platform, and explore the advantages and disadvantages of the Midjourney AI image generator across its different pricing options.
 - Brand identity elements
 In the vast marketing universe, imagery is pivotal in establishing and nurturing a brand’s identity. A brand’s visual choices are not merely aesthetic decisions but strategic moves that can significantly influence perception and performance. This Picfixs article explores the intricacies of selecting imagery that complements and enhances a brand’s essence, ensuring it resonates with the… Read more: Brand identity elements
 - 100 Best Mountain Captions and Mountain Quotes for Instagram
 Ready to scale new social media heights? Look no further than this treasure trove of 100 exhilarating captions and quotes, handpicked for your Instagram mountain posts!
 - Symmetry in Photography: A Creative Approach with Examples
 Delve into the enchanting realm of symmetry in photography as we showcase mesmerizing examples on our website. Experience the allure of perfectly mirrored images!
 - 11 Quarantine Photoshoot Ideas to Try at Home for Amazing Photos
 Looking for unique photoshoot ideas during quarantine? Explore the 11 creative suggestions that will help you capture unforgettable moments at home.