
Estimated reading time: 5 minutes
Table of contents
Create Contrast

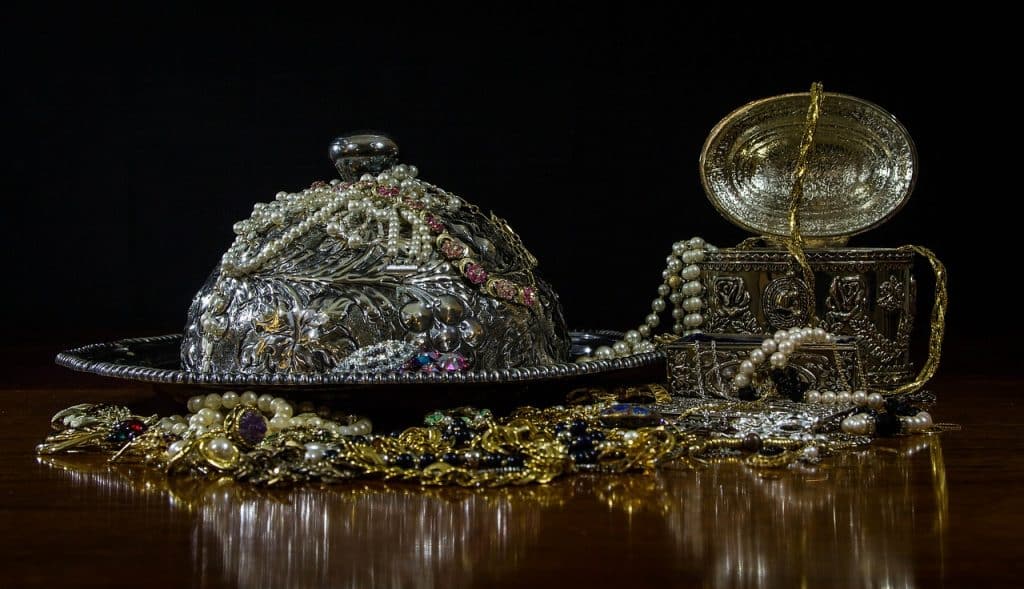
One of the most popular techniques in diamond photography is the use of interesting and unique surfaces with contrasting colours. You can experiment with a range of colour options, from a single solid colour to several shades.
This method allows you to effectively demonstrate your jewellery. However, don’t go overboard. You should avoid using too many shades to avoid dispersing the viewer’s attention and distracting from the main object in the image.
Use Natural Elements

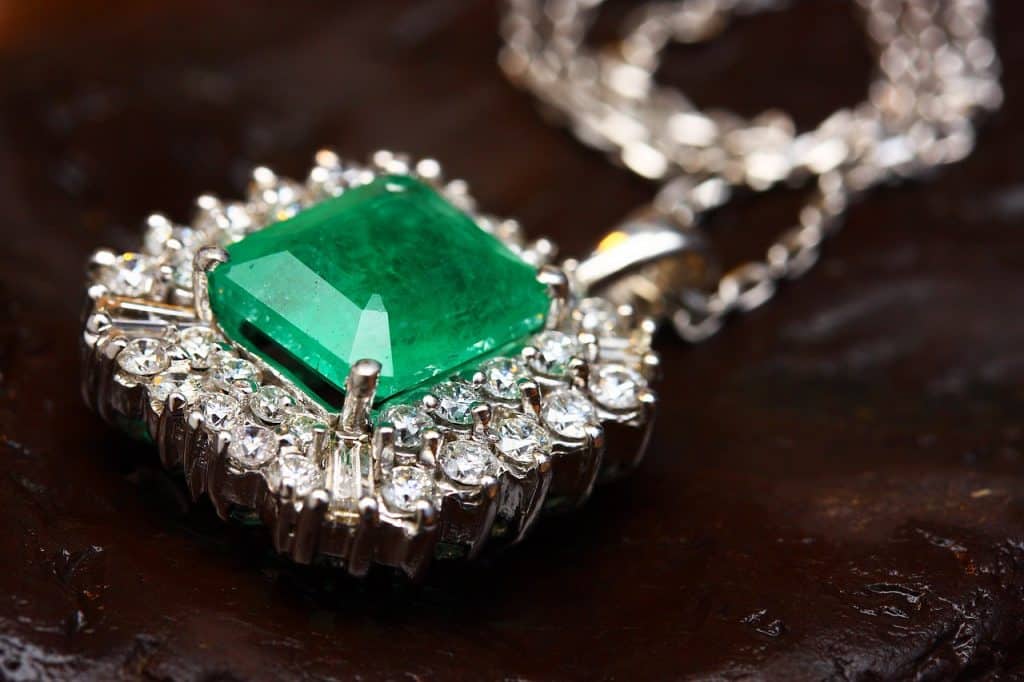
One of the diamond photography trends is to combine jewellery with flowers and plants of similar colours. Natural objects are still the most popular props for eye-catching jewellery.
Take, for example, beautifully folded twigs, snags, and flowers. You can also photograph jewellery on blurred textural background with a strong close-up. In reality, such a background could consist of anything from skin to leaves.
Use Marketing Techniques
When photographing diamonds, remember to use your imagination and creativity. Thanks to your photos, shoppers will be able to see the entire storey. Mannequin busts, which are available in most craft stores, can be used to make your accessories more realistic. Personally, I prefer to use busts that are black. They make diamonds look more elegant and sophisticated.
Change Poses & Set-Ups
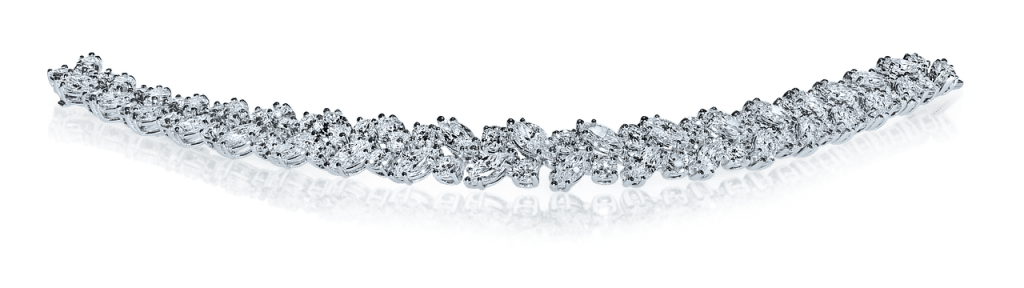
If you’re photographing diamonds for online sales, place the object against a white background. You can also take photos with a reflection on the mirror’s surface. If you want to photograph in a creative way, you should consider the composition.
Earrings can be worn on a dark or even black background. The black colour will draw attention to small details and allow crystals to shine. Use any decorative “holders” you have for your precious stones. However, jewellery photography props should not be overbearing and should not detract from the main subject.
Track What’s Working
Begin by compiling a list of recommendations and guidelines for your diamond photography and try to adhere to it step by step. The consistent use of the same settings and conditions is the foundation of successful diamond photography.
You must document all of the camera settings you use for a specific shoot, as well as the position of objects, the background, lighting conditions, and so on. This will come in handy if you need to take photos for several days.
Keep Experimenting
Patience and practice are required when shooting diamonds. Sharpness is important, but lighting is the most important factor. A better image can be produced by using soft, uniform lighting. Remember to charge the camera’s and flash’s batteries.
Turn on some soothing music, grab a cup of strong coffee, and browse through the first photos you receive. Then make some adjustments and you’ll be able to take good shots. You may need to use jewellery design software to understand how an item is made and photograph it in an unusual way.
Don’t Forget About Post-Production
Install Lightroom, Gimp, Picasa, Adobe Photoshop, ACDSee, and other photo editing software to make your photos look more professional.
It’s difficult to get the perfect shot while considering all of the important factors. You can control the white balance, light and shadow, colour correction, focus on the right details or eliminate minor defects, smoothen the metal, and so on with photo editing software.
However, it takes a long time, and if you don’t have much experience in this area, you should outsource editing to professional photo editing services.
Adjust the Necessary Sharpness with a Mask Tool
If the jewellery edges appear too sharp due to the presence of metals or the stone itself, I recommend using Photoshop’s mask. To use it, select Sharpness from the Filter menu.
There are three sliders that affect the values of Radius, Threshold, and Amount. You can adjust the necessary sharpness by dragging these three sliders. This is a simple task for true experts in the field of 360 photography.
Use the Advantages of a Pen Tool
This tool is a godsend for those who work on retouching images of loose diamonds and other stones for online catalogues. Working with the background is one of the most important tasks in such cases.
It is possible that you will need to remove and replace it. Use one of the Photoshop methods to achieve the desired result. One of them is the clipping path.
You can use this tool to remove the background without affecting the object itself. If you do not want to perform this manipulation yourself, you can hire a professional to do it for you.
Note: If you want to make some adjustments to the photo just let me know. I can do it for you at a very low cost. You can hire me to edit your photo.
LATEST POST
- What is Midjourney
 Discover the capabilities of Midjourney AI, learn how to effectively utilize the platform, and explore the advantages and disadvantages of the Midjourney AI image generator across its different pricing options.
 - Brand identity elements
 In the vast marketing universe, imagery is pivotal in establishing and nurturing a brand’s identity. A brand’s visual choices are not merely aesthetic decisions but strategic moves that can significantly influence perception and performance. This Picfixs article explores the intricacies of selecting imagery that complements and enhances a brand’s essence, ensuring it resonates with the… Read more: Brand identity elements
 - 100 Best Mountain Captions and Mountain Quotes for Instagram
 Ready to scale new social media heights? Look no further than this treasure trove of 100 exhilarating captions and quotes, handpicked for your Instagram mountain posts!
 - Symmetry in Photography: A Creative Approach with Examples
 Delve into the enchanting realm of symmetry in photography as we showcase mesmerizing examples on our website. Experience the allure of perfectly mirrored images!
 - 11 Quarantine Photoshoot Ideas to Try at Home for Amazing Photos
 Looking for unique photoshoot ideas during quarantine? Explore the 11 creative suggestions that will help you capture unforgettable moments at home.