Estimated reading time: 10 minutes
Table of contents
- What is Tattoo Photography?
- How Do You Photograph a Tattoo?
- Camera and Lens for Tattoo Photography
- Camera Settings for Tattoo Photography
- Camera Mode
- Exposure Settings
- Other Camera Settings
- Lighting for Tattoo Photography
- How to Avoid Glare while doing Tattoo photography?
- Tattoo Photography Tips
- LATEST POST
- RELATED LINK
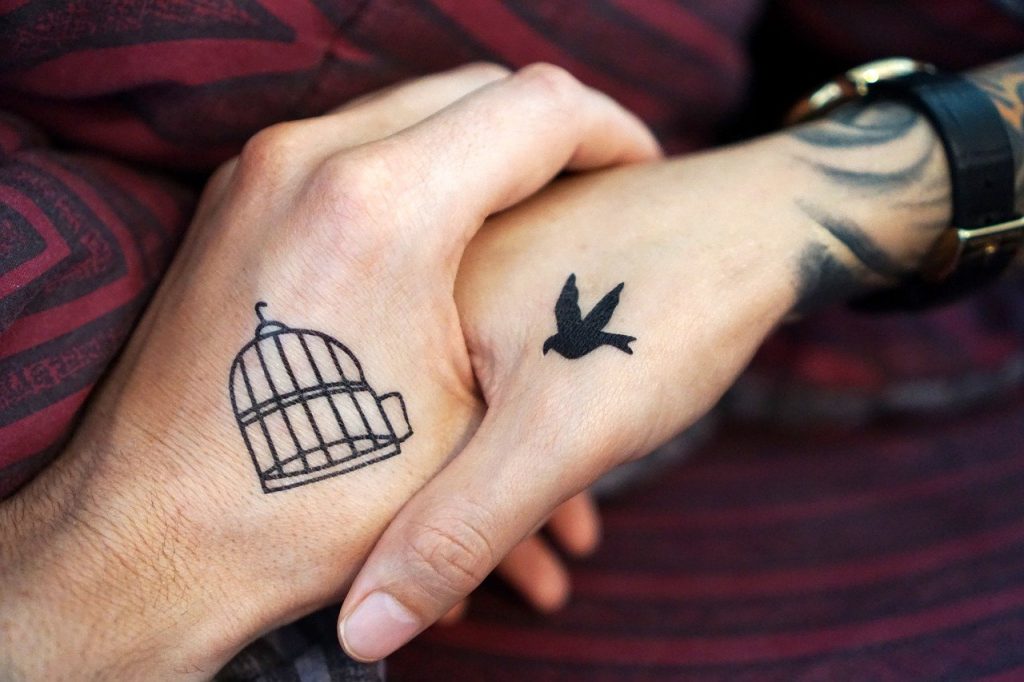
Let’s take a look at what a tattoo is before we get into tattoo photography. Tattoos are works of art or images imprinted on the skin of humans.
Tattoos are divided into two categories. The first is a permanent one. They are inked on the skin permanently and will not fade away quickly. The permanent one’s procedure is excruciatingly painful. As a result, it is not for the faint of heart. A laser treatment procedure can be used to remove it.
The second option is to get a temporary tattoo. They are, as the name implies, transient and easily washed away. They are available as stickers.
What is Tattoo Photography?
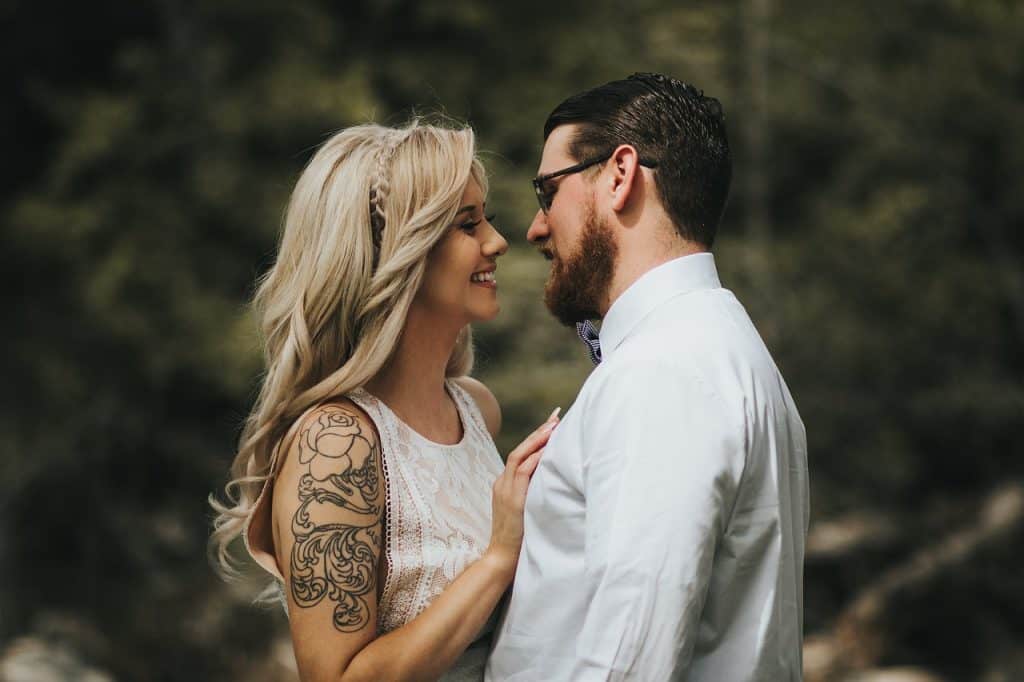
Tattoo photography is a type of photography that focuses on capturing tattoos in the skin. Tattoo photography can be done in a variety of ways. You can photograph the tattoo without any other details. It looks more like a close-up.
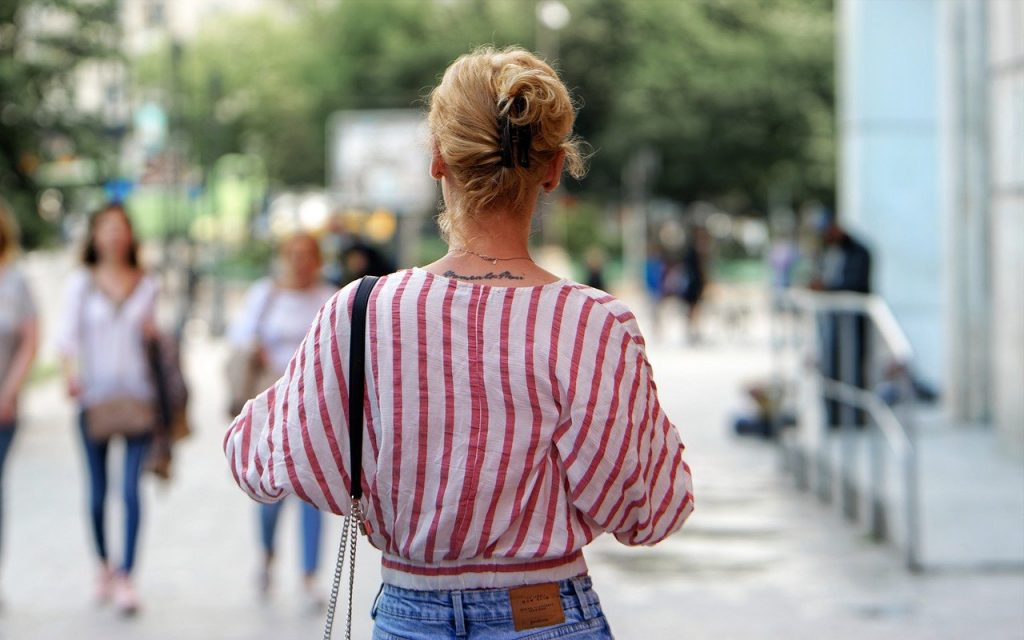
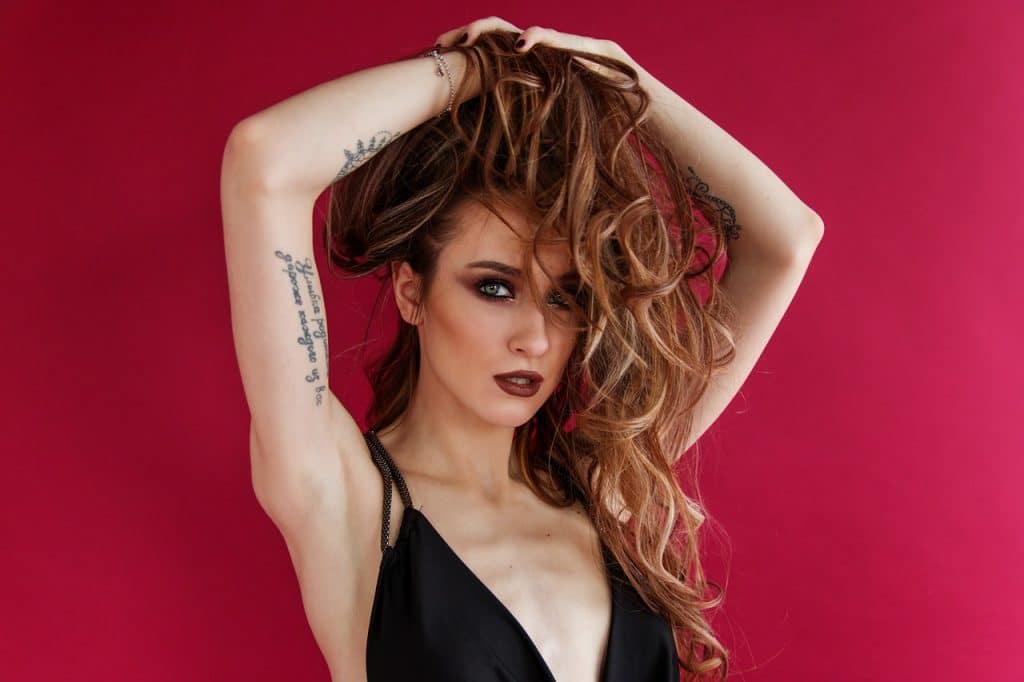
Tattoo portraits, on the other hand, will depict tattoos in various parts of the body and will feature the person as a whole. If the person has tattoos all over their body, you’ll need to capture images from various angles to show them all off.
I’ll be discussing permanent tattoo photography rather than temporary tattoo photography. However, you can use the same techniques to create temporary ones.
How Do You Photograph a Tattoo?
Tattoo photography is similar to portrait and boudoir photography in many ways. However, there are some minor distinctions. I’ll go over all of the camera settings, lighting, and tattoo photography tips in detail.
Camera and Lens for Tattoo Photography
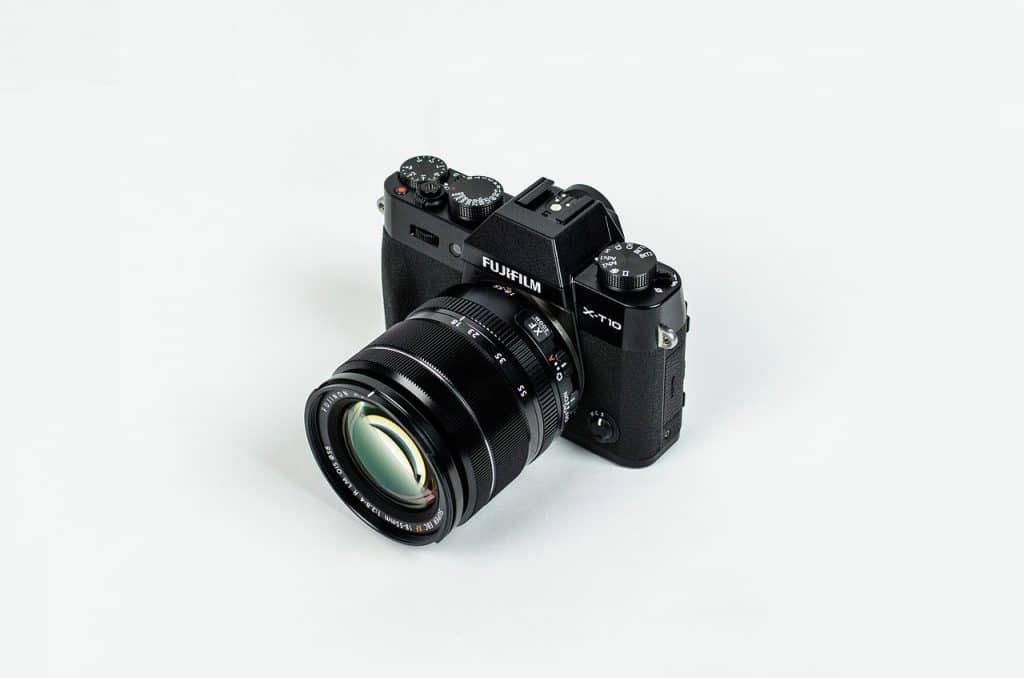
I don’t recommend doing serious tattoo photography with a point-and-shoot digital camera or a smartphone.
A good interchangeable lens camera, such as a DSLR or mirrorless camera, would be the best option. Depending on your budget, you can choose between a full-frame camera and an APS-C camera. A full-frame camera would be the best option.
You can use a wide-angle lens, a portrait lens, or a macro lens for tattoo photography.
A wide-angle lens is the best option for capturing the full portrait of the person as well as his environment or workplace.
To get a good portrait shot of the person with a nicely blurred background, use a portrait lens. The larger the aperture of your portrait lens, the more blur there will be in the background. It distinguishes your subject from the other elements in the frame.
To capture the details of the tattoo in the skin alone, a macro lens is a good choice. You can also use the portrait lens for this. However, you will not be able to obtain the same level of detail as with a macro lens.
The Nifty fifty lens, which is 50mm f/1.8, is the best budget lens option. The nifty fifty lenses is produced by all camera manufacturers, including Canon, Nikon, and Sony. It is the best portrait glass available at the most affordable price. So go ahead and do it.
Tattoo photography will have a focal length range of 18mm to 200mm. The shorter focal lengths are used for wide-angle perspectives, while the longer focal lengths are used for close-ups.
Note: If you want to make some adjustments to the photo just let me know. I can do it for you at a very low cost. You can hire me to edit your photo.
Camera Settings for Tattoo Photography
With the proper camera settings, you can achieve the best results. So, I’ll show you how to use your camera to get a good tattoo image.
Camera Mode
You can choose between Aperture Priority and Manual mode.
Exposure Settings
If you want the subject to stand out, use the lowest f-number possible to achieve a shallow depth of field.
If you’re using Aperture priority mode, make sure you have enough shutter speed to capture the image without shaking. To match these settings, use the lowest ISO value possible.
If you’re shooting in Manual mode, use the lowest f-number and adjust the shutter speed and ISO to get the proper skin exposure. Ideally, the exposure slider should be set to 0.
Spot metering is useful for getting the perfect skin exposure.
Other Camera Settings
For focusing, use a single point Auto Focus.
Take a RAW image of the scene. It enables you to recover any lost details during the post-processing process. There is a good chance that the details in some parts of the tattoo will be lost due to skin glare, particularly at skin curves.
If you’re not sure how to set the right white balance, use Auto White Balance. If the camera fails, you can later correct the color temperature.
Lighting for Tattoo Photography
More than 70% of tattoo photography will take place indoors. If you want high-quality images, you should invest in external light sources such as a flash or a continuous light system.
If you’re only using one external light, place it at a 45-degree angle on one of the subject’s sides. To create a soft light, use a diffuser. The shadows will be on the opposite side of the subject/person. You can even capture the image in this manner to obtain a different perspective.
If you want the opposite side of the subject to be equally exposed, use a reflector or another light source with a diffuser. If you have a small portable light, position it behind the subject to give it a proper shape.
To get enough light on the subject, you can also use natural light from the windows in conjunction with a reflector on the opposite side.
If you are doing tattoo photography outside, you must be more cautious. The harsh sunlight outside can cause some tattoos to burn. As a result, try to cast a soft light on the subject. For your shots, you can use the same external lights that were used in the indoor shoot.
How to Avoid Glare while doing Tattoo photography?
When photographing tattoos in the skin, make sure that there is no light glare from the surface.
One of the most common issues in tattoo photography is skin glare. The human body is full of curves. As a result, when you lighten the subject, the light will not fall uniformly on all parts of the body. As a result, you must consider it when positioning your lighting.
If there is a glare, that section of the Tattoo will be washed out or have fewer details. So, the trick here is to use a diffused light source to illuminate the subject.
Harsh lighting intensifies the glare on the subject. Multiple light sources can sometimes help to distribute light uniformly.
Don’t point the camera’s flash (internal or external) at the person. In both cases, use a Diffuser.
Because it fires directly on the subject, the internal flash is not recommended. Use an external flash with a diffuser at a 45° angle.
Tattoo Photography Tips
I will share some tips to improve your tattoo shots.
1. Simple Background
The background is essential in any type of photography, including tattoo photography.
Make sure the background is free of distracting elements. You can keep it simple by using a background that blends in with the subject. This framing technique is useful, especially when using a fast lens with a large aperture.
2. Shooting inside Tattoo Studio
Another way to compose is to include the surrounding elements to give the frame atmosphere.
If you are present at the tattoo studio when the inking is taking place, you can capture some candid shots of the subject being tattooed live.
When the inking is finished, ask the person to pose from every angle possible to get the best pictures.
If there are distracting elements in the scene, either change your shooting angle or physically remove the items.
3. Shoot Subjects in their Working Environment
Another way to compose is to have your subject stand in his working environment and shoot images from various angles that cover the environment.
For example, if the person is a sketching artist with tattoos on his or her hands, you can request that he or she hold the sketching pen on top of half-finished work. You can compose the image from a high angle and include the sketching as well as the tattooed hands in the frame. You can also take a standard front-view photograph.
Take the shots inside the gym if the person is a gym trainer. You can make the person do some bodybuilding exercises inside the gym, where the tattoos on their skin will be visible, and capture some candid moments.
So, try to capture narrative frames.
4. Make the person Pose
When photographing a person with numerous tattoos on his body, try all of these poses to get the best shots.
4.1. Close-Ups
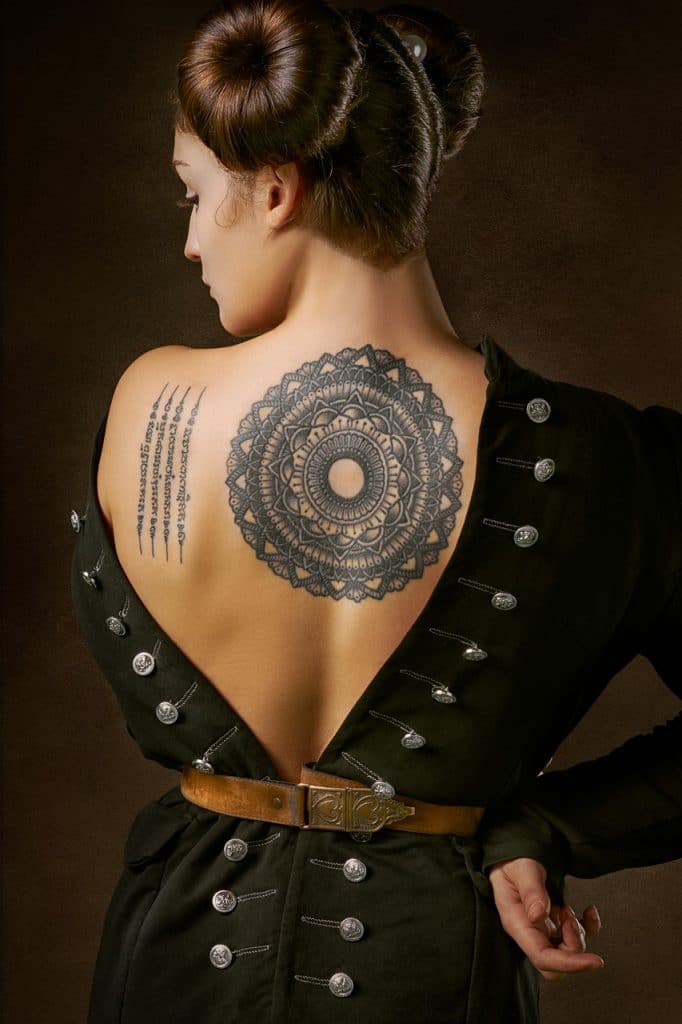
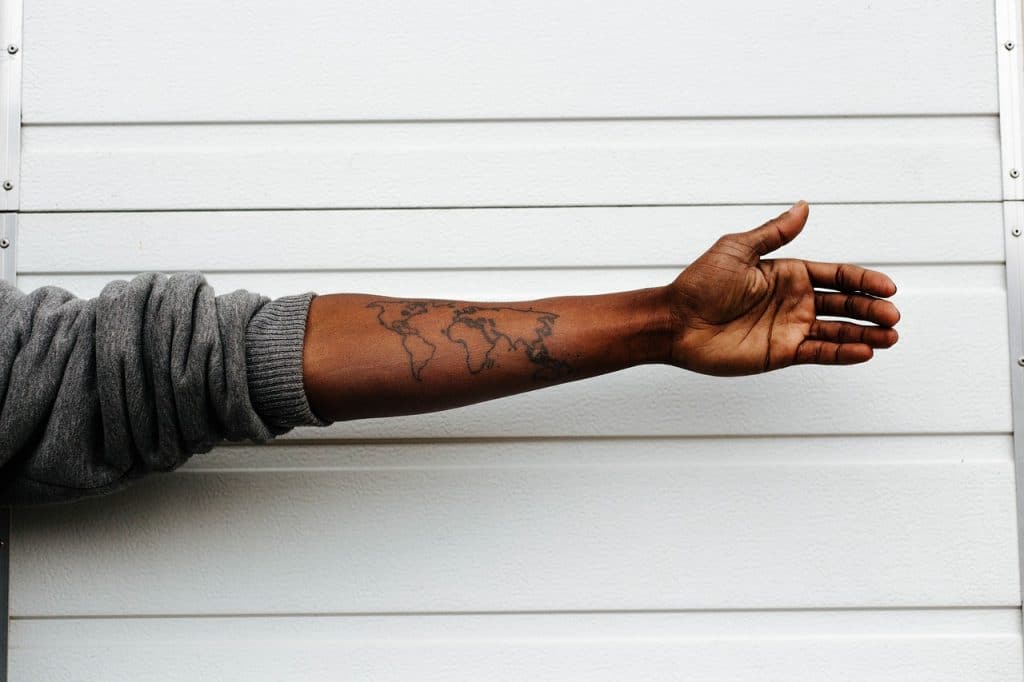
Tattoos will be placed on various parts of the body, including the fingers, face, neck, legs, hands, shoulders, back, and chest. Take close-up shots of each part of the body where the tattoo is visible.
Don’t just take full-frame close-up shots. It will appear uninteresting. So, try to include the environment or other body parts in the frame in a blurry format. It ensures that the image is properly composed.
In such frames, the main subject of interest should be the tattoo.
4.2. Full body Portraits
A full-body portrait is required for all tattoo photography. If the person has tattoos on both hands, have them wear a sleeveless dress and take photos.
Make them wear shorts or trousers if they have tattoos on their legs. You can make the person sit in a chair or lean against a wall with one leg pushing against it. If there is a bench nearby, have the person sit on it with their legs straightened and one leg on top of the other.
Capture a full-body portrait from every angle possible. It will assist you in achieving the best results.
4.3. Head Shots
Capture headshots if the tattoo is on the neck or side of the face.
For a nicely blurred background, try to get a shallow depth of field. Check that both the face and the tattoo are properly focused. As a result, you’ll have to experiment with the Aperture settings.
You can express your creativity by blurring certain parts of the image to get a different perspective.
5. Try Monochrome
Tattoos can be single-colored or multi-colored. So, if it only has one color, you can experiment with Black and White photography. Some photos look best in black and white.
If you are unsure about shooting in monochrome, capture the RAW image and convert it to black and white in post-production.
Conclusion
So, now you know how to do tattoo photography as well as all of the tips and techniques for getting the best shots.
So, give it a shot and leave your thoughts in the comments section below.
Note: If you want to make some adjustments to the photo just let me know. I can do it for you at a very low cost. You can hire me to edit your photo.
LATEST POST
- What is Midjourney
 Discover the capabilities of Midjourney AI, learn how to effectively utilize the platform, and explore the advantages and disadvantages of the Midjourney AI image generator across its different pricing options.
 - Brand identity elements
 In the vast marketing universe, imagery is pivotal in establishing and nurturing a brand’s identity. A brand’s visual choices are not merely aesthetic decisions but strategic moves that can significantly influence perception and performance. This Picfixs article explores the intricacies of selecting imagery that complements and enhances a brand’s essence, ensuring it resonates with the… Read more: Brand identity elements
 - 100 Best Mountain Captions and Mountain Quotes for Instagram
 Ready to scale new social media heights? Look no further than this treasure trove of 100 exhilarating captions and quotes, handpicked for your Instagram mountain posts!
 - Symmetry in Photography: A Creative Approach with Examples
 Delve into the enchanting realm of symmetry in photography as we showcase mesmerizing examples on our website. Experience the allure of perfectly mirrored images!
 - 11 Quarantine Photoshoot Ideas to Try at Home for Amazing Photos
 Looking for unique photoshoot ideas during quarantine? Explore the 11 creative suggestions that will help you capture unforgettable moments at home.