Have you ever been tasked with photographing a large group of people and felt completely lost? Group poses can be intimidating at times. You want to make them appealing, but you frequently end up with groups that look squished together. Worse, you frequently lose someone’s face or run out of space in your frame.
That’s why we put together this group pose guide. We’ll go over everything you need to know about posing large groups of people, as well as some insider tips and tricks to boost your confidence. Finally, we will demonstrate standing, sitting, and other popular group posing setups! So let’s get this party started!
Tips for Group Poses
These pointers will come in handy when photographing large groups. Try to include one or more of them in each group session. You can even try to combine ideas to create the best possible group photo!
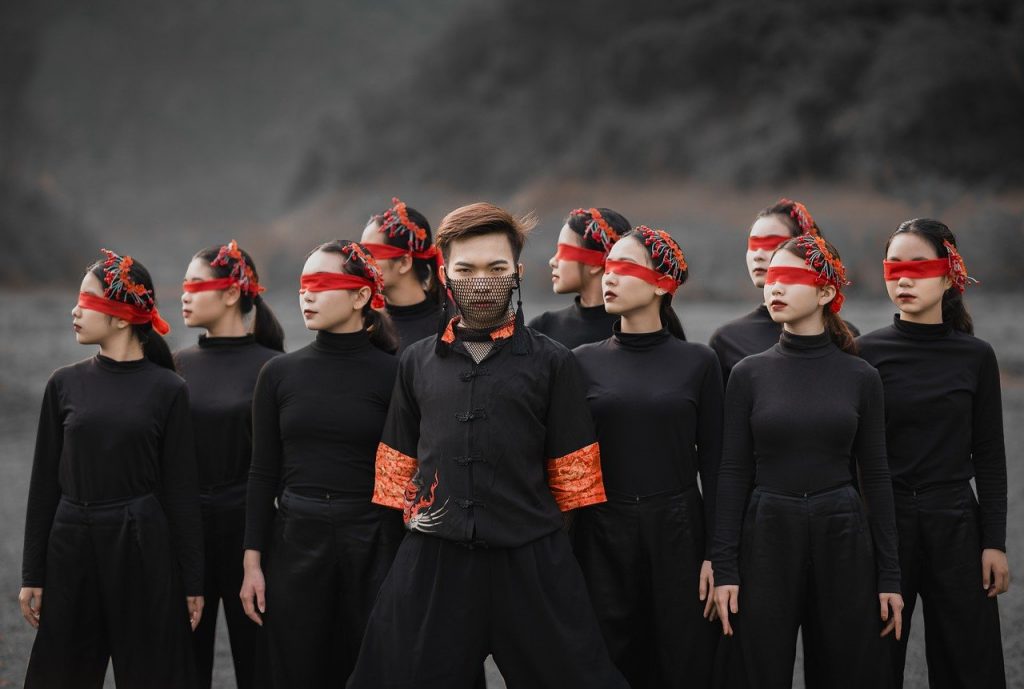
1: Layer Your Group Pose
This is precisely what it sounds like. Remember to layer the pose the next time you’re the photographer for a large group of people. Keep some of your subjects standing and others sitting, for example. I frequently have tall people stand in the back and chairs set up in front of the group so that the shorter people can sit.
If you’re working with children or young people, you can even have a third row of people sitting in front of the chairs. You’ll be able to see everyone’s face in the photo if you layer your groups.
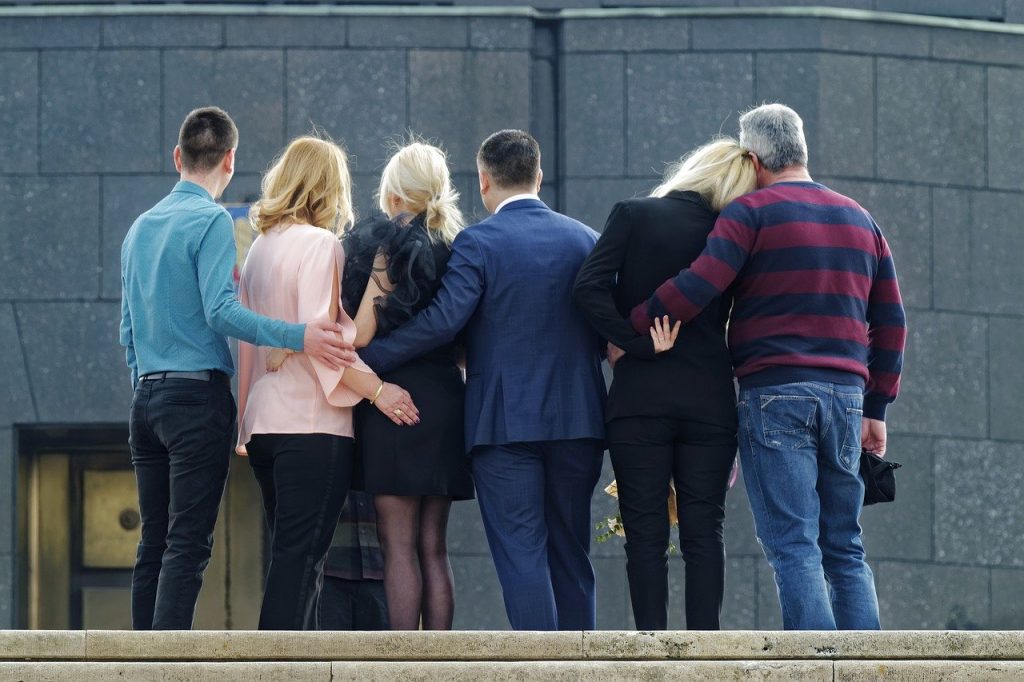
2: Look for Everyone’s Face
When I’m working with various families and friends, I always say, “if you can’t see me, I can’t see you.” The same phrase can be used for your group poses. Tell the group that because there are so many of you, I can’t always see everyone, so if you can see me, you’re in a good position.
For larger shoots, it’s also a good idea to bring along an assistant who can keep an eye out for faces hidden behind others. This only applies to extremely large group poses. Finally, take a photo and zoom in to make sure you can see everyone.
3: Use Stairs
When the group is small enough, try posing them on some nearby stairs. When it comes to posing large groups, stairs automatically make your job easier. Simply arrange the tallest people on the higher steps and stagger the shorter groups below until you have the desired pose setup.
A critical aspect of this posing is to use an aperture of f/8 or higher to ensure that everyone is in focus. This is due to the fact that they will be shot from different distances.
4: Look for Interesting Backdrops

The background is important in making a photograph more interesting. This is also true when posing in groups. A great backdrop will make your subjects stand out and appear more interesting.
You can even experiment with cropping. Make the background the main attraction and place your group’s heads at the bottom of the image. There are numerous creative ways to incorporate backgrounds into your group poses.
5: Check your Lighting
When photographing groups, lighting can be a challenge. If you’re shooting outside, look for even lighting across the entire group. You don’t want harsh light on half of the group’s faces. Instead, look for a shaded area that can accommodate the entire group.
This becomes more difficult if you are shooting indoors. You should aim your flash at the ceiling so that it reflects back onto your group. Alternatively, you could mount your camera on a tripod and take photos with a slower shutter speed and flash. Finally, when photographing large groups, try to find a well-lit, evenly lit room. To achieve the best results, everyone should have even lighting on their faces.
6: Be in Control
When photographing group poses, don’t be afraid to take command. When you’re working with a large group of people, it’s common for people to talk over you or ignore you. It’s critical for capturing their attention. When photographing large groups, you must act quickly and professionally. I frequently tell everyone where to stand, which keeps everyone’s attention. I tell everyone to look at me and count to three when I’m ready to shoot the entire group.
7: Take Multiple Photos
When photographing large groups, it is common for someone to blink. That is why, when photographing large groups, I always take at least four shots. This will differ depending on the size of the group. When photographing a family of four, I usually only take two shots. But if they’re five or older, I like to keep their attention for a longer period of time and take more pictures of the same pose. This way, I know everyone’s eyes will be open in at least one shot.
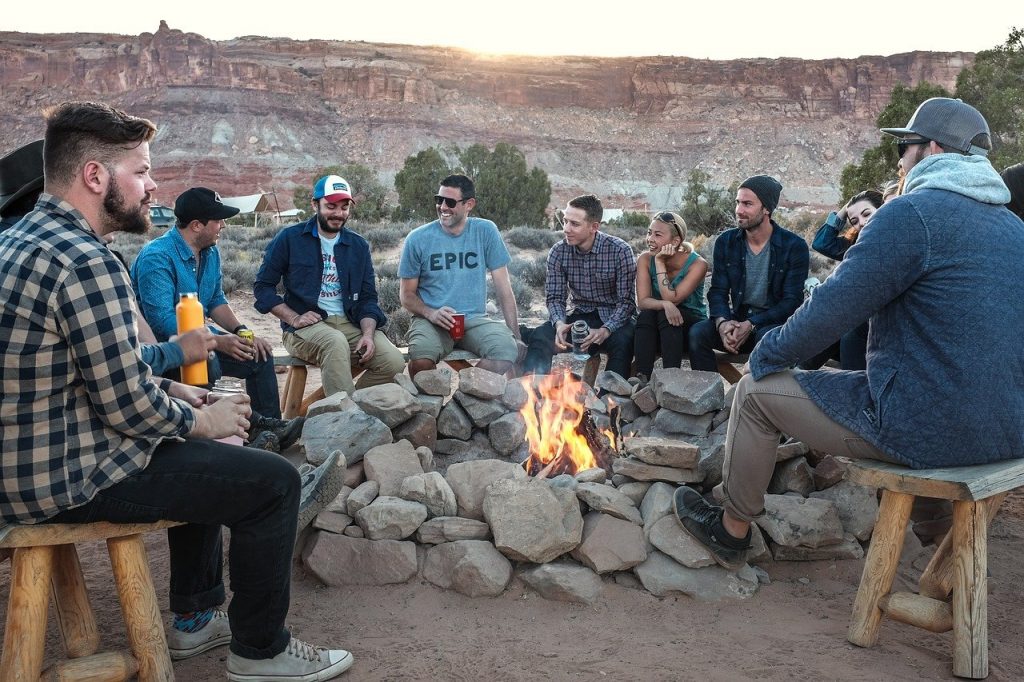
8: Have Fun

When photographing a family, a group of friends, children, or even pets, remember to let them have fun and pose themselves naturally. At the end of the day, photography should be enjoyable, and this is especially true for large groups.
I instruct the children to run together toward the camera, with mom and dad trailing behind. Everyone is in the shot in this manner, but it appears more natural. Make them jump around or look at each other while standing close to each other. Take a look at the excellent example in the photo above.
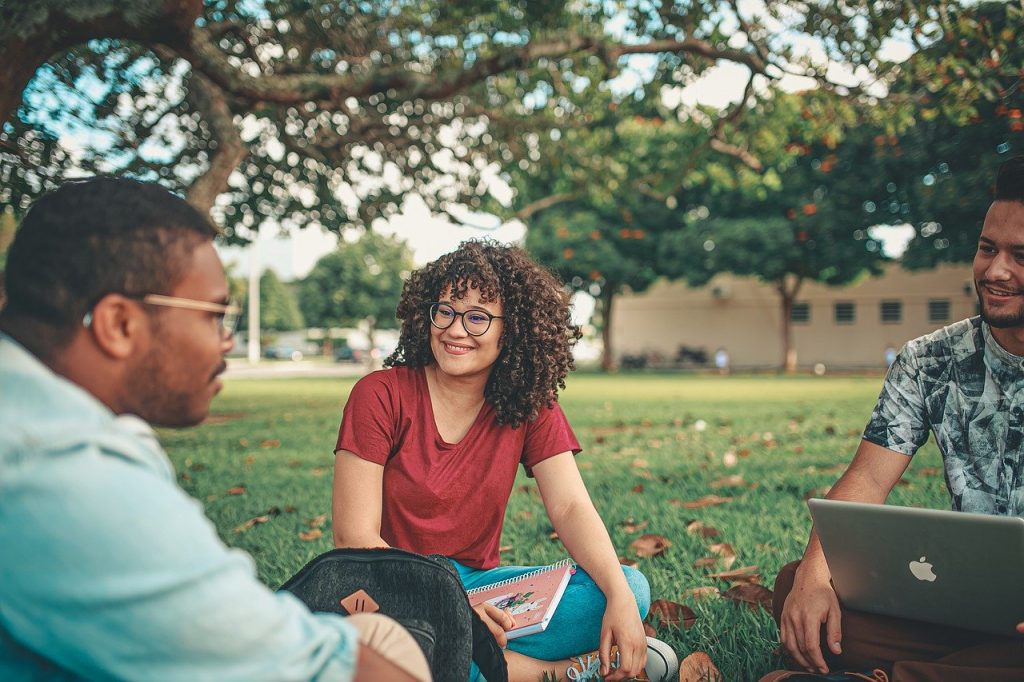
9: Hands in pockets or to the side

People never know what to do with their hands when you’re shooting a group or a single person. It’s even more important when posing in groups. For a big shot, you want everyone to have the same hand pose. As an example, I tell people to simply relax their hands and keep them by their sides. As another example, if they are sitting, I tell them to rest their hands in their lap. Use your imagination to determine what looks good.
10: Make it tight
For group posing, you don’t want your height to vary too much. Instead, try to shoot your groups as tight and as close together as possible. For business shots, keep everyone an even distance apart and look into the camera. To keep everyone in line and get better photography poses, choose one person to be the center and have everyone turn slightly towards them. Every photographer approaches this differently, but you’ll figure out what works best for you.
Conclusion
In conclusion, there is no one way to take the perfect group photo. You’ll need a different group posing method if you’re photographing two, three, thirty, or even one hundred subjects. We hope you enjoyed some of the ideas in this article and will be able to use them in your next group pose.
Note: If you want to make some adjustments to the photo just let me know. I can do it for you at a very low cost. You can hire me to edit your photo.
lATEST POST
- What is Midjourney
 Discover the capabilities of Midjourney AI, learn how to effectively utilize the platform, and explore the advantages and disadvantages of the Midjourney AI image generator across its different pricing options.
 - Brand identity elements
 In the vast marketing universe, imagery is pivotal in establishing and nurturing a brand’s identity. A brand’s visual choices are not merely aesthetic decisions but strategic moves that can significantly influence perception and performance. This Picfixs article explores the intricacies of selecting imagery that complements and enhances a brand’s essence, ensuring it resonates with the… Read more: Brand identity elements
 - 100 Best Mountain Captions and Mountain Quotes for Instagram
 Ready to scale new social media heights? Look no further than this treasure trove of 100 exhilarating captions and quotes, handpicked for your Instagram mountain posts!
 - Symmetry in Photography: A Creative Approach with Examples
 Delve into the enchanting realm of symmetry in photography as we showcase mesmerizing examples on our website. Experience the allure of perfectly mirrored images!
 - 11 Quarantine Photoshoot Ideas to Try at Home for Amazing Photos
 Looking for unique photoshoot ideas during quarantine? Explore the 11 creative suggestions that will help you capture unforgettable moments at home.