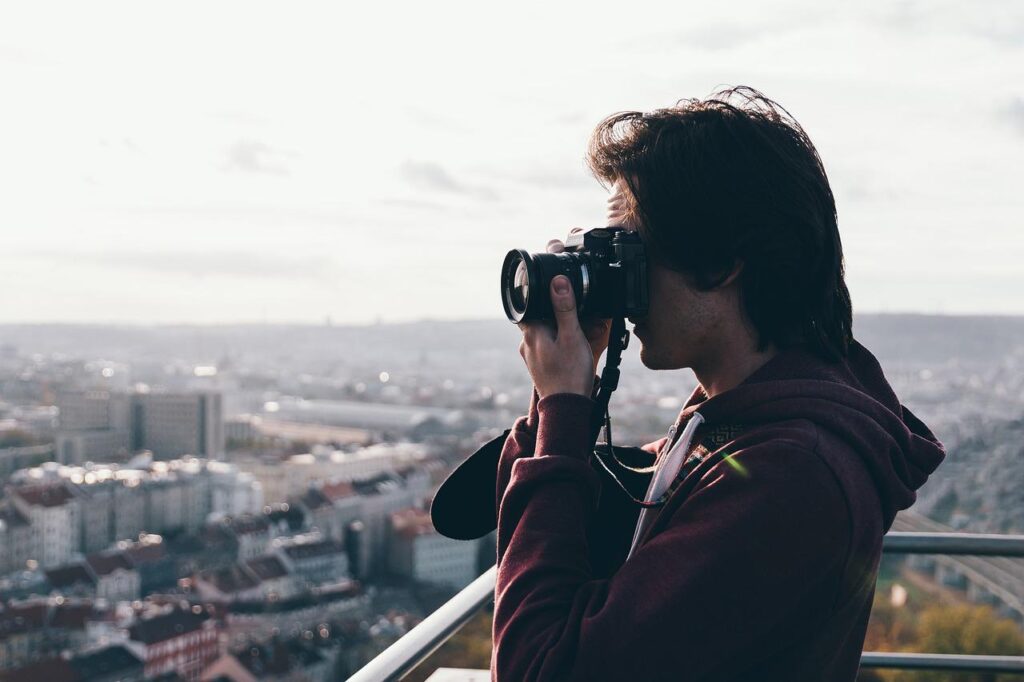
Imagine getting up at 4 am and going hiking to take a picture of a wonderful sunrise. You look forward to going home with a camera full of photos. You transfer your photos and start going through them. Then notice that they are all blurry or out of focus. One of the key elements of good photography is sharpness. If the images are blurry, they are useless. And there is not much that can be done in post-processing. Of course, some photos are intentionally blurred for effect. However, in general, sharpness can create or destroy photos. Once you know how, it’s easy to take sharp pictures. If you don’t know how to take clear pictures, these timeless tips can help. They are all very simple and do not include Photoshop.
Shoot in RAW

Shooting in RAW has many advantages. You can adjust many settings even after taking a picture. One such setting is sharpness. If you edit the image in Lightroom, you can increase the sharpness in the Develop module. Just go to Develop> Details> Sharp. You can add an unsharp mask when editing in Photoshop. Just go to Filter> Sharp> Unsharp Mask. But don’t overdo it! Photos that are too sharp are tiring to see.
Take Advantage of Light
The brighter the image, the clearer the image. That way, you can keep the shutter speed fast, the ISO low, and the aperture low. Also, many cameras have problems focusing in dark places. If You Can’t Use Daylight, but you want a very clear picture, use an off-camera flash. It is reflected on the wall and ceiling so that the natural light gives a good impression. Lighting is the key to taking sharp pictures.
Find Your Lens’ Sweet Spot
The sharpest points on a lens are usually 2-3 stops smaller than the widest aperture. For most lenses, this can be somewhere between f / 8 and f / 11. However, if the aperture is too small, the lens will diffract and may adversely affect sharpness. If you’re not sure about the aperture, I suggest you go back and read this post now. Using a large aperture will result in a shallow depth of field and a large amount of blur. 8 You can see that the image is much sharper because most shots are clearly in focus.
Use Your Base ISO

Set the camera’s ISO as low as possible, usually 100-200. This will give you the clearest picture. The higher the number, the more noise. To create a very crisp and crisp photo, you need to minimize noise. However, keep in mind that if the ISO is low, you may need to increase the shutter speed to maintain the exposure. It is to find a balance between the two attitudes. This will give you a properly exposed, sharp shot.
Note: If you want to make some adjustments to the photo just let me know. I can do it for you at a very low cost. You can hire me to edit your photo
Use a Fast Shutter Speed
When you’re trying to take sharp pictures, the last thing you need is motion blur. This is the most important step, so make sure you do it correctly. In general, the faster the shutter speed, the sharper the photo. As mentioned in the Shutter Speed post, as a general rule, the average person can capture sharp, blurry images by slightly reducing the shutter speed. For example, if you want to take a picture at 30mm, set the shutter speed to 1/30 second. Decreasing the shutter speed increases the likelihood of motion blur. However, this rule applies only to full frame cameras. It is recommended to select a shutter speed of 1/45 second for the magnifying effect.
Turn on Image Stabilization
If you are lucky, the lens can be image-stabilized, so turn it on. In this mode, the camera tries to stabilize the image when shooting with a handheld. This allows you to slow down the shutter speed and narrow the aperture for shooting. If you use a tripod, don’t forget to turn it off again. If the camera tries to stabilize the image when there is no blur, it can adversely affect the photo and make it even more blurry.
Keep Your Lens Clean
Great lenses are useless if they are dirty. Dirt and fingerprints on the lens can affect your photos. However, keep in mind that the dust on the front of the lens does not affect the image. What makes a big difference in photography is the dust behind the lens, which is inside the camera. If you don’t get a clear image, remove the lens and check for dust. Gently wipe with a soft cloth or brush.
A Good Lens is Key
You may have a flashy camera, and you may be surprisingly good at photography. But your photos are just as good as the lenses they pass through. When buying your first camera, it’s a good idea to upgrade to a cheaper prime lens right away. A prime lens is a fixed focal length lens that cannot be zoomed. Prime lenses are designed to do just one thing, so image quality improves quickly. You don’t have to compromise to cover the focal length range. I recommend 50mm or 35mm1.
Pay Attention to Focus

Disable automatic camera selection and manually select the point you want to focus on, or use the camera focus lock. This is also useful if you need a shallow depth of field. It is advisable to focus on the eyes. Here our own eyes are naturally attracted. In general, if you have sharp eyes, you will get good pictures. When using the camera on a tripod, I like to put the camera in “live view mode” and digitally zoom the area I want to focus on by 10x. Then focus manually. Zooming in helps you get the right focus. If you want to use autofocus, switch to single-point autofocus.Cameras usually try to produce as clear an image as possible. However, if you switch to single-point autofocus, the camera will focus on one point. For example, focus on the center and make it as sharp as possible. Another tip To take a sharp photo, press the shutter button halfway after taking a shot. When it is in focus, push it down completely to shoot.
Use a Tripod
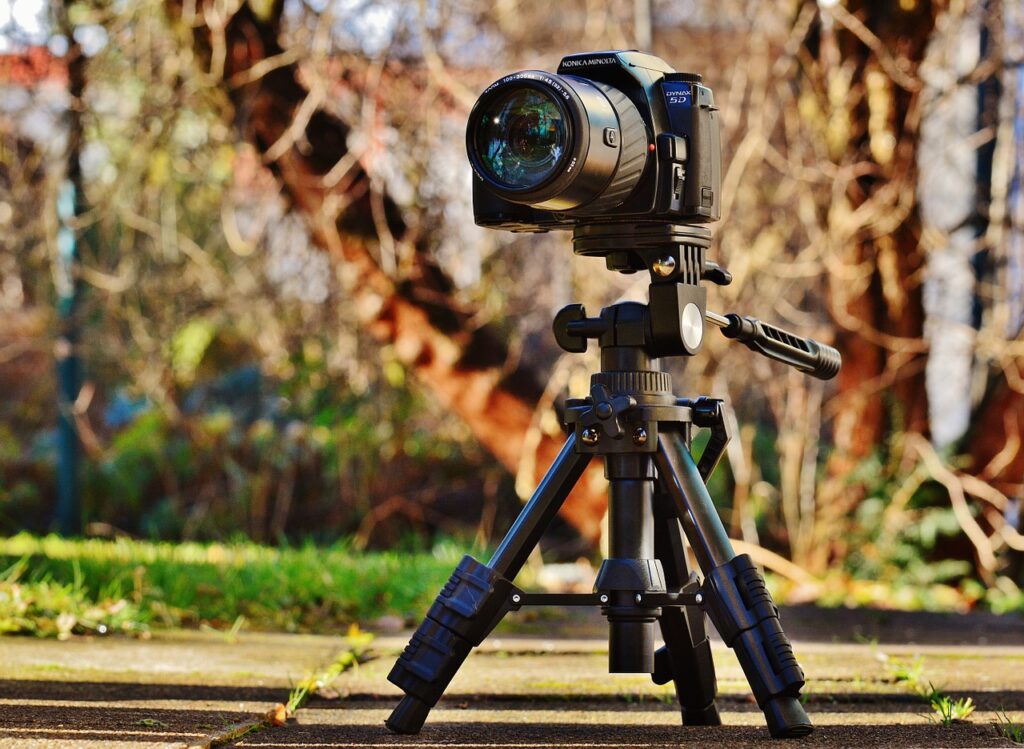
If you can’t choose a fast shutter speed and the subject is stationary, it’s usually best to use a tripod. This stabilizes the camera and ensures that the various spirit levels of a good tripod capture the uneven ground of a horizontal photo. If you don’t have a . tripod, try installing it on a flat surface. Or lean on something and try to stabilize yourself. Try to breathe slowly and gently so that your movements do not interfere with camera shake.
Note: If you want to make some adjustments to the photo just let me know. I can do it for you at a very low cost. You can hire me to edit your photo
latest post
- What is Midjourney
 Discover the capabilities of Midjourney AI, learn how to effectively utilize the platform, and explore the advantages and disadvantages of the Midjourney AI image generator across its different pricing options.
 - Brand identity elements
 In the vast marketing universe, imagery is pivotal in establishing and nurturing a brand’s identity. A brand’s visual choices are not merely aesthetic decisions but strategic moves that can significantly influence perception and performance. This Picfixs article explores the intricacies of selecting imagery that complements and enhances a brand’s essence, ensuring it resonates with the… Read more: Brand identity elements
 - 100 Best Mountain Captions and Mountain Quotes for Instagram
 Ready to scale new social media heights? Look no further than this treasure trove of 100 exhilarating captions and quotes, handpicked for your Instagram mountain posts!
 - Symmetry in Photography: A Creative Approach with Examples
 Delve into the enchanting realm of symmetry in photography as we showcase mesmerizing examples on our website. Experience the allure of perfectly mirrored images!
 - 11 Quarantine Photoshoot Ideas to Try at Home for Amazing Photos
 Looking for unique photoshoot ideas during quarantine? Explore the 11 creative suggestions that will help you capture unforgettable moments at home.