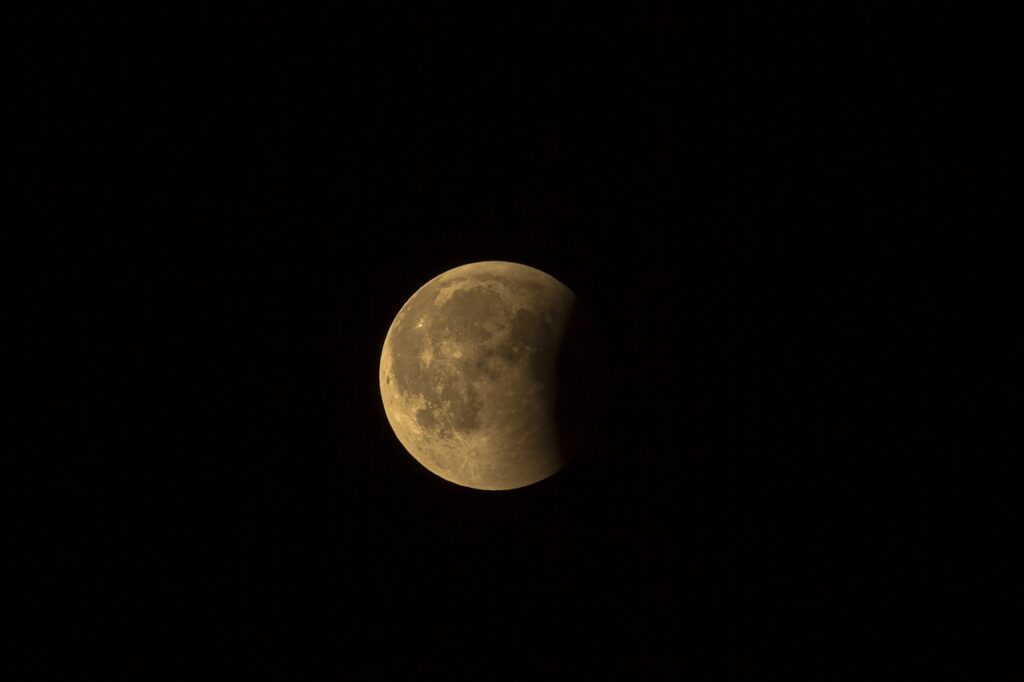
Photographing the moon, whether it’s a regular full moon or a supermoon, can be a rewarding experience. To capture stunning moon photos, you’ll need the right equipment, settings, and techniques. Here’s a complete guide to help you get started:
Equipment:
- Camera: A digital single-lens reflex (DSLR) or mirrorless camera is ideal because it allows manual settings and interchangeable lenses.
- Lens: A telephoto lens with a long focal length (e.g., 200mm, 300mm, or more) is essential for capturing detailed moon shots. You can also use a telescope with a camera adapter.
- Tripod: A stable tripod is crucial to avoid camera shake, especially when using long focal lengths.
- Remote Shutter Release: This reduces camera shake further by allowing you to trigger the shutter without touching the camera.
Settings:
- Manual Mode (M): Set your camera to manual mode to have full control over settings.
- ISO: Keep the ISO as low as possible (usually around 100 or 200) to minimize noise in your photos.
- Aperture (f/stop): Use a narrow aperture (higher f-number) like f/11 or f/16 to achieve a greater depth of field and sharpness.
- Shutter Speed: Set the shutter speed according to the moon’s brightness. Start with a relatively fast shutter speed, such as 1/250 or 1/500, and adjust as needed. Longer shutter speeds may be necessary for supermoons or when the moon is less bright.
- Focus: Use manual focus and set it to infinity. If your camera has live view mode, use it to fine-tune the focus by zooming in on the moon’s surface.
Techniques:
- Use a Tripod: Always mount your camera on a stable tripod to eliminate camera shake.
- Remote Release: If you have a remote shutter release, use it to minimize vibrations.
- Mirror Lock-Up: On DSLRs, use the mirror lock-up feature to reduce internal vibrations when the shutter opens.
- Shoot in Raw: Capture your images in RAW format for better post-processing flexibility.
- Composition: Consider composing your moon shots with other elements in the frame, such as landscapes or objects, to provide context and scale.
- Bracketing: To ensure you capture the moon’s details and the surrounding landscape properly exposed, consider bracketing your shots by taking multiple exposures at different settings.
- Supermoon Specifics: When photographing a supermoon (a full moon when it’s closest to Earth), it may appear larger and brighter. Adjust your settings accordingly, and consider using a slightly faster shutter speed to avoid overexposure.
Post-Processing:
- Import RAW Images: Transfer your RAW moon photos to your computer.
- Edit in Software: Use photo editing software like Adobe Lightroom or Photoshop to adjust exposure, contrast, and sharpness. You can also enhance colors and reduce noise if needed.
- Stacking: For the best results, you can stack multiple moon photos using specialized software like RegiStax or AutoStakkert! This can help bring out finer details.
Remember that patience is key when photographing the moon. Experiment with different settings, and don’t be discouraged if your first attempts don’t turn out perfectly. Keep practicing, and you’ll improve your moon photography skills over time.
- What is Midjourney
 Discover the capabilities of Midjourney AI, learn how to effectively utilize the platform, and explore the advantages and disadvantages of the Midjourney AI image generator across its different pricing options.
 - Brand identity elements
 In the vast marketing universe, imagery is pivotal in establishing and nurturing a brand’s identity. A brand’s visual choices are not merely aesthetic decisions but strategic moves that can significantly influence perception and performance. This Picfixs article explores the intricacies of selecting imagery that complements and enhances a brand’s essence, ensuring it resonates with the… Read more: Brand identity elements
 - 100 Best Mountain Captions and Mountain Quotes for Instagram
 Ready to scale new social media heights? Look no further than this treasure trove of 100 exhilarating captions and quotes, handpicked for your Instagram mountain posts!
 - Symmetry in Photography: A Creative Approach with Examples
 Delve into the enchanting realm of symmetry in photography as we showcase mesmerizing examples on our website. Experience the allure of perfectly mirrored images!
 - 11 Quarantine Photoshoot Ideas to Try at Home for Amazing Photos
 Looking for unique photoshoot ideas during quarantine? Explore the 11 creative suggestions that will help you capture unforgettable moments at home.


