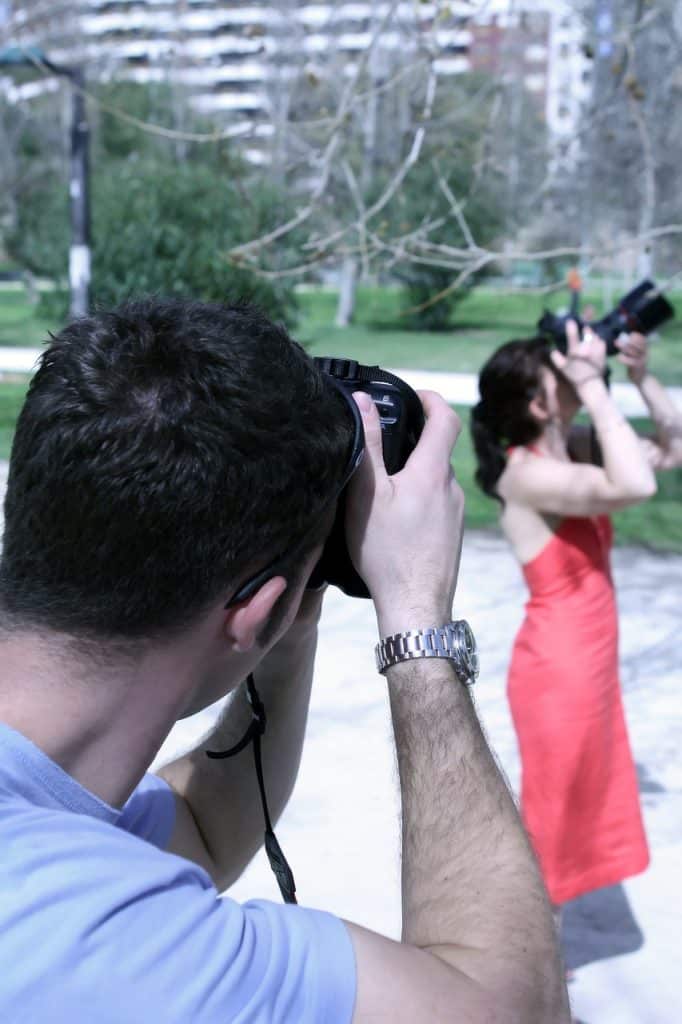
Flash photography is more than just a way to brighten the subject in the frame, as experienced photographers know. It’s also used in photos to set the tone, emphasize image elements, and add special effects. As a result, photographers frequently use a variety of flash photography techniques to convey the required message.
Bounce the Light
When using flash, the first thing to keep in mind is that you should never point the flash directly at the subject. When you point a flash at a model or an object, it creates harsh, flat lighting and unsightly shadows in the photos, regardless of whether it is the cheapest or the best camera flash.
The best way to make the flash work is to bounce it off something else. A neutral-colored wall, ceiling, or a reflective card on your flash could be the culprit. You’ll be able to create a larger light source while also directing softer light to a subject in this manner.
Learn When to Use a Flash
Amateur photographers frequently believe that flash is only used when it is dark or indoors. However, there are a variety of other situations in which flash is advised:
- Removing shadows from your photograph. When you add a second light source, you fill in the shadows, which neutralises them. Simply position the flash opposite the light source to eliminate shadows.
- When photographing a moving subject, use a slow shutter speed. It is one of the flash photography tips that will aid in the creation of a half-frozen image.
- Isolating your subject by illuminating it more than the background. Adjust your flash photography settings so that the output is much brighter than the background light. You will highlight a subject in this manner, making it brighter.
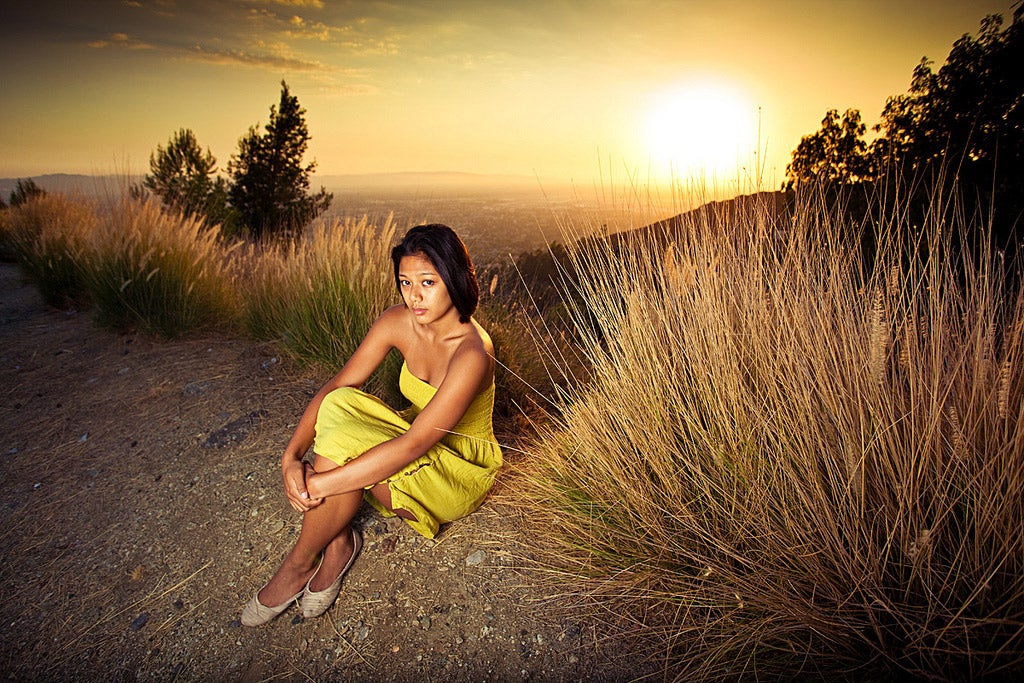
- To add colour to scenes when the light is dim. The light is very flat before sunrise, after sunset, and on cloudy days. If you use flash, you will get colourful and lively images.
- To mitigate the effects of strong backlight. To avoid a washed-out look, all backlit portrait tips recommend balancing flash and backlighting.
Use TTL Mode
When photographing in changing lighting conditions, the Through-the-Lens (TTL) mode comes in handy. After activating this mode, the flash begins communicating with the camera, which evaluates the current light condition as well as the distance between the flash and the subject to determine the required flash power to illuminate the scene.
It is an excellent solution for almost any lighting situation and can be used in conjunction with bounce flash photography techniques.
Use the Flash Exposure Compensation

When a TTL mode is activated, the power output is sometimes set incorrectly.
It is determined by the metering and tones in the scene. Set the flash exposure compensation to underexpose, e.g. -1.0, if the shot is too light. If it’s too dark, increase the exposure to +1.0. Flash exposure compensation can be adjusted in one-third stop increments.
Turn on High-Speed Sync/Auto FP
If you enjoy shooting at high shutter speeds, you should be aware that there is such a thing as maximum flash sync speed. It is the fastest shutter speed that will keep your flash in sync. Going beyond 1/125 or 1/250, depending on your camera model will result in large areas of black in your final image due to the shutter blocking the image sensor mid-exposure.
Because the flash duration is shorter than fast shutter speed exposures, your camera’s native sync speed does not work well with your flash. When you enable High-Speed Flash Sync (in Canon models) or Auto FP (in Nikon cameras), the flash fires at the precise moment the sensor is fully exposed, and it also fires for a longer period of time.
Use Ambient Light
The dark tunnel effect in the frame is another indicator that you are not a professional. It occurs when you use your camera’s flash inadvertently. For example, the camera exposes adequately for the flash-illuminated object, but there is insufficient surrounding light.
Allowing ambient light into the frame will place your subject in context and turn the photo into an atmospheric one. As a result, you should use your camera’s manual mode to get the best results.
Use the Inverse Square Law
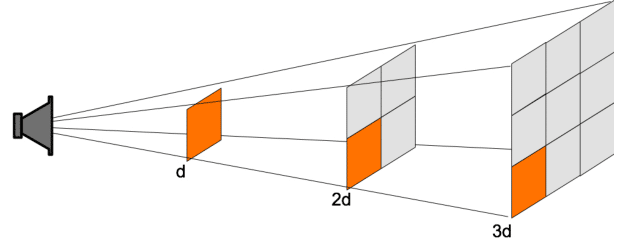
The further away the light is from the source, the weaker it becomes. Because the sun is so far away, it is not visible. When it comes to the flash, things are very different. The effect changes depending on how far your flash is from the subject. It is known as the inverse square law.
For example, say you’re one meter away from your subject. You’ll need half the amount of light from your flash as you would if you were two meters away.
We’ve all seen images where the shooter had the flash too close to the subject and the subject was overexposed. To avoid such blunders, back up and use a longer lens.
Buy Rechargeable Batteries for Your Flash
Buy rechargeable batteries for your flashes if you want to save money and time. The price is not the cheapest, but after using the flash several times and changing multiple sets of batteries, you will realize that rechargeable batteries are a better option. Furthermore, they have a stronger and longer charge, making it easier to work with them.
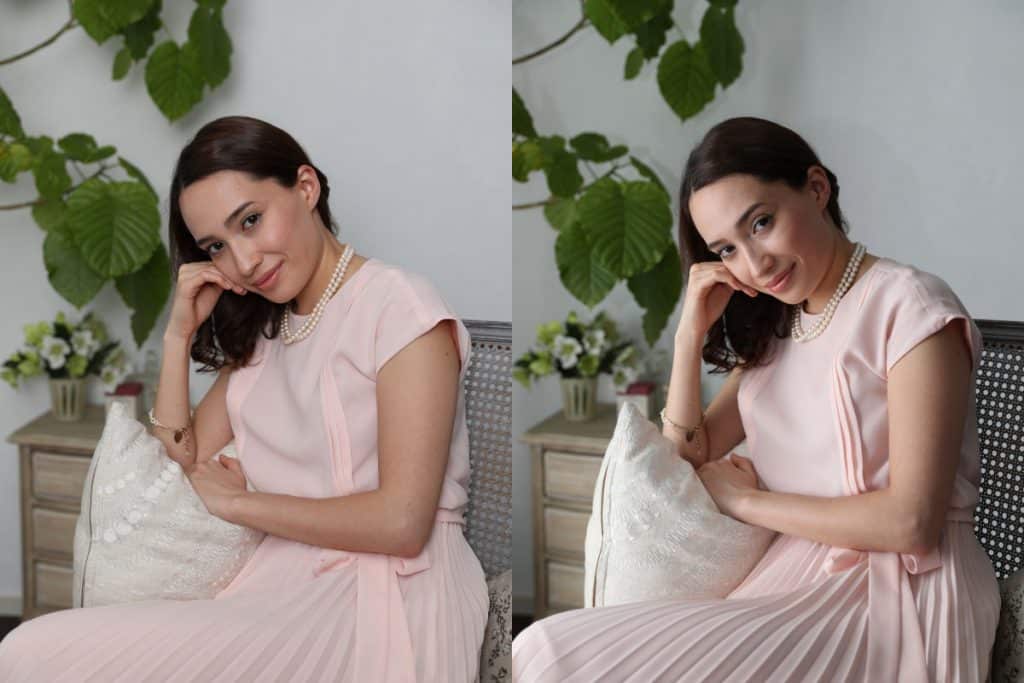
Use Flash Gels
Flash gels are used in two situations: when you need to balance the color temperature of your photograph or when you want to add fun hues to it. They are attached to the flash in order to add a colored tint to the light it emits.
They are typically used to produce not only creative effects but also to balance the color of the flash and the ambient light. Room lights typically have a different color temperature than flashes, so it is critical to match the light temperatures. As a result, flash gels are frequently used in flash photography techniques to make the image look more realistic and natural.
However, with the help of cellophane, you can experiment with lighting equipment such as DIY photography lighting and color gels.
Note: If you want to make some adjustments to the photo just let me know. I can do it for you at a very low cost. You can hire me to edit your photo.
Use Light Modifiers
Light modifiers are used to soften the light and control how it spreads from the light source to the model or required object. They control the behavior of light in this way.
Because the light from the flash is “hard,” it creates strong shadows and contrast. This flash photography equipment is a must-have if you want to improve your studio photographs.
Light Shapers (barn doors, snoots); bouncers, reflectors; diffusers (softboxes, umbrella diffusers); and studio lighting kits are all available on the market today.
Use Multiple Flashes
You can use more than one flash to illuminate your model if you want to create a three-dimensional light effect. However, in order to do so, you must be familiar with flash photography equipment such as multiple wireless flashes and be able to sync them with your camera directly or via a wireless transmitter.
A key light should face your subject and be close to either side of the camera to create a studio-quality three-point lighting setup. A fill light should be aimed at your subject and placed near the opposite side of the camera.
A backlight should be placed behind the subject to create subtle highlights and separate it from the background. You can use the fill light/backlight in conjunction with the key light to create a two-point setup.
Learn Popular Lighting Setups

When it comes to classic portrait photography, there are four common portrait lighting patterns that I can identify. Check out these flash photography techniques if you want to improve your flash skills and learn more about studio photography:
- The Butterfly Light It is a lighting setup in which the key light is placed above and directly in front of a model’s face. A small, butterfly-shaped shadow is cast under the model’s nose as a result.
- The Loop Light. When using this setup, the subject should be lit from 45 degrees in front of them and above. It casts a shadow on their nose that “loops” down at an angle onto their cheek.
- Rembrandt’s Light In photography, Rembrandt lighting creates a small inverted triangle of light on the subject’s cheek opposite the light source.
- Split the light. It is a setup in which the key light is positioned to the side, dividing the face into two equal halves, one in light and the other in shadow.
Note: If you want to make some adjustments to the photo just let me know. I can do it for you at a very low cost. You can hire me to edit your photo.
LATEST POST
- What is Midjourney
 Discover the capabilities of Midjourney AI, learn how to effectively utilize the platform, and explore the advantages and disadvantages of the Midjourney AI image generator across its different pricing options.
 - Brand identity elements
 In the vast marketing universe, imagery is pivotal in establishing and nurturing a brand’s identity. A brand’s visual choices are not merely aesthetic decisions but strategic moves that can significantly influence perception and performance. This Picfixs article explores the intricacies of selecting imagery that complements and enhances a brand’s essence, ensuring it resonates with the… Read more: Brand identity elements
 - 100 Best Mountain Captions and Mountain Quotes for Instagram
 Ready to scale new social media heights? Look no further than this treasure trove of 100 exhilarating captions and quotes, handpicked for your Instagram mountain posts!
 - Symmetry in Photography: A Creative Approach with Examples
 Delve into the enchanting realm of symmetry in photography as we showcase mesmerizing examples on our website. Experience the allure of perfectly mirrored images!
 - 11 Quarantine Photoshoot Ideas to Try at Home for Amazing Photos
 Looking for unique photoshoot ideas during quarantine? Explore the 11 creative suggestions that will help you capture unforgettable moments at home.