If you’ve never tried black and white photography before, you might be apprehensive. After all, how do you begin? Should you shoot in black and white with your camera or convert color images to black and white? And, more importantly, how do you create stunning black-and-white images?
All of those questions will be addressed in this article. I’ll explain the importance of black and white photography, how to do it, and share some tips along the way!
What is the significance of black and white photography?

In the world of photography, black and white is a distinct art form. Some would argue that the best photographers work in monochrome. It’s a medium with a long history; look at the work of Ansel Adams, Edward Weston, or Henri Cartier-Bresson for some truly stunning examples.
Working in black and white, on the other hand, can help you improve as a photographer.
How?
It’s all about seeing.
Color has a great deal of power. It tends to dominate photos, to the point where beginners struggle to see other important elements such as contrast, texture, shape, form, and light quality.
Experienced photographers see these things instinctively, whether they work in color or black and white. However, if you are just starting out, you may require some assistance. Color is removed in black and white, allowing you to focus on the other elements that are important.
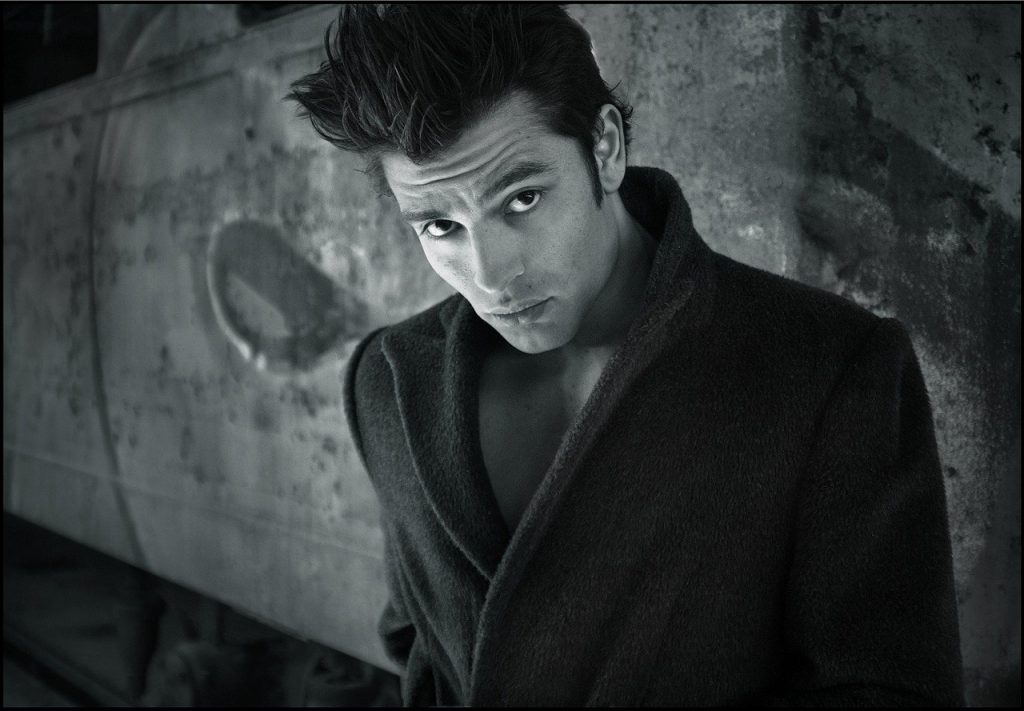
Certain subjects, understandably, work better in black and white than others. Landscapes and portraits, in particular, benefit from black and white photography.
If this is your first time shooting in black and white, those are excellent subjects to begin with!
How to Shoot in Black and White
Prior to the advent of digital photography, the only way to work in black and white was with black and white film.
Nowadays, however, you have two options:
- You can shoot in colour and then convert your images to black and white in Lightroom, Photoshop, or another post-production programme.
- You can use your camera’s Monochrome mode.
I strongly advise you to select the second option, and here’s why:
You’ll get black and white previews on your camera’s LCD if you shoot in black and white from the start. You’ll also be able to see in black and white using the Live View mode on your camera. And, if you use a mirrorless camera, you can look through a black-and-white viewfinder to see how the different colors will convert before pressing the shutter button.
Here’s one more piece of advice:
Shoot in RAW rather than JPEG (or RAW+JPEG, which will give you a file in each format every time you press the shutter button).
RAW is essentially insurance for you. If you decide you don’t like your black-and-white shot, your RAW files can be converted back to colour with a single click of the mouse. And, if you decide to heavily edit your photos in post-production, RAW gives you a lot of options.
However, if you’re new to photography, I understand that you may prefer to work solely in JPEG, and that’s perfectly fine. Just keep in mind that you’ll most likely want to switch to RAW at some point.
Working in Monochrome mode
As previously stated, I strongly advise you to set your camera to Monochrome mode. And that’s all you need to do to get basic black-and-white shots.
However, once in Monochrome mode, you may have access to color filter options. You can also improve your black and white photography by carefully applying these filters.
Color filters
Color filter settings harken back to the days of film photography. Color filters were used by photographers to change the tones in black and white photographs. Digital photographers rarely use physical color filters these days; instead, they use camera software or post-processing to simulate filter effects.
Your camera most likely has a few color filter options. You could, for example, use a yellow or orange filter to darken a blue sky, or a red filter to make it nearly black.
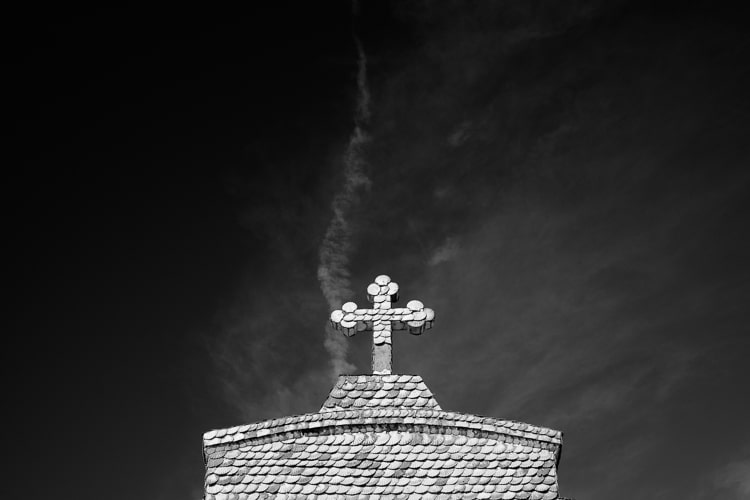
Here’s a shot without a color filter:
And here’s the shot after applying a red filter:
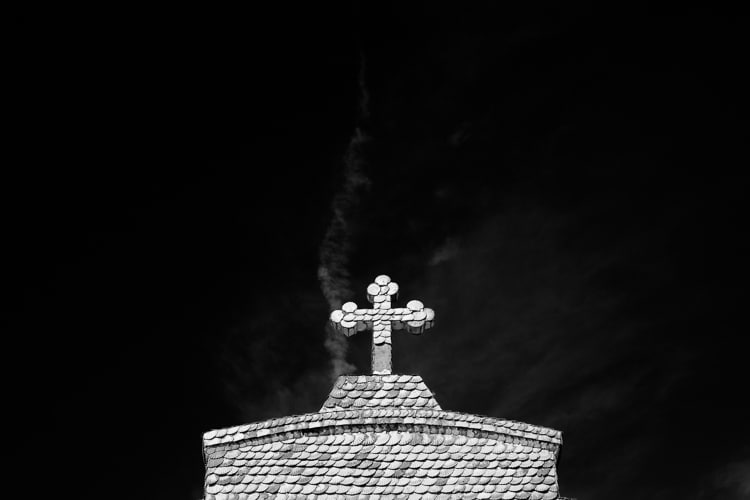
Green filters, which can bring out more detail in green subjects like leafy forests, have a place as well.
Most digital cameras now have black and white settings for the four colored filters (red, orange, yellow, and green).
Quick tip: Don’t forget about contrast!
If you take a photograph in low-light conditions – for example, in the shade or under a cloudy sky – the image may appear flat (i.e., two-dimensional), especially in black and white.
So, what are you going to do?
You make up for it by increasing the contrast. A contrast boost will make your main subject stand out by darkening the shadows and brightening the highlights.
Here’s a portrait that hasn’t been contrasted:
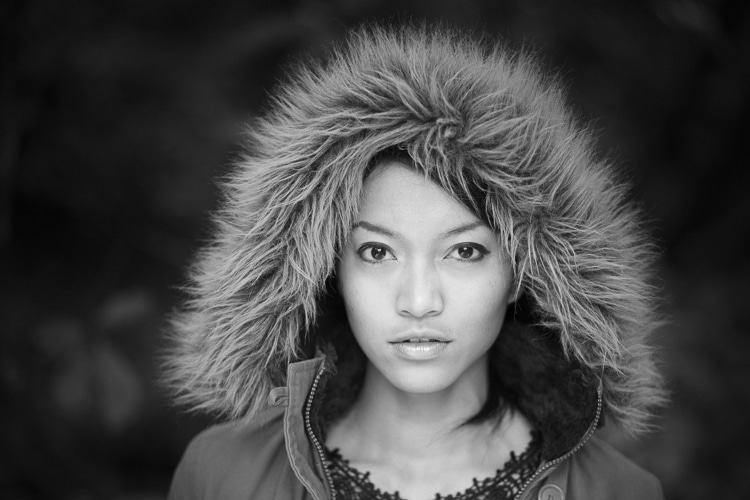
And here’s the same portrait, but with a contrast boost:

The final (adjusted) result is far more powerful in my opinion.
You can boost the contrast after the photo has been taken (in Photoshop or Lightroom), or you can do it in-camera by adjusting the contrast setting (consult your camera’s manual for instructions!).
Composing in black and white
Remember how I said that black and white forces you to consider other important elements, such as shape and form?
That is correct. This is why composition is so important when shooting in black and white.
Unfortunately, there is no quick fix for capturing good compositions; a lot depends on your ability to see shapes, lines, and textures (which you can develop through practice or study or simply by looking at great photography).
There is one item, however, that can improve your black and white compositions:
The ratio of aspects.
Certain aspect ratios (such as the 1:1 or square format) facilitate composition. Other aspect ratios, such as the native 3:2 ratio of most cameras, make composition difficult.
So, after you’ve switched your camera to Monochrome mode, go into the settings and change the aspect ratio to Square. It will improve the way you frame scenes (and, if your camera has an electronic viewfinder, you will be able to see the new aspect ratio in real-time!).
Toning in black and white

Toning is the process of adding color to black and white images after they have been converted to black and white.
This can produce some very cool effects, such as turning your shots yellow, purple, or red.
Now that you have a camera, you may be able to tone your photos as you take them. However, the effect is usually very heavy-handed, so I recommend avoiding in-camera toning.
Instead, experiment with toning in post-production. Applying a single tone to your images can be a lot of fun (such as a nice sepia). If you want to get really creative, you can add multiple tones, a technique known as split toning.
Black and white photography: final words
Black and white is a lovely medium to work in, and you’ll appreciate it even more as your skills improve.
Meanwhile, have fun and enjoy yourself. You’re walking in the footsteps of some of photography’s most well-known figures!
Now it’s your turn:
Have you ever tried shooting in black and white? How did it turn out? Do you have any favorite black-and-white photographs? Please share your thoughts in the comments section below!
Note: If you want to make some adjustments to the photo just let me know. I can do it for you at a very low cost. You can hire me to edit your photo.
latest news
- What is Midjourney
 Discover the capabilities of Midjourney AI, learn how to effectively utilize the platform, and explore the advantages and disadvantages of the Midjourney AI image generator across its different pricing options.
 - Brand identity elements
 In the vast marketing universe, imagery is pivotal in establishing and nurturing a brand’s identity. A brand’s visual choices are not merely aesthetic decisions but strategic moves that can significantly influence perception and performance. This Picfixs article explores the intricacies of selecting imagery that complements and enhances a brand’s essence, ensuring it resonates with the… Read more: Brand identity elements
 - 100 Best Mountain Captions and Mountain Quotes for Instagram
 Ready to scale new social media heights? Look no further than this treasure trove of 100 exhilarating captions and quotes, handpicked for your Instagram mountain posts!
 - Symmetry in Photography: A Creative Approach with Examples
 Delve into the enchanting realm of symmetry in photography as we showcase mesmerizing examples on our website. Experience the allure of perfectly mirrored images!
 - 11 Quarantine Photoshoot Ideas to Try at Home for Amazing Photos
 Looking for unique photoshoot ideas during quarantine? Explore the 11 creative suggestions that will help you capture unforgettable moments at home.