Landscape photography is a lot of fun – but even the best landscape photographers make mistakes, which is the topic of this article.
I’m going to share the top eight mistakes I see all the time, especially in beginner photos. And I’ll also explain how to correct those mistakes so that the next time you’re outshooting, you know exactly what to do (and what to avoid).
Does that make sense? Let’s get started with the most common landscape photography blunder of all:
A lack of stability
In landscape photography, you typically want your images to be sharp from front to back. To achieve this effect, you must use a narrow aperture, which reduces your shutter speed and makes your images very blurry.
As a result, many landscape photographers return home after a day of shooting to find their photos riddled with consistent blurriness.
However, there is a simple solution to this problem: use a tripod! This is especially important if you’re shooting in low light, but in all honesty, I recommend bringing your tripod everywhere you go.
There are tripods and then there are tripods. For landscape photography, you may want to invest in a heavier-duty tripod; while small, lightweight tripods may suffice for a while, if you are shooting in the wind, you risk tripod shake (plus, your tripod might get blown over). A good tripod will also last a long time and can withstand a lot of abuse, so get the best tripod you can afford and keep your camera as still as possible when shooting.
A remote release is another useful piece of equipment to purchase. You don’t need one of the more expensive ones with an intervalometer; a simple remote shutter will suffice. Step back from the camera and press the shutter button when you’re ready to take your shot. When you press the camera shutter button, there will be no vibration, and your image will be nice and sharp.
(If you don’t want to spend the money on a remote release, you can use the self-timer instead.)
Not getting the horizon straight
A skewed horizon has ruined many a good landscape photograph. While this can be corrected in Photoshop or Lightroom, you may lose some details in the process – which is why I strongly advise dealing with the horizon in-camera rather than in post-processing.
You can use a variety of tools to ensure that your horizon is straight. Try turning on the grid in your camera’s viewfinder and always taking the time to align the horizon with a horizontal gridline. Some tripod heads even include a spirit level, so make sure this is level and your horizon will be fine.
Alternatively, you can buy a level that attaches to your camera’s hot shoe. Simply connect the level and perform a quick check before taking your photo.
Shooting only in landscape format
Landscape photography is, well, landscape photography, so photographers expect to shoot in landscape (horizontal) format.
And, in general, this is a good idea. The horizontal orientation emphasizes the sweep of a scene and can give the shot a sense of vastness.
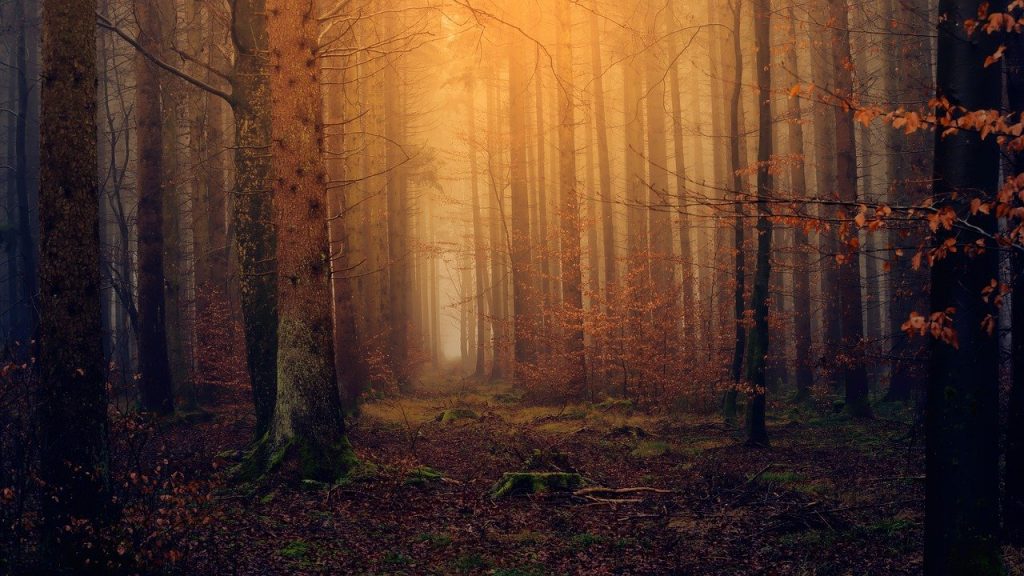
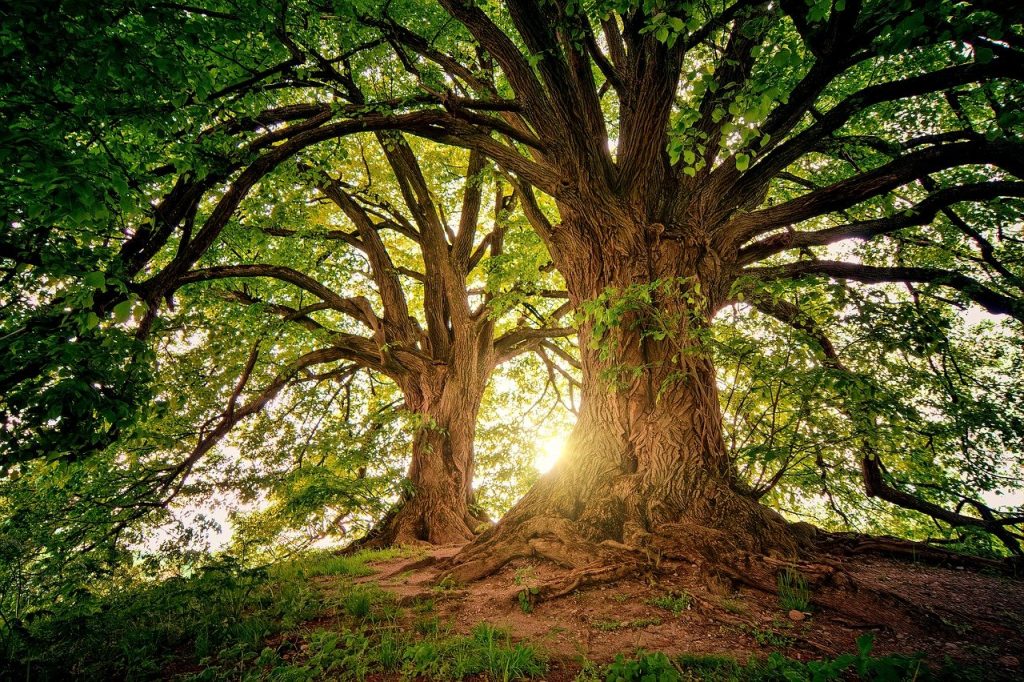
Except that in some cases, a portrait orientation (vertical) can work just as well – if not better – than a horizontal orientation. Consider a forest scene. Because the trees stretch into the sky, a horizontal format will limit their height rather than highlight it, resulting in a less interesting photo.
Bottom line: If the subject’s shape is more vertical than horizontal, try it in portrait format, as it may add dynamic presence to the composition. And if you’re not sure whether to shoot vertically or horizontally, do both and sort it out later!
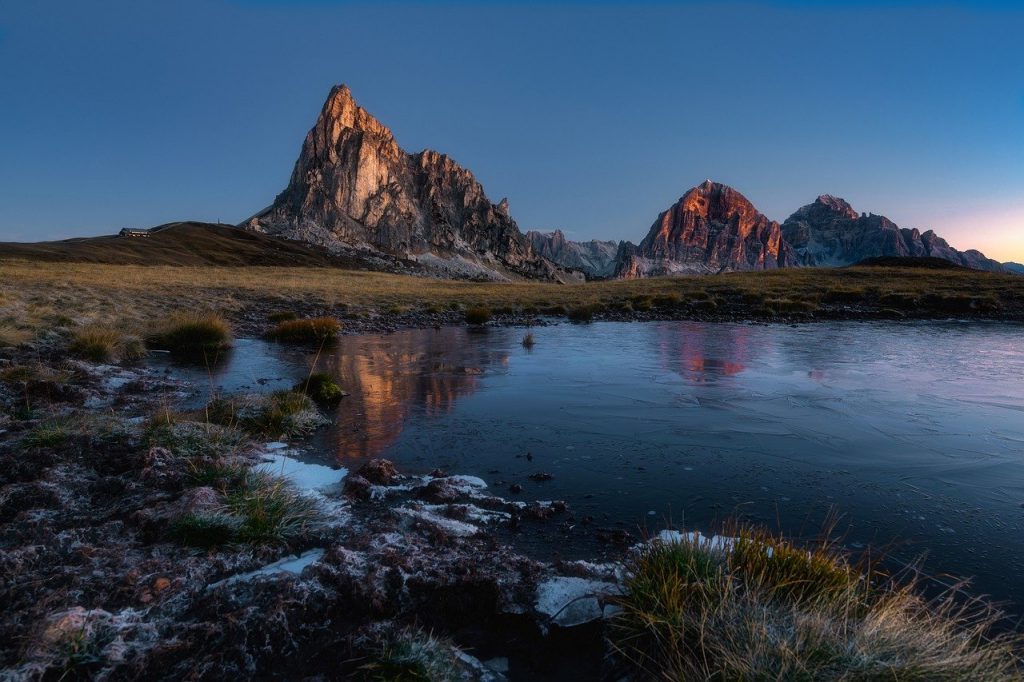
Forgetting about the aperture
Aperture is a camera setting that also serves as a composition tool. This is something that many landscape photographers overlook.
As you can see, aperture influences depth of field (i.e., the amount of the scene that appears sharp). You can also create different compositional effects by carefully considering the depth of field.
When you’re putting together a composition, you should consider your depth of field. Do you want everything in focus, from the foreground to the background? In general, this will be the case in landscape photography, but if you prefer to keep certain areas soft, you should make that decision early on.
If you want sharp foreground-to-background separation, set your aperture to f/8, f/11, or higher. If you focus on the foreground while shooting at f/2.8 or f/4, the background will be out of focus, and the middle of your scene will be soft. And once you’ve taken a photo with a shallow depth of field, it can’t be fixed in Photoshop.
Shooting using the camera’s “landscape” mode
Yes, you may have a landscape setting in your camera’s scene modes. However, use it as infrequently as possible.
Why? It’s not very good at producing even exposure, and it can’t determine the proper aperture for a given scene (only you can do that!).
So, instead of using Landscape mode, experiment with Aperture Priority or Manual mode. Both of these options allow you to adjust the aperture and ISO, as well as the shutter speed, for the best results.
This may take some getting used to at first. You won’t be able to rely on your old point-and-shoot approach. However, as you become more familiar with your camera settings, you will achieve better results than your camera’s automatic Landscape mode could ever achieve.
Note: If you want to make some adjustments to the photo just let me know. I can do it for you at a very low cost. You can hire me to edit your photo.
Standing next to other photographers

If you see a group of photographers on top of a hill, here’s what you should do:
Shoot from a different angle.
I don’t mean to imply that the other photographers are taking poor-quality photographs. Rather, I’d like to emphasise the significance of uniqueness. Do you want to go home with the same shot as everyone else? Or do you want a shot that is completely unique to you?
Of course, in some cases, the best composition or vantage point is in a specific location, and all photographers will congregate there. That’s fine; start with a shot from there. However, look for other locations to get a great shot as well.
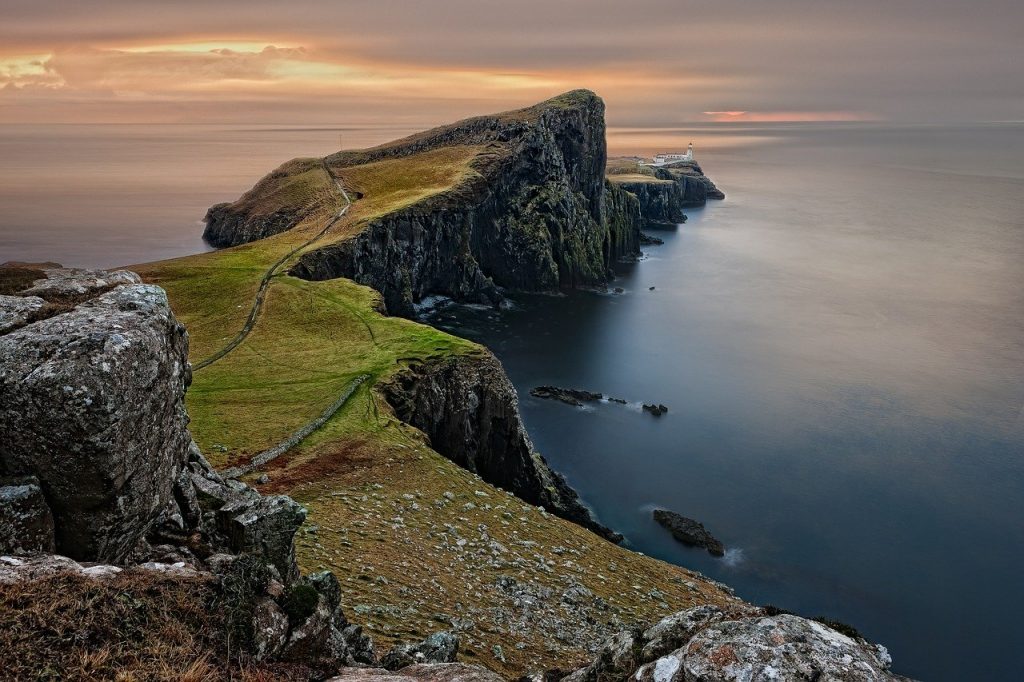
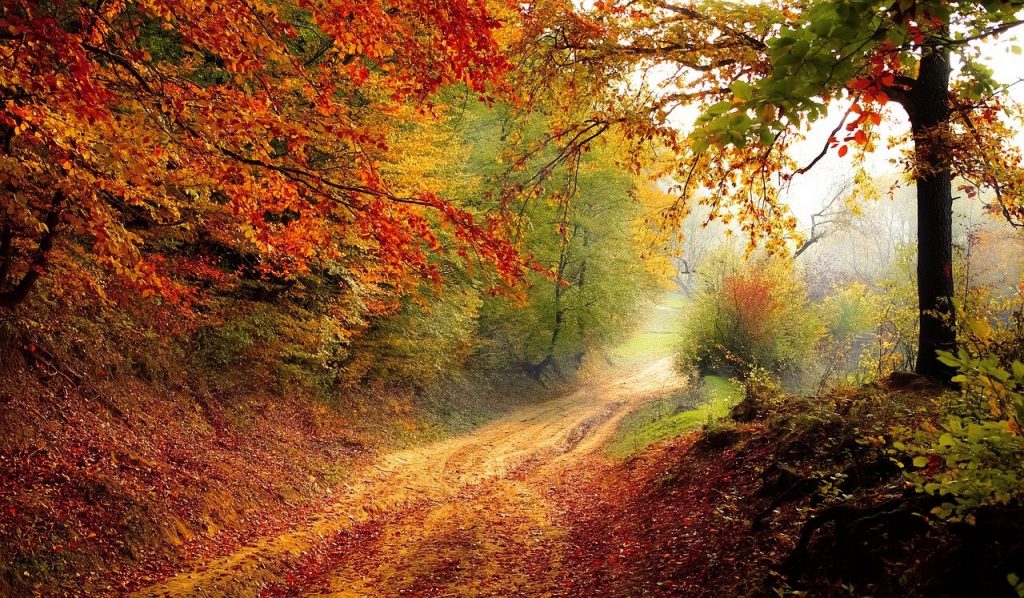
Including unnecessary negative space
Negative space is the “empty” area that surrounds your subject, and its inclusion – or exclusion – can truly make or break your image.
Negative space, when used correctly, can add a sense of calm and tranquillity to your photographs. However, poor use of negative space, as is common in landscape photography, results in static, boring images.
The sky is the negative space in most landscape scenes, especially on a clear, sunny day. And you’ll notice that many beginner landscape photographers include a lot of sky in their compositions, even if it doesn’t add anything interesting to the shot.
So, before you include large swaths of sky in your compositions, pay close attention to the horizon. Are there any interesting elements, such as clouds? Is there a plain, empty blue?
If the answer is “blank blue,” make the sky only a small part of your image (of course, if there are some great-looking clouds, then by all means, give it more space in your scene).
This also applies to other types of negative space. Are you capturing an ocean scene? Make sure there isn’t too much water in the photo unless it adds atmosphere. Are you taking pictures of a valley? Make sure there isn’t a lot of empty grass. Do you understand?
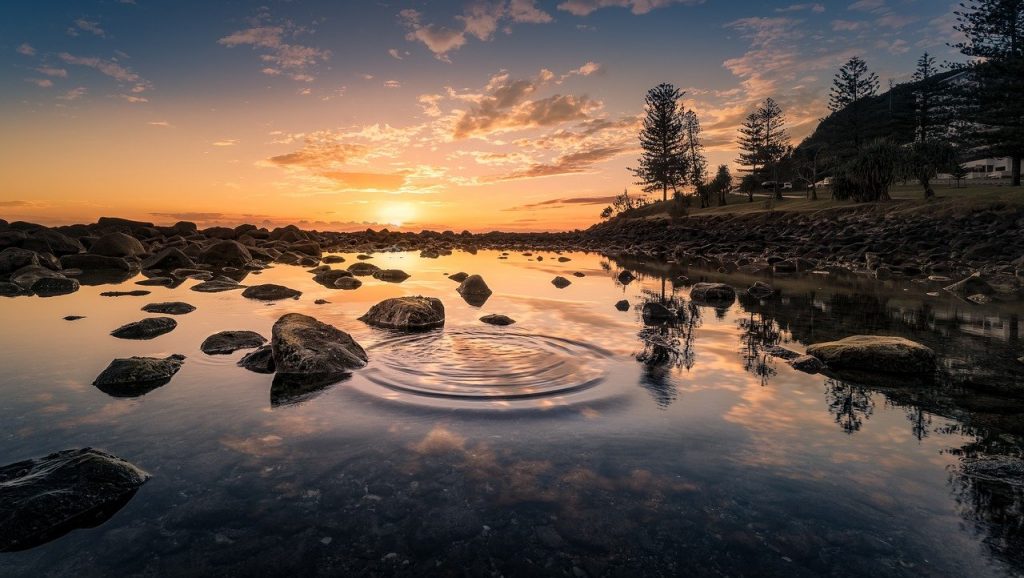
Not including a clear subject
It may seem strange, but it is very easy to have an ambiguous subject in landscape photography. For example, if you photograph a forest but only show random tree chaos, the viewer will be confused as to where to look – because there is no clear subject. And if you’re photographing an ocean but just point your camera at the water and shoot, you’ll get some boring water and sky instead of a cohesive, striking image.
Instead, decide what is important to you in a scene and emphasize it in your shot.
Of course, you don’t have to fill the frame with your subject; showing both your subject and the beauty that surrounds it is perfectly acceptable. However, if you’re having trouble highlighting the subject, try moving closer or using a longer lens. After that, go back over your composition and ask yourself, “What stands out?” What will the viewer take notice of? And what am I hoping the viewer will notice?
If what the viewer notices differ from what you want the viewer to notice, you’ve probably made a mistake.
Mistakes in landscape photography: final words
So there you have it:
The top eight landscape photography blunders to avoid the next time you go out to shoot.
Run through these mistakes with your camera when you’re out in the field. Check the photo after you’ve made any necessary changes. I’m guessing you’ll get a much better result!
Now it’s your turn:
Which of the following landscape photography mistakes do you make? Do you have any additional blunders that should be included on this list? Please share your thoughts in the comments section below!
Note: If you want to make some adjustments to the photo just let me know. I can do it for you at a very low cost. You can hire me to edit your photo.
LATEST POST
- What is Midjourney
 Discover the capabilities of Midjourney AI, learn how to effectively utilize the platform, and explore the advantages and disadvantages of the Midjourney AI image generator across its different pricing options.
 - Brand identity elements
 In the vast marketing universe, imagery is pivotal in establishing and nurturing a brand’s identity. A brand’s visual choices are not merely aesthetic decisions but strategic moves that can significantly influence perception and performance. This Picfixs article explores the intricacies of selecting imagery that complements and enhances a brand’s essence, ensuring it resonates with the… Read more: Brand identity elements
 - 100 Best Mountain Captions and Mountain Quotes for Instagram
 Ready to scale new social media heights? Look no further than this treasure trove of 100 exhilarating captions and quotes, handpicked for your Instagram mountain posts!
 - Symmetry in Photography: A Creative Approach with Examples
 Delve into the enchanting realm of symmetry in photography as we showcase mesmerizing examples on our website. Experience the allure of perfectly mirrored images!
 - 11 Quarantine Photoshoot Ideas to Try at Home for Amazing Photos
 Looking for unique photoshoot ideas during quarantine? Explore the 11 creative suggestions that will help you capture unforgettable moments at home.