Estimated reading time: 4 minutes
Table of contents
Do you want to try your hand at wildlife photography? Even if you’re new to photography, these tips will help you capture stunning, dynamic wildlife images.
1. Prepare for the Animals
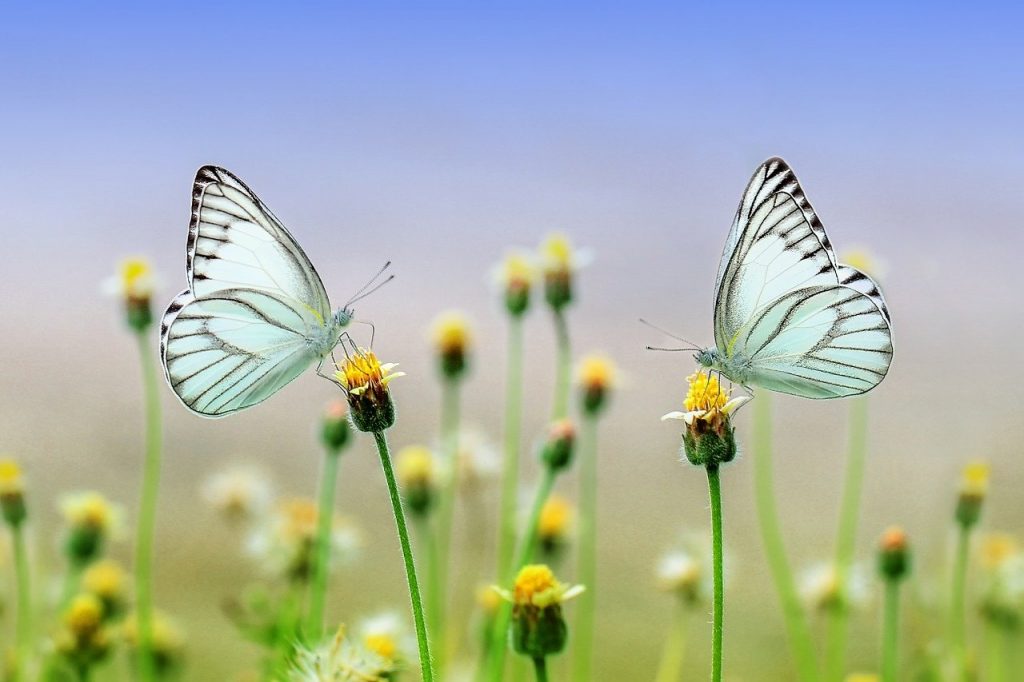
If you’re photographing something up close (for example, butterflies in a botanical garden), a macro lens and a fast shutter speed will suffice (you won’t need a tripod). You may be able to adjust the depth of field to your artistic liking, but this will be highly dependent on the speed of the animal and how difficult it is to spot one in time to photograph it.
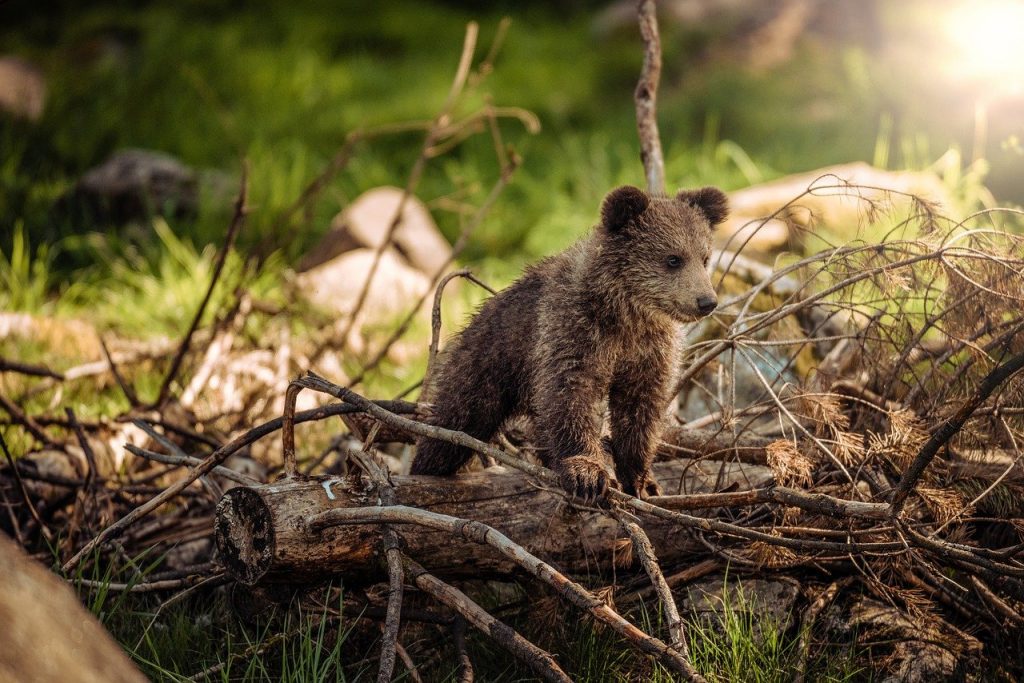
You’ll need a telephoto lens and a tripod if you’re photographing bison, wolves, bears, or pronghorns in Yellowstone National Park. You won’t be able to be too picky with your depth of field because these animals tend to come and go quickly and can appear at a distance that is difficult to judge on the fly.
For situations like this, you should also bring a pair of binoculars for spotting so you don’t have to move your camera or adjust the settings all the time.
2. Be Patient
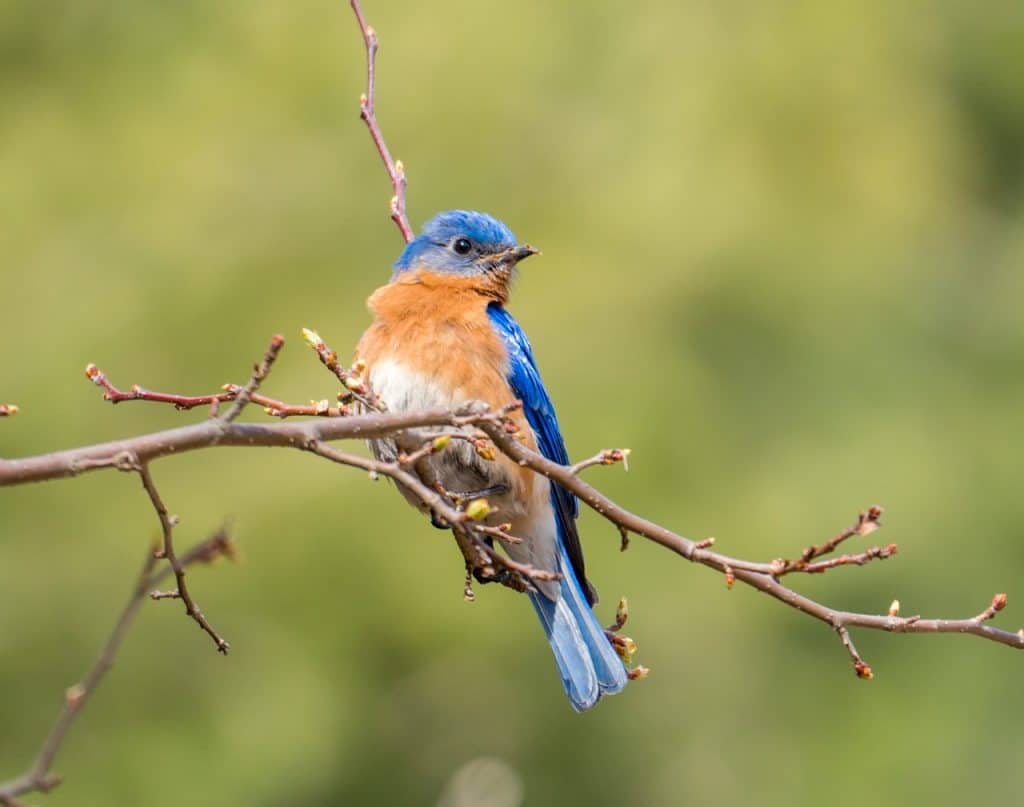
Expect to spend far more time waiting than shooting. You’ll also take far more photos than you’ll ever keep. Don’t be afraid to experiment with burst mode. It takes more memory and processing time, but if you’re waiting for a once-in-a-lifetime shot, it’d be a shame to miss it because you pressed the shutter half a second too soon or late.
Be Prepared
Of course, you’ll want all of the necessary photography equipment, including lenses, a lens cleaning kit, extra memory cards, spare (charged) batteries, a tripod, and a remote shutter. But when it comes to shooting in the wild, being prepared means a lot more.
It entails being prepared for bad weather, long stretches away from civilization (even if only a few miles away), and emergencies.
You’ll need sunscreen and bug repellent (or technical clothing that meets that requirement), enough food and drink to last the entire day, protective gear for inclement weather (especially quickly accessible gear to keep your camera and gear from getting rained on), a first aid kit, a place to sit, and anything else that will help you get through the day.
If you’re going off the beaten path, make sure to tell someone where you’re going and when you plan to return so that authorities in the area can contact you if they haven’t heard from you by a certain time.
4. Have Your Camera Ready
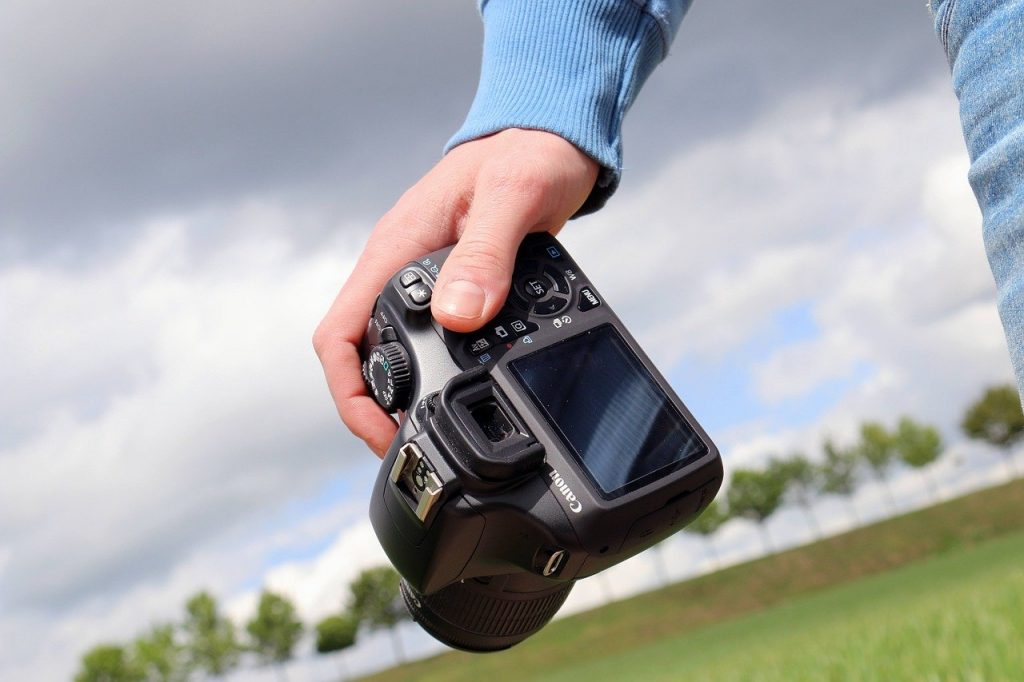
If you’re going hiking, pre-set your camera and use a quick strap or holster to keep it handy. While your intention may be to hike out, set up, and wait for the perfect shot, life occasionally surprises you and you get a great opportunity while on the trail. You have a much better chance of getting a great photo if your camera is ready to go.
5. Get Good at Manual Focus Mode
Even though it may be tempting to shoot in autofocus, using Manual Focus increases your chances of getting the shot you want. Consider how much of the background you want to see, and adjust the depth of field accordingly.
Shooting in RAW also gives you more leeway in post-production to correct exposure and color. Make sure your shutter speeds aren’t too slow, though, because a blurry photo is something you can’t fix after the fact.
Note: If you want to make some adjustments to the photo just let me know. I can do it for you at a very low cost. You can hire me to edit your photo.
lATEST POST
- What is Midjourney
 Discover the capabilities of Midjourney AI, learn how to effectively utilize the platform, and explore the advantages and disadvantages of the Midjourney AI image generator across its different pricing options.
 - Brand identity elements
 In the vast marketing universe, imagery is pivotal in establishing and nurturing a brand’s identity. A brand’s visual choices are not merely aesthetic decisions but strategic moves that can significantly influence perception and performance. This Picfixs article explores the intricacies of selecting imagery that complements and enhances a brand’s essence, ensuring it resonates with the… Read more: Brand identity elements
 - 100 Best Mountain Captions and Mountain Quotes for Instagram
 Ready to scale new social media heights? Look no further than this treasure trove of 100 exhilarating captions and quotes, handpicked for your Instagram mountain posts!
 - Symmetry in Photography: A Creative Approach with Examples
 Delve into the enchanting realm of symmetry in photography as we showcase mesmerizing examples on our website. Experience the allure of perfectly mirrored images!
 - 11 Quarantine Photoshoot Ideas to Try at Home for Amazing Photos
 Looking for unique photoshoot ideas during quarantine? Explore the 11 creative suggestions that will help you capture unforgettable moments at home.